
I’ve really been enjoying watching all of the squares that everyone is making for the Mystery Lapghan Crochet-a-Long. Seeing lots and lots of grannies inspired me to continue my series on joining techniques. As I’ve mentioned before, I’ve tried many of ways to join granny squares and have never settled on a favorite method. (Variety is the spice of life, after all.) Today, I’m sharing how to join granny squares (or any other crochet or knitting project that needs to be seamed) by using the single crochet.

Previously, I shared a tutorial on joining with the mattress stitch and with the whipstitch. Both of those techniques are usually done on the wrong (back) side and are not visible from the front. On the other hand, the single crochet join is something you can choose if you really want to focus on the seams. I love using it as a decoration, in a different color than the rest of the project. It is also a great way to add sturdy edges to crochet bags that are pieced together.
This post contains affiliate links.
For the single crochet join, you’ll need a crochet hook in the same size and yarn in the same weight that you’ve used for your squares. Watch the video tutorial below to see how to join with a single crochet seam, or scroll down for the photo tutorial.
If you can’t see the video tutorial above, click here to watch it on Instagram.
Tutorial: How to seam with single crochet

Step 1: Form a slip knot on your hook with the yarn you plan to use for the seam.
Since the single crochet seam will be decorative, decide whether you want to use a color that contrasts or coordinates with the rest of your project.
Step 2: Start with the pieces right side up/with wrong sides together.
If you’re seaming something that doesn’t have a defined “right” side, choose the best looking side of each piece!
Step 3: Insert your hook into the first stitch of each piece.
As with the other seaming methods, you’ll want to line up the two pieces so that you are working into corresponding stitches.
I started this seam with a chain stitch in the corner of the square.
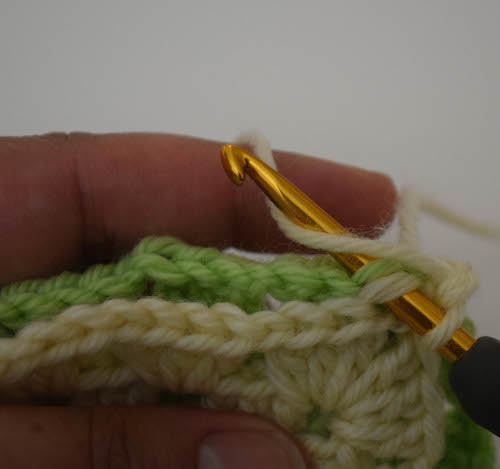
Step 4: Begin your first single crochet stitch.
Now that your hook is inserted into the stitches, yarn over.
Step 5: Draw up a loop of yarn through both pieces.
This will leave you with two loops on the hook, in the color of your seaming yarn.

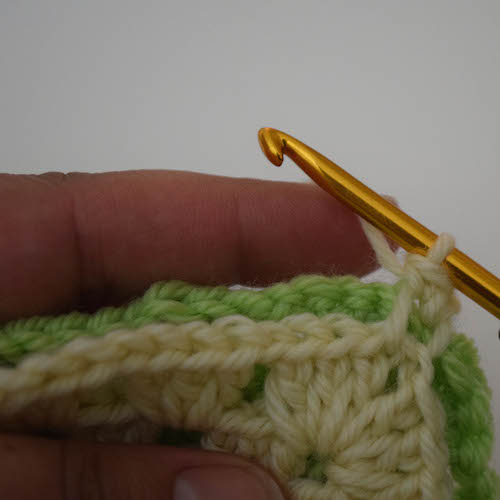
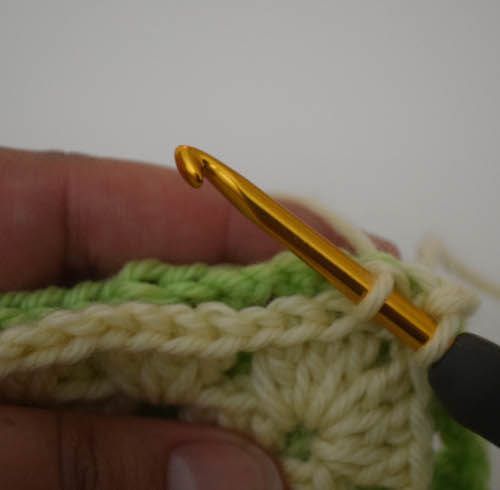
Step 6: Yarn over again…
Step 7: … and draw through both loops.
You’ve now completed your first single crochet stitch on the seam.
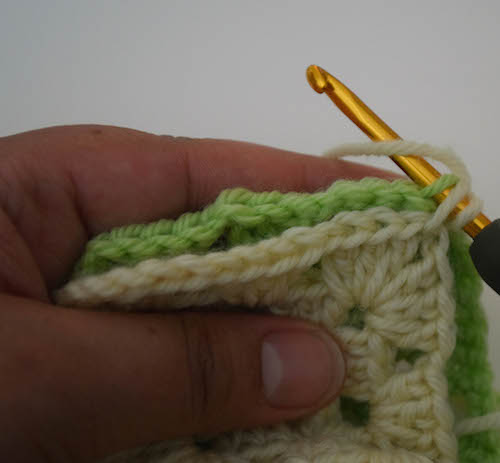
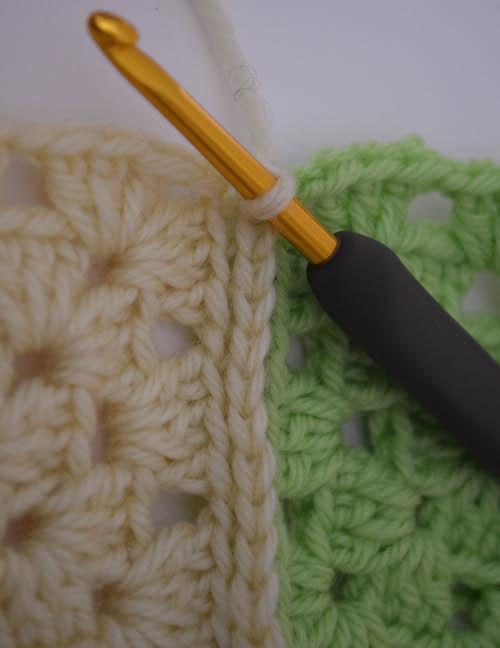
Step 8: Insert your hook through the next set of stitches.
In the rest of this example, I worked into the back loops of each piece (which are on the inside since the squares are wrong sides together). You can also choose to work into the front loops of each piece (which will be on the outsides).

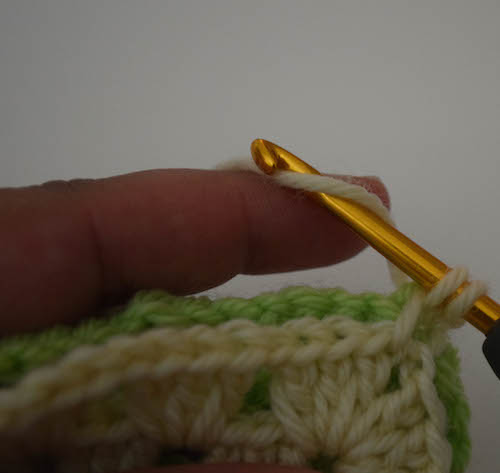
Step 9: Yarn over.

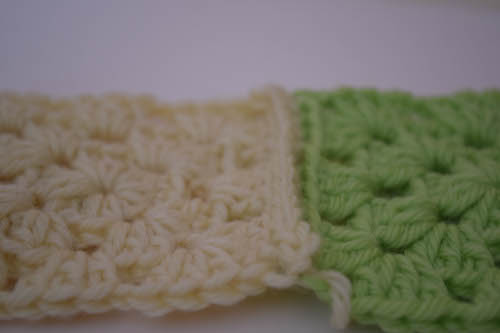
Continue repeating Steps 8-11 until your seam is finished!
Try to keep the stitches lined up and work loosely to avoid puckering.
This join has quite a bit of texture to it. Here’s a side view so you can see what I mean.
Thanks for all the seaming tutorials – it is easy to understand
Thanks, nityakalyani! I have more on the way, too.