

My sister and I have a little joke between us about who my mother’s favorite daughter is. No, it isn’t the typical sibling rivalry. We know there’s another daughter that has us beat for sure. When the ladies behind Craft Lightning announced the challenge of making a 15-minute craft project for Mother’s Day, I knew that I wanted to celebrate my mom’s favorite daughter with a very special gift: a magnetic photo frame.
This post contains affiliate links. Materials for this project were generously provided by Cricut, Petaloo by FloraCraft, and Scrapbook Adhesives.
So, who is this mysterious “favorite daughter?” Her name is Kiki and, with a face like this, you can see how she has edged out her two human sisters.
 I’ve recently been exploring my Cricut Explore Air. One of its features is that it can cut a huge variety of materials. (You can find a chart specifying which mat and blade to use for different materials here.) Yesterday, I shared a tutorial for cutting customized magnets. I had about half of a magnet sheet left, and I thought about those cute little photo frames that seem to live on every mother’s refrigerator. Since my sister and I are now full grown adults, my mom no longer has our drawings and classwork up on the ‘fridge, but she does have some special souvenir magnets that my sister has brought back from her travels.


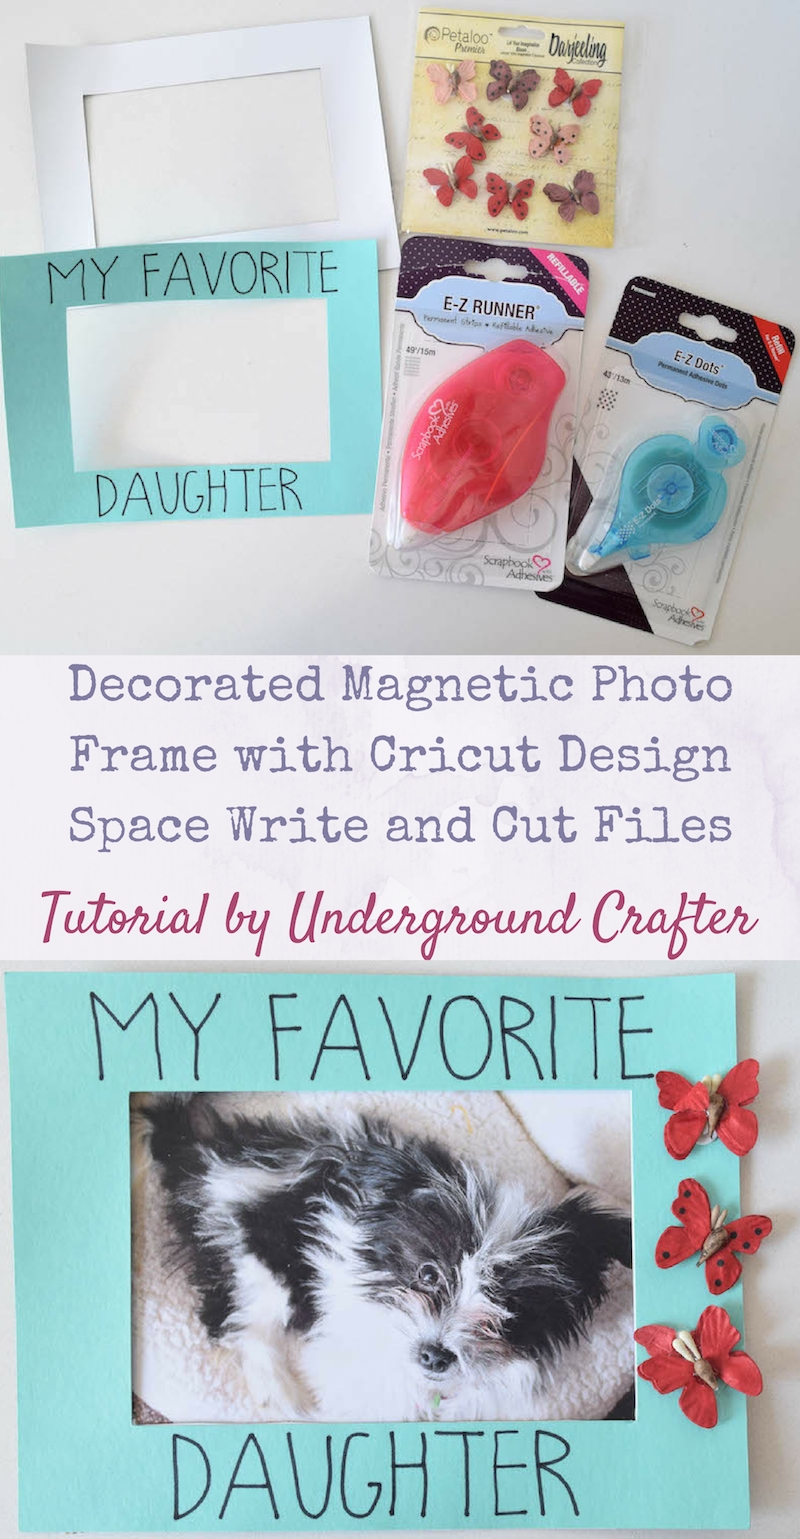
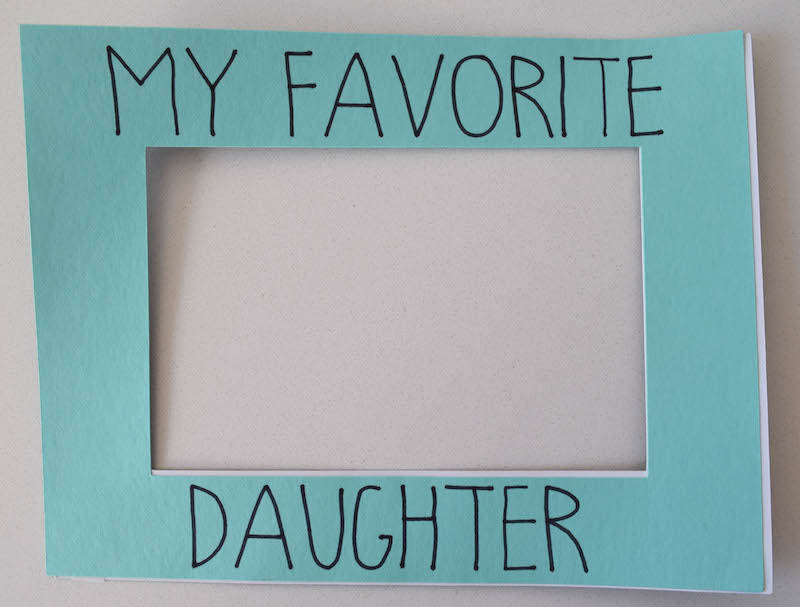
How To Make a Decorated Magnetic Photo Frame

Materials
- Printable magnet sheets (I used about half of one 8-1/2″ x 11″ sheet for my photo frame).
- Cricut Explore pens (I used the 1.0 tip marker from my Black Multi Pen Set).
- Cricut Explore Air with Cricut Design Space.
- Strong Grip Mat (I used the one from the Cutting Mat Variety 3 pack).
- Cardstock (I used about half of one 8-1/2″ x 11″ sheet for my photo frame decoration).
- Scrapbook Adhesives E-Z Runner Permanent Strips Refillable Dispenser.
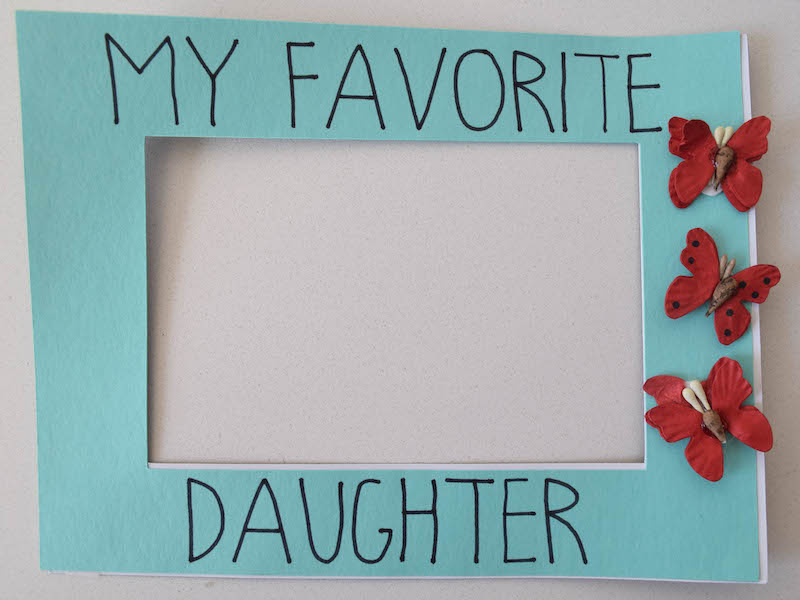
- Petaloo Darjeeling Mini Butterflies (I used three from the 8 Teastained Red package).
- Magnet frame cut file in Cricut Design Space.
- Magnet frame decoration write and cut file in Cricut Design Space.
- 4″ x 6″ photo (with main image fitting in 3″ x 4.5″ center of photo frame).
Instructions
Cut Magnetic Photo Frame
- Use the magnet frame cut file in Cricut Design Space and a magnet sheet to cut the magnet outline. See this tutorial if you’d like to design your own photo frame in Design Space.
- After choosing “Go” from the top menu, select the size of your magnet sheet from the drop down menu.
- The magnet cut out will be automatically re-positioned to minimize waste of the magnet sheet.
- Choose “Custom” on the pressure setting wheel and then select the type of magnet sheets you are using from the drop down menu.
- Once your magnet is cut, you can remove it from the mat.
Write and Cut Your Magnetic Photo Frame Decoration
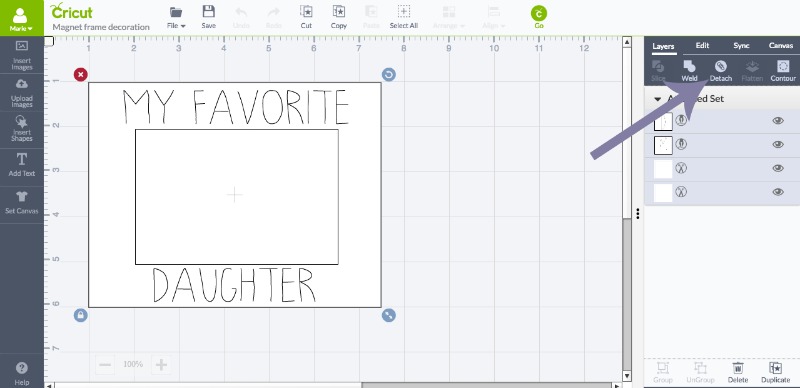
- Use the magnet frame decoration write and cut file in Cricut Design Space and a piece of cardstock to write and cut the magnet frame decoration.
- If you’d like to adjust the writing, click “Detach” from the Layers menu. You can then make any adjustments to the file.
- Once your write and cut file is ready, choose “Go” from the top menu.
- Select the size of your cardstock from the drop down menu.
- The decoration will be automatically re-positioned to minimize waste of the cardstock.
- Choose “Cardstock” on the pressure setting wheel.
- Design Space will prompt you to load pens. If you’ve written in several colors, you will receive prompts at several points.
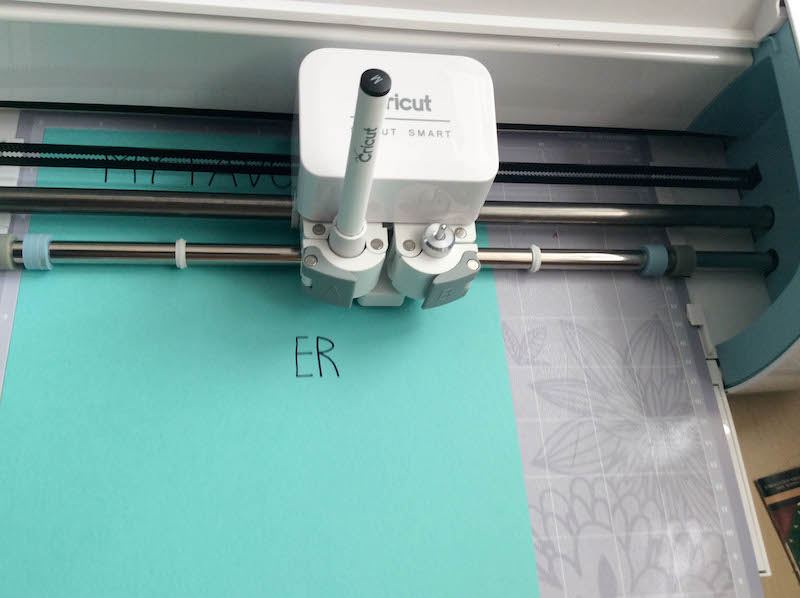
- Once your cardstock writes and cuts, you can remove it from the mat.

Attach the Cardstock To Your Magnetic Photo Frame
- Roll the E-Z Runner adhesive dispenser across the back side of your cardstock.

- Once the back is thoroughly covered, gently position the cardstock over the magnetic photo frame. When you are satisfied with the position, firmly press the cardstock into place.
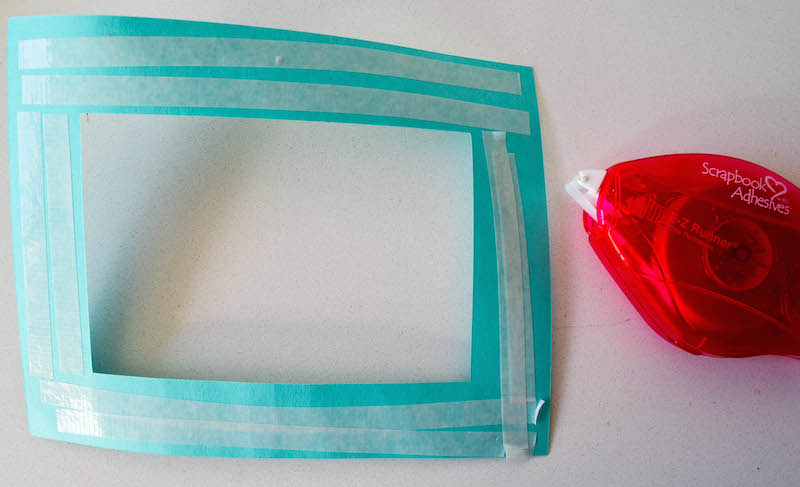
- (Or, if you’re like me, you can just press it down and trim off any edges you misaligned later!)
- Decorate your photo frame with your Petaloo Darjeeling Mini Butterflies.
- Once you’re satisfied, trim away any excess and place your photo behind the frame. It is now ready to sit on the refrigerator in its full magnetic photo frame glory.
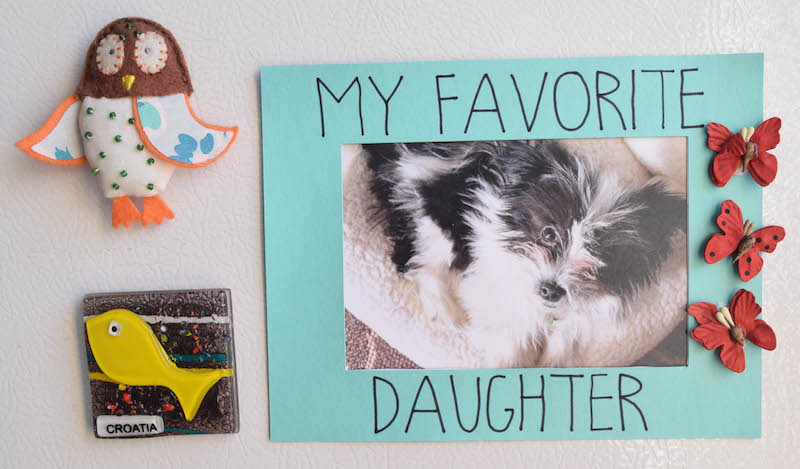 Pretty cute for 15 minutes, right?
I love photo magnets!! Thanks for joining!