
 I’ve never been very talented at jewelry-making, so I was surprised at how easy it is to put together a customized set of locking stitch markers for crochet and knitting. In this tutorial, I’ll show you how to make your own set with a few affordable supplies from Oriental Trading. Since we’re heading into fall (which means the start of the holiday crafting season, Hispanic Heritage Month, Halloween, and Dia de los Muertos are all around the corner), I used the Day of the Dead enamel charms to add color and an autumn feel to this set.
This post contains affiliate links. I may receive compensation (at no added cost to you) if you make a purchase using these links. Supplies for this post were generously provided by Oriental Trading.
Locking stitch markers are one of my favorite notions for crochet and knitting. Of course, I have a collection at home, including my daily go-to markers (currently, the Clover Quick Locking Stitch Marker Set) and many decorative sets that I’ve bought or received as gifts. If you’re not sure how (or why) you would use stitch markers, check out 5 Reasons to Use Locking Stitch Markers. I didn’t include “impress everyone at your next craft night,” but that’s definitely a reason for making your own set!
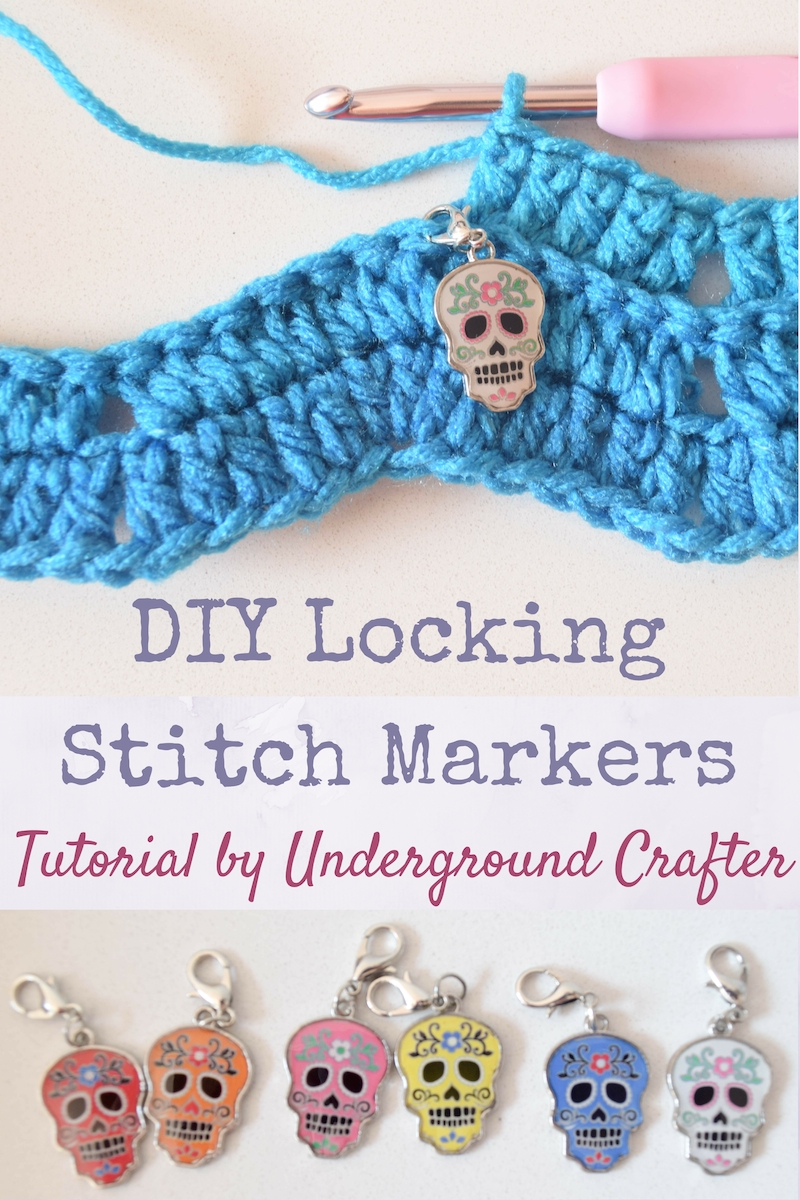
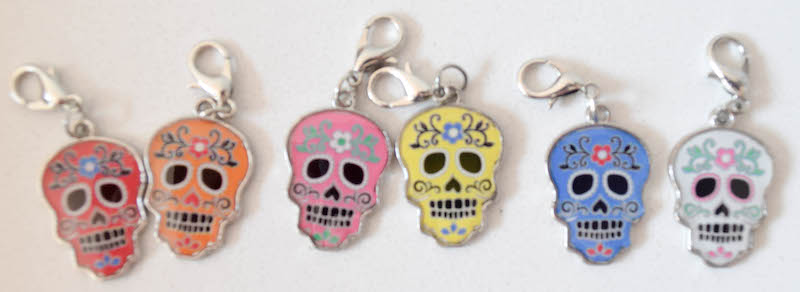
Locking stitch markers also make great gifts for any crocheter or knitter on your handmade holiday list. With one Day of the Dead Enamel Charms pack, you can make six sets of six markers — a set for you and gifts for five crafty friends! You can find more Day of the Dead crafts and party supplies on Oriental Trading here. Alternatively, if your friends aren’t much into Dia de los Muertos, you can find lots of other charm options for locking stitch markers on Oriental Trading here.

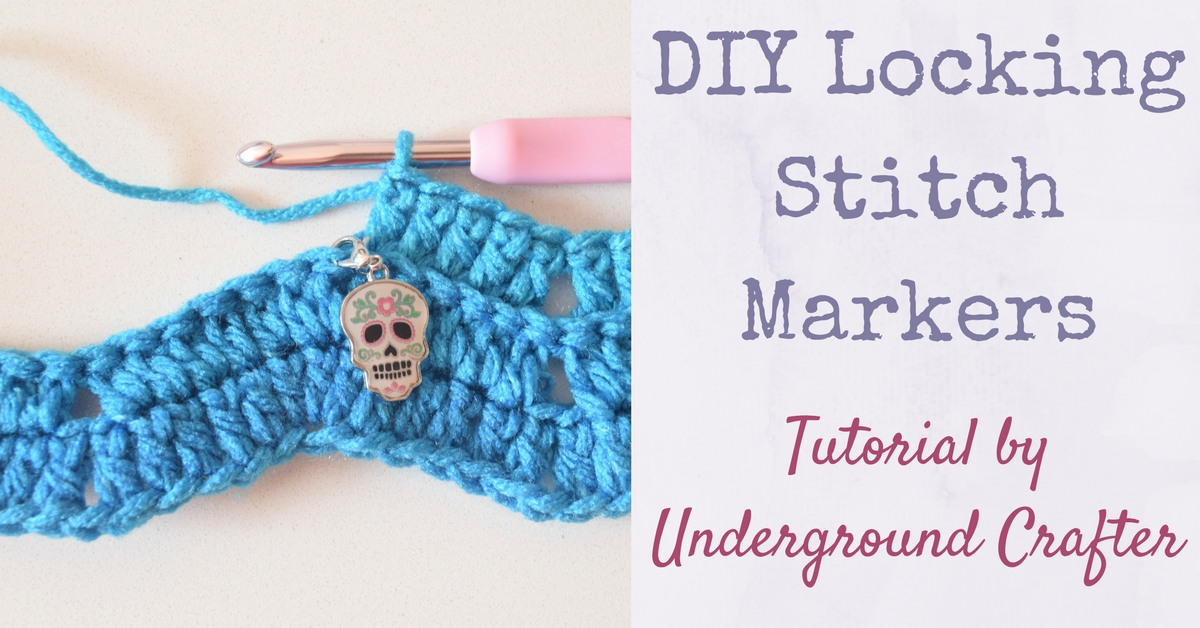
DIY Locking Stitch Markers for Crochet and Knitting
Tutorial by Underground Crafter
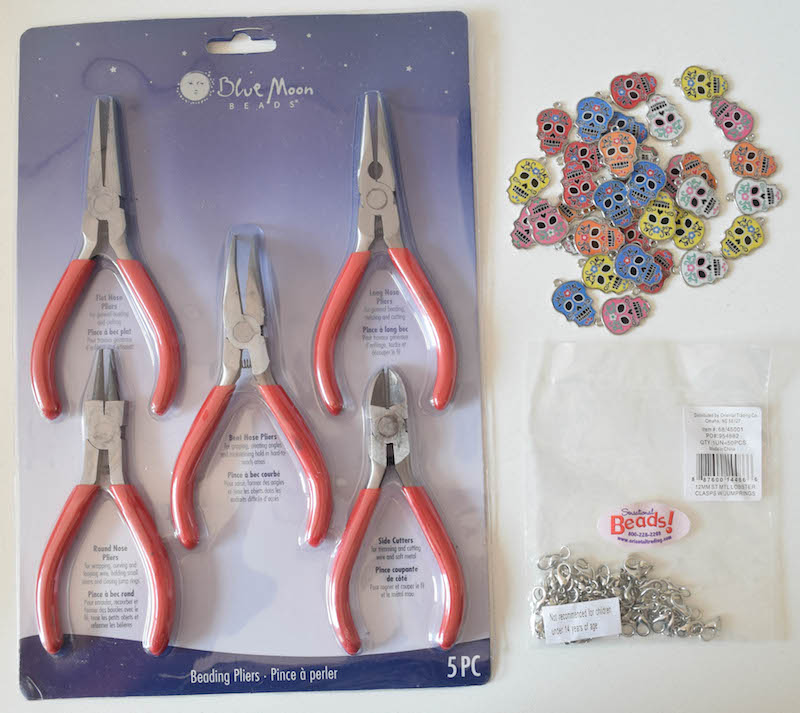
Materials
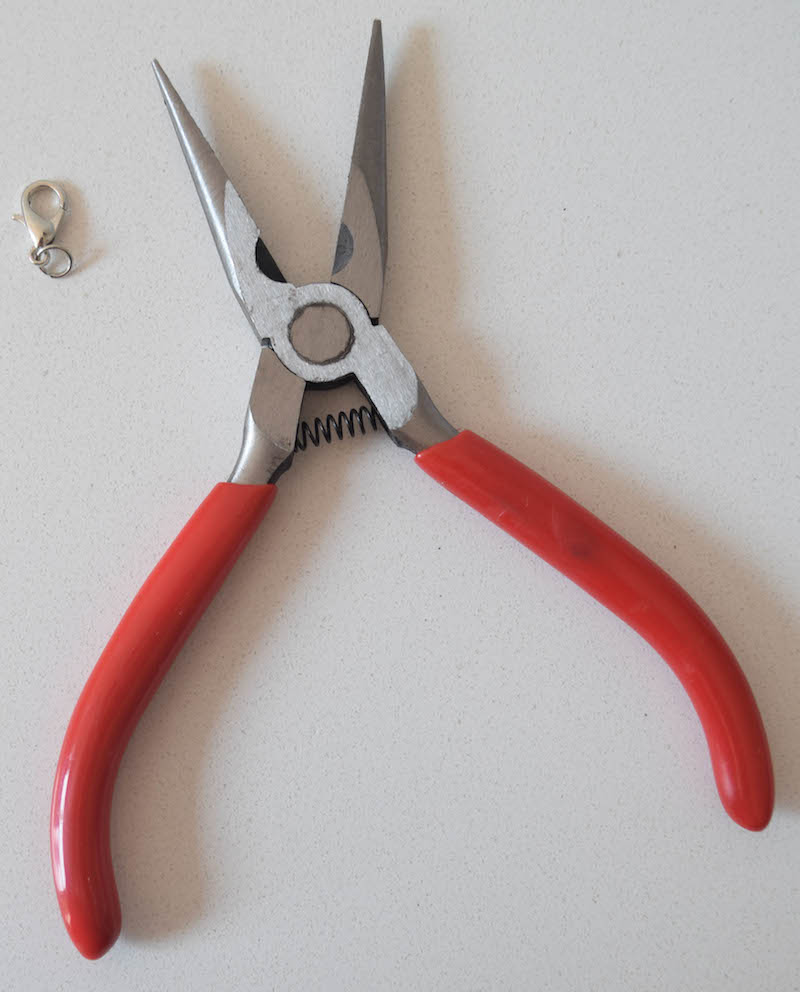
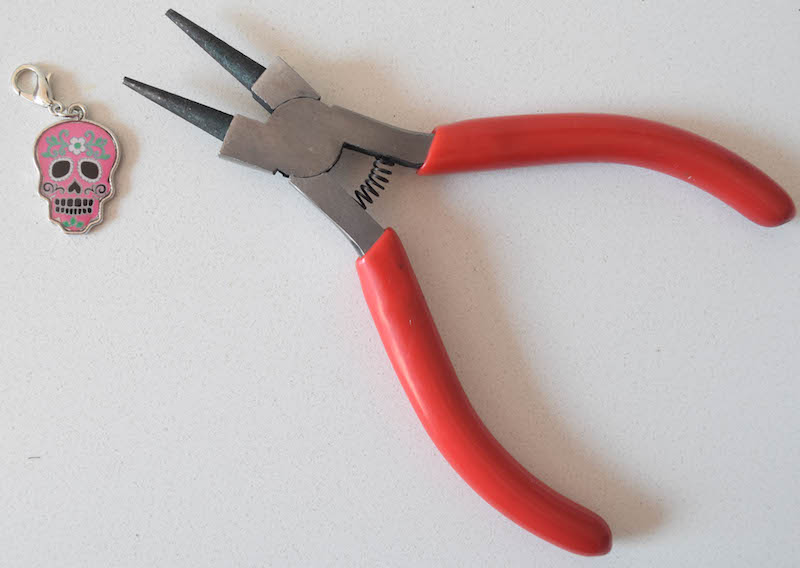
- Long Nose Pliers and Round Nose Pliers (I used the ones from this Jeweler’s Plier Set).
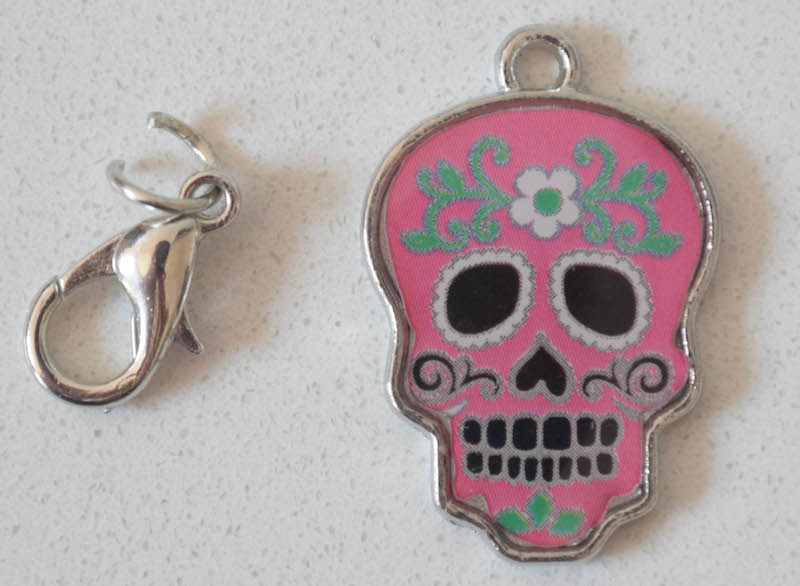
- 6 – Day of the Dead Enamel Charms.
- 6 – 12 mm Lobster Clasps with Jump Rings.
 Instructions
- With Long Nose Pliers, gently spread apart jump ring to open.
- Slip charm onto jump ring.
- With Round Nose Pliers, place gentle pressure on jump ring, working around until it closes tightly.
Repeat with the other 5 charms.
Seriously, that’s all it takes! If you forget which pliers to use, just read the package. That’s how I learned which pliers were best for opening and closing jump rings.
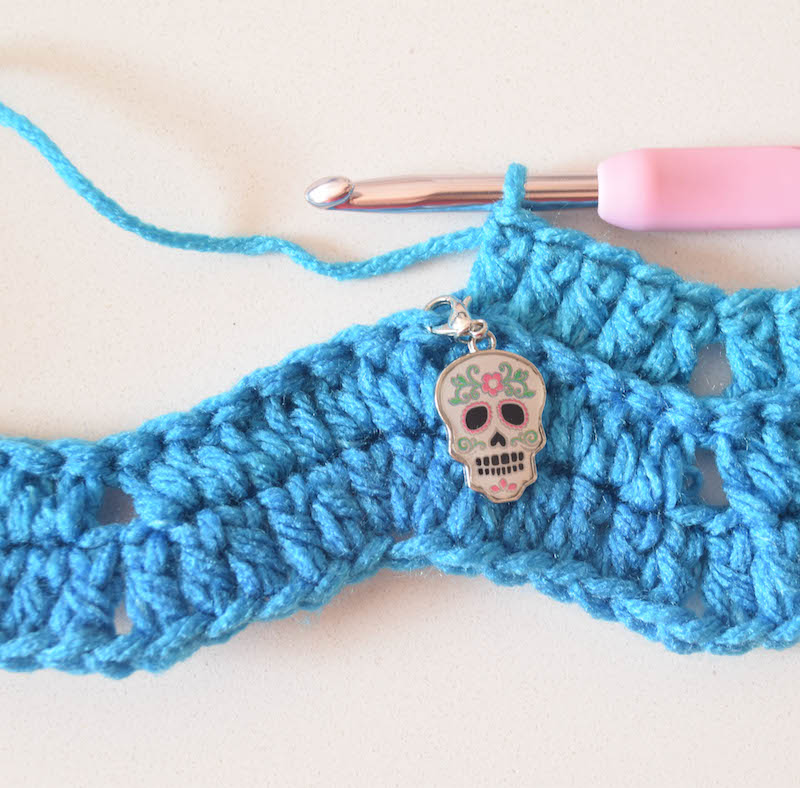
To use your locking stitch markers, just press on the lobster clasp until it opens and place it over your stitch. Do the same thing to remove the marker.
 If you make your own DIY Locking Stitch Markers, I’d love to see them! Share your progress and questions by tagging me on Facebook as @Underground Crafter, Instragram as @ucrafter, or Twitter as @ucrafter. You can also share a picture in the Underground Crafters Facebook group. Sign up for my weekly newsletter and get a coupon code for your choice of one of my premium patterns and other subscriber goodies. Plus, you’ll never miss one of my tutorials patterns again!
These are really cute! I didn’t remember that Oriental Trading sold charms or jewelry findings.
Anyway, I usually have more than one project going at the same time and I sometimes want to use the same “favorite” hook. So I decided to make stitch markers with alphabet beads, split rings, and lobster clasps. They aren’t very fancy but sure work great for holding my place, marking a round, and especially identifying what size hook I was using.