

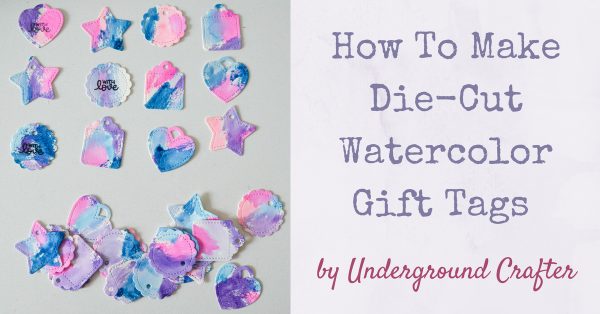
 If you love the look of watercolor, you’ll love this easy peasy die-cutting project. These watercolor gift tags are the perfect final touch to your handmade gifts! They also make great price tags for craft fairs.
This post contains affiliate links. I may receive compensation (at no added cost to you) if you make a purchase using these links. Materials for this project were generously provided by Cricut and Darice.
Last week, I shared my review of the Cricut Cuttlebug, and today I’m sharing my first tutorial. I’m always on the look out for super cute gift tags to go with my handmade gifts and recently I’ve been loving the watercolor and brush lettering trend. However… I’m just not any good at making stunning watercolors and even after taking a class with the very talented Persia Lou last year, I have yet to become a brush lettering expert. (Apparently, I’m supposed to practice??!!) I still had some of the supplies left from the class (because maybe by sitting in my closet, they will magically transform me into an brush lettering pro), and I decided to make a very small watercolor project where my lack of skills would not impede me in any way. I can confidently declare that this is TRULY a beginner-friendly project!

How To Make Die-Cut Watercolor Gift Tags
Tutorial by Underground Crafter
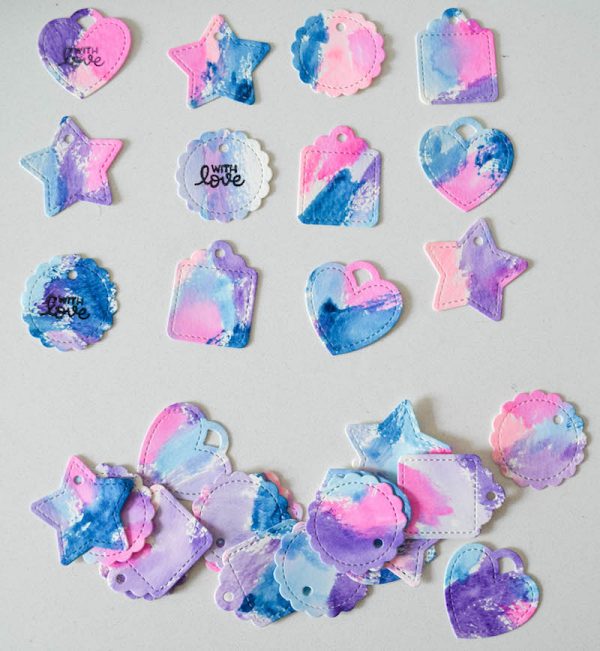
 To customize your version, use different colors of paint or ink, or use a different set of dies and stamps. I was able to get about 30 tags from a single piece of 9” x 12” watercolor paper, but you may be able to make more or less if you use a different set of dies. If you’re using these as price tags at a craft fair, use colors that match your logo or booth set up.
Materials
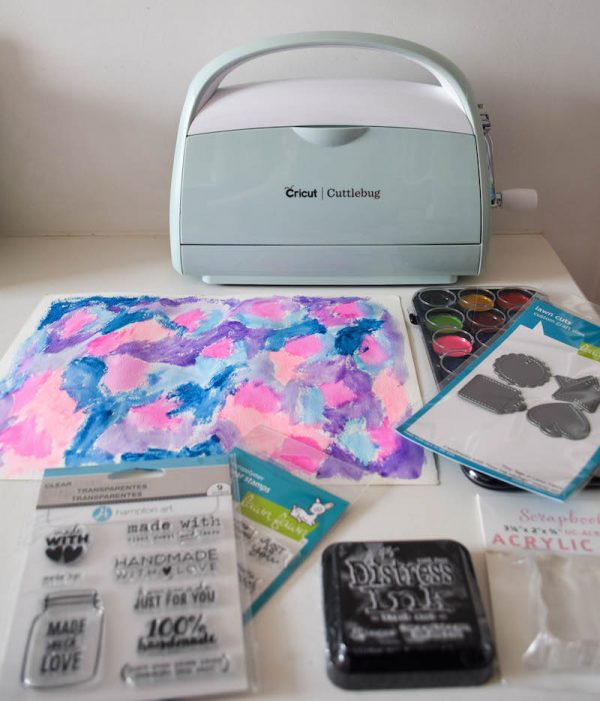
- Cricut Cuttlebug with Plate A Spacer, both (2) Plate B Spacers, and Mat.
- Studio 71 Watercolor Pad Pad.
- Darice Watercolor Set with Brush.
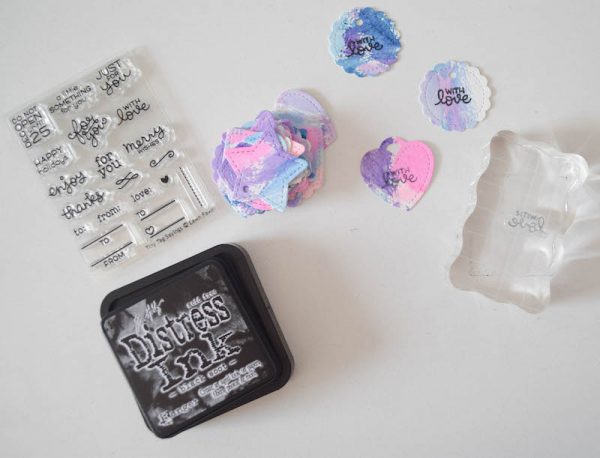
- Lawn Fawn Tiny Tags Dies and Tiny Tag Sayings Stamps. (You can also see the Hampton Art Made with Love Stamps in the picture, but I didn’t end up using those for this project.)
- Tim Holtz Distress Ink Pad – Black Soot.
- Scrapbook.com Acrylic Stamp Block.
- Cricut Essential Tool Set, or scissors, weeder, and tweezers.
- Small amounts of scrap yarn or twine.
Instructions
Prepare Your Watercolor Paper
- Since your watercolor paper will end up cut into lots of small pieces, it doesn’t have to be perfect! My method was to start with one color and paint random splotches all around the page, then move on to the next color and do the same thing. I kept repeating this (I used 5 colors in all) and then at the end, I went back and filled in any little spaces that weren’t painted.
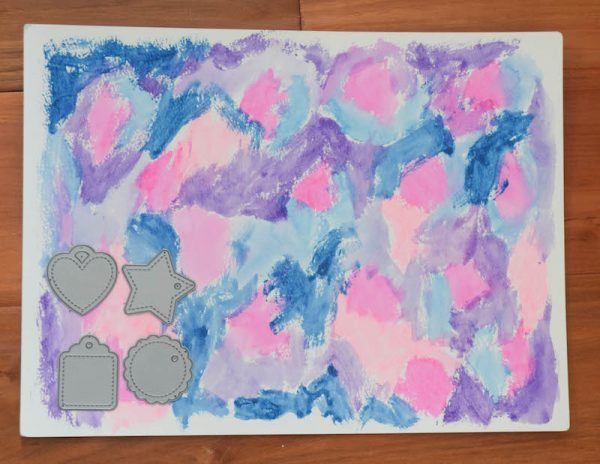
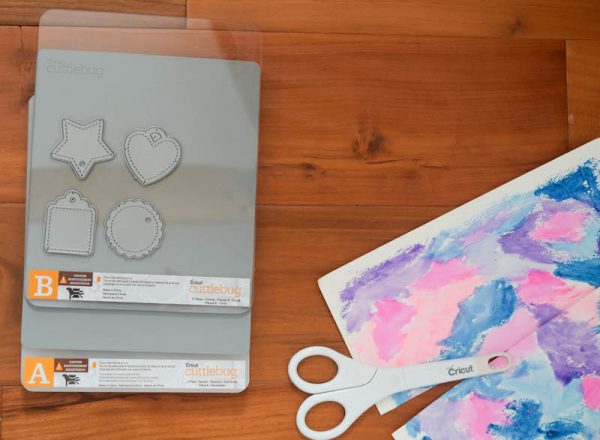
- Cut your watercolor paper down into strips. To minimize paper waste, I placed the dies on top first to see how much cutting area I would need. You could also cut these into 6” strips to fit into your Cuttlebug’s cutting area.

Layer your “Sandwich”
- Start with Plate A at the bottom.
- Position your Mat on top of Plate A.
- Position one Plate B on top of the Mat.
- Place your Tiny Tags Dies face up (textured side up) on top of Plate B.
- Position your watercolor paper strips face down (wrong side up) on top of the Dies.
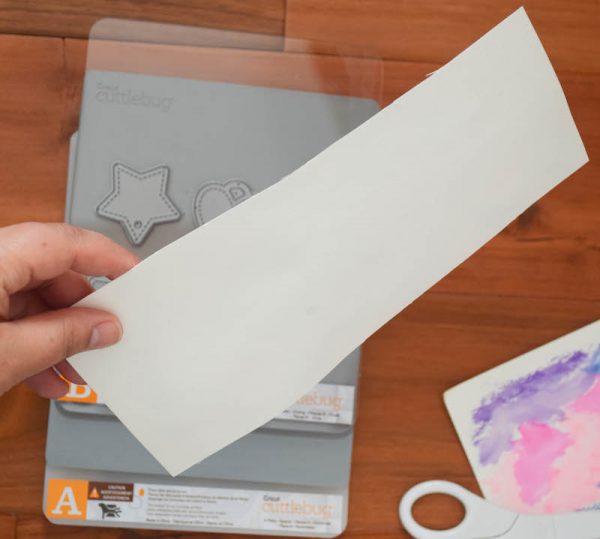
- Position your second Plate B on top of your paper.
Crank and Repeat!
- Crank your Cuttlebug so the dies cut through the paper.
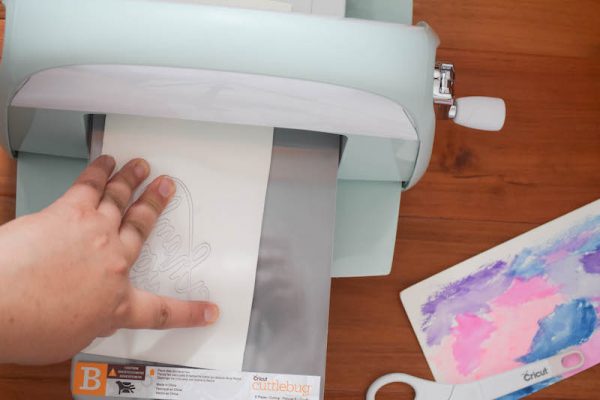
- After each pass through the machine, you can reposition the dies, paper, and second Plate B as described above to continue cutting.
Decorate and Finish
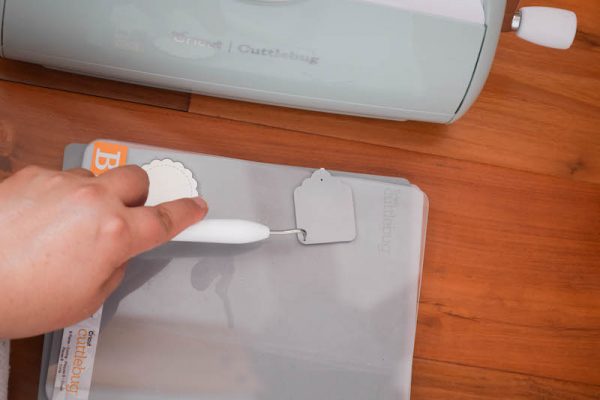
- After you cut all of your tags, use your tweezer to lift your tags off the dies…
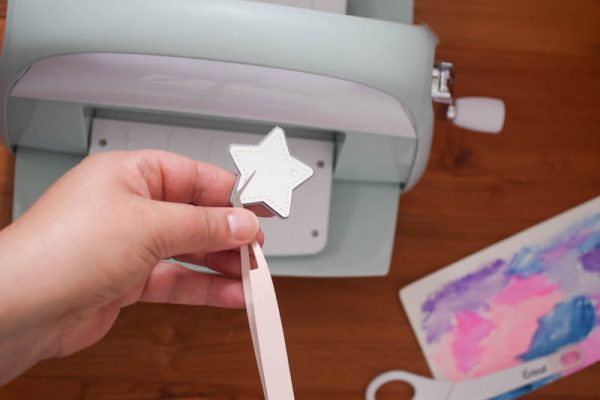
- …or your weeder to easily pop your tags out of the die by poking it through the little holes in the die on the wrong side.
- Position your Tiny Tag Sayings Stamps on your Acrylic Stamp Block.
- Place the stamps on your Ink Pad, then stamp your tags.
- When you’re ready to gift, thread your yarn through the tag holes and tie to your gift or to your products for sale at a craft fair.
1 thought on “How To Make Die-Cut Watercolor Gift Tags”