
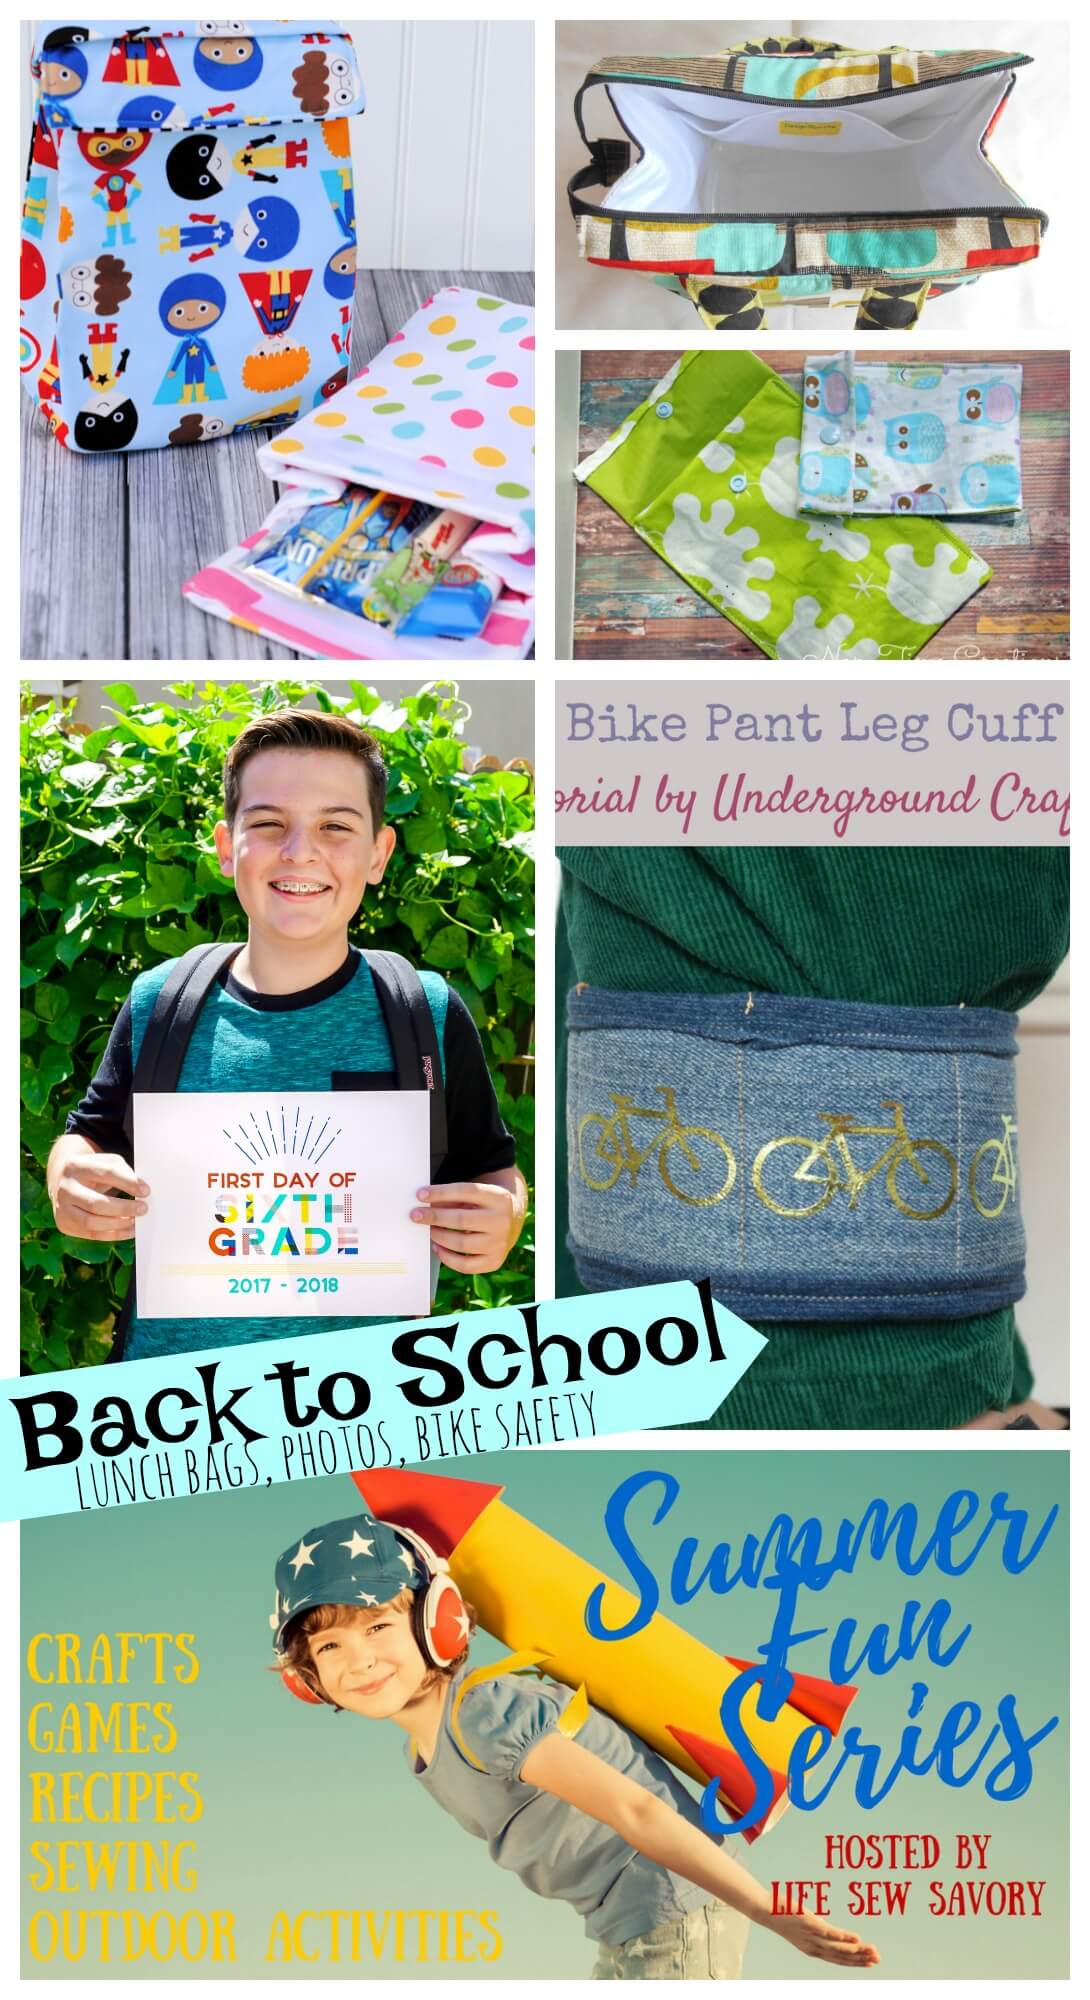
I’m joining Emily from Life Sew Savory again this year for her annual Summer Fun Series. This week’s theme is back to school. When I think of back to school, I always think about getting new clothes. Updating your wardrobe comes with two challenges: deciding whether to repurpose, pass down, or donate the old clothes, and figuring out how to keep your new clothes in good shape for as long as possible! With both of those things in mind, I came up with today’s tutorial for a bike pant leg cuff made with upcycled denim. You can use up some old jeans while also protecting your new pants from getting caught in your bike’s chain.
This post contains affiliate links. I may receive compensation (at no added cost to you) if you make a purchase using these links. Materials for this project were provided by Cricut, Fairfield World, Fiskars, and VELCRO® Brand.
I didn’t want to go with plain denim, though, so I decided to fancy up these cuffs with some foil iron-on. At the same time, I wanted to create a project that was quick and easy, so I didn’t make these with the same care as I would for an heirloom quilt. I actually simplified the process by using iron-on fasteners and binding the cuff with the backing. This is a straightforward, fast sewing project that you can make even if you’ve never “quilted” (and, I use that word lightly here) before.
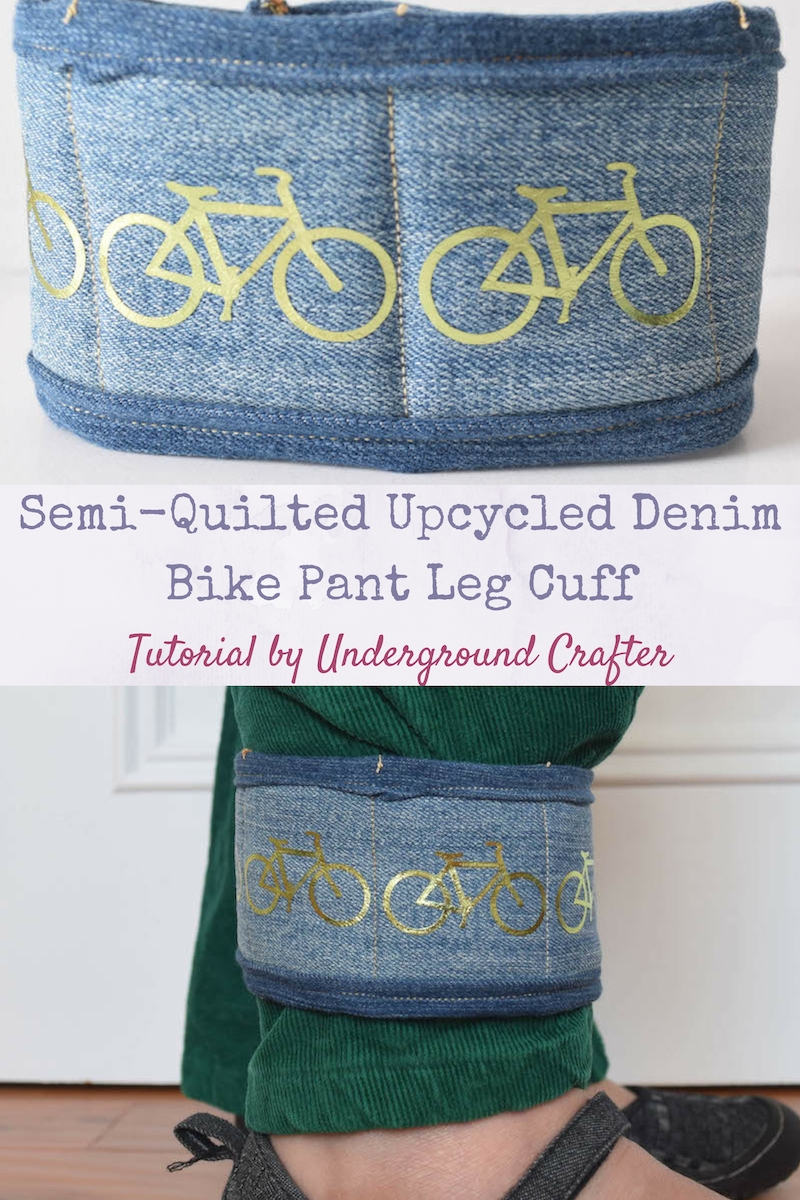
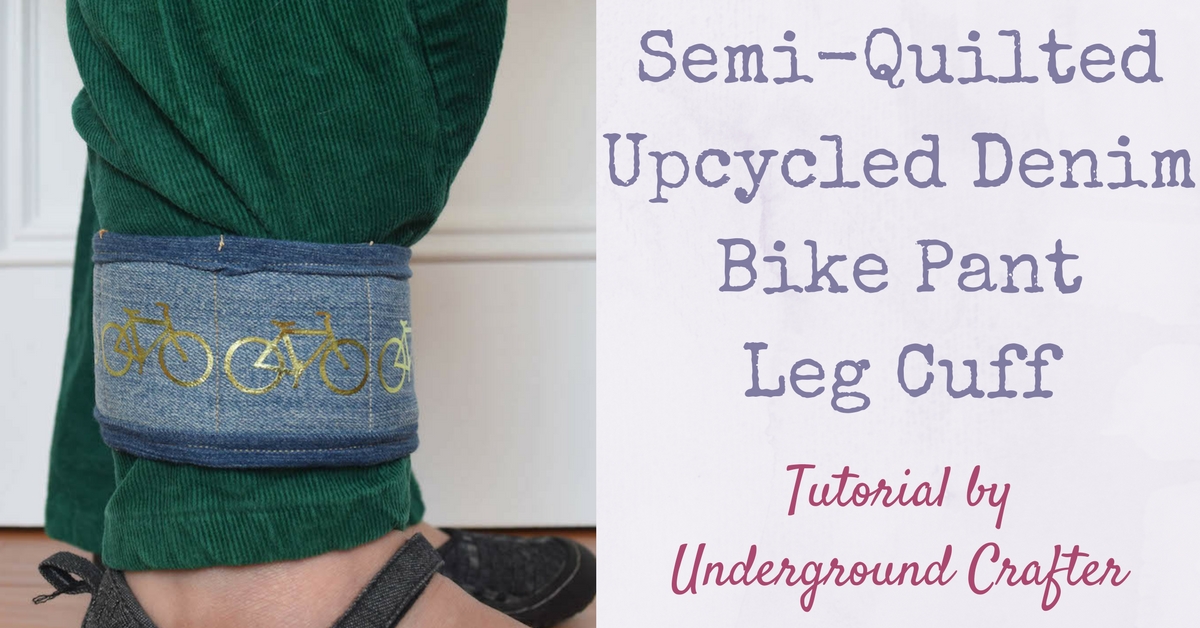
Semi-Quilted Upcycled Denim Bike Pant Leg Cuff
Sewing Tutorial by Underground Crafter
Wearing a bike cuff is a great way to keep your pant leg out of your bike’s chain so you can avoid damaging your clothes or having an accident. This simple, lightly quilted project is easy enough for a sewing or quilting beginner. (The instructions are long because I wrote out all the details for a newbie sewist, not because it’s a complex project. You can make several of these in an hour or so.)
Materials
- Cricut Explore with Cricut Design Space and Cricut Access.
- StandardGrip cutting mat (I used the one from the Cutting Mat Variety 3 pack).
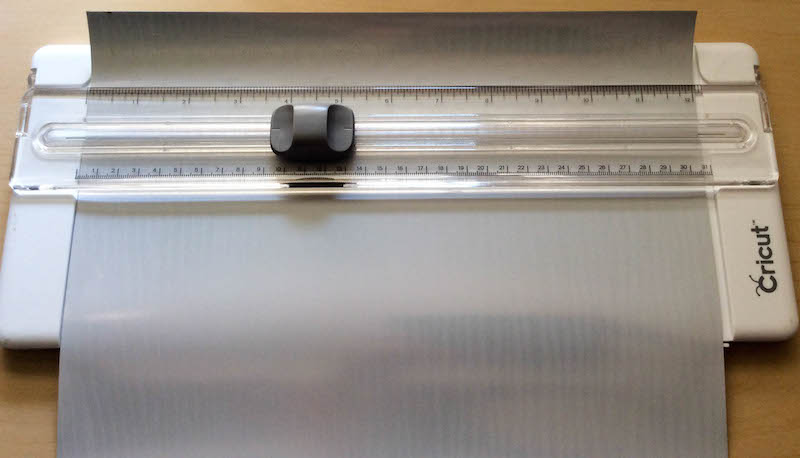
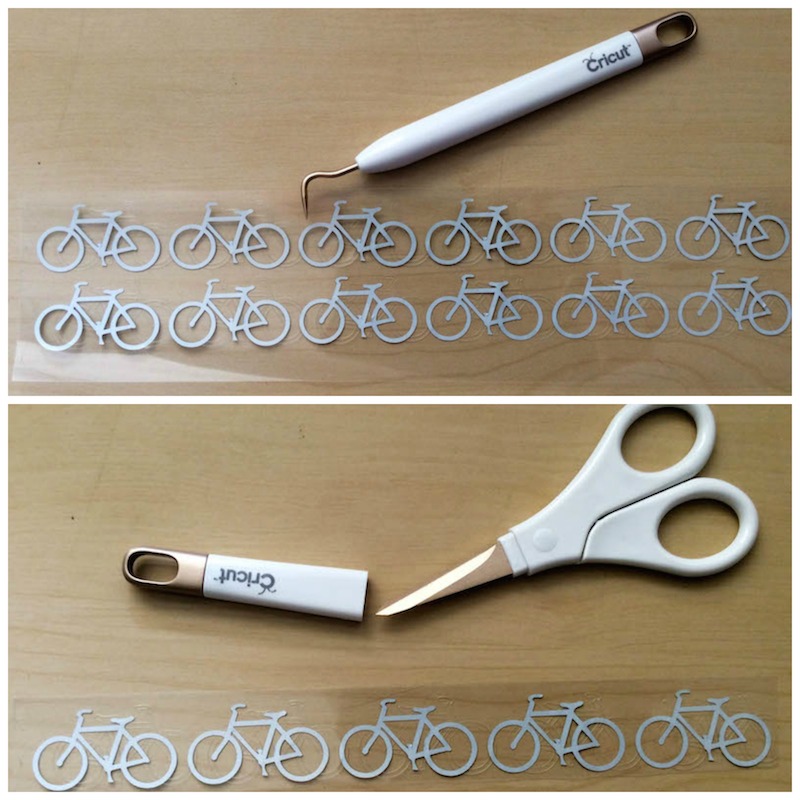
- Cricut weeder, trimmer, and scissors (I used the ones from my Cricut Gold Tools and Trimmer Set).
- Cricut Foil Iron-on (I used part of one 12” x 12” sheet from the Spring Meadow Sampler).
- Bicycle cut file in Cricut Design Space.
- A pair of jeans destined for the scrap pile. (I used parts from the front leg piece of two different pairs of jeans so I could have contrast between the front and the back pieces, but you could use just one pair of jeans.) For best results, machine wash and dry the jeans before starting.
- Fairfield World Poly-Fil Low-Loft Quilt Batting (I cut a piece from this 45” x 60” package).
- Fiskars 45 mm Easy Change Ergo Control Rotary Cutter, Fiskars 18″ x 24″ Self-Healing Rotary Cutting Mat, and Fiskars 6″ x 24″ Acrylic Ruler; OR Fiskars fabric shears, ruler, and a fabric marking pencil (and lots more patience).
- An iron and an ironing board or other iron-safe surface.
- Non-stick pressing sheet.
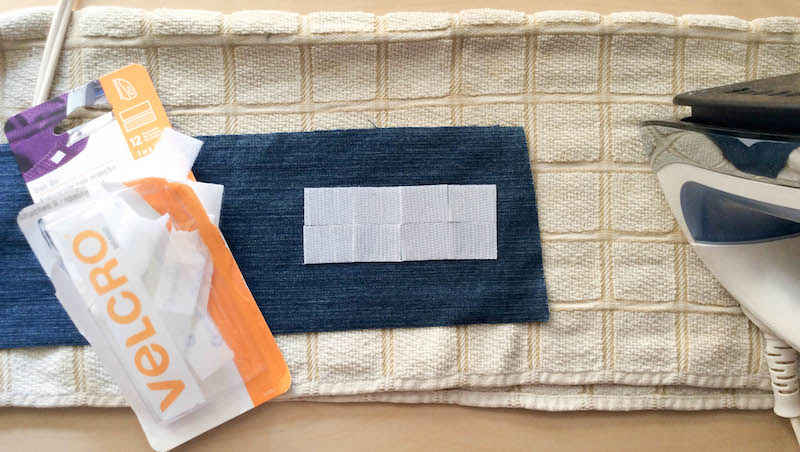
- VELCRO® Brand Iron On 1 in x ¾ in Rectangles – 12 Sets – White.
- A sewing machine or sturdy, hand sewing needle (to work through the denim) with cotton thread.
- Basic sewing supplies (i.e., fabric scissors, seam ripper, pins, fabric pencil/marker, etc.).
Instructions
Cut foil iron-on embellishment
- Open the bicycle cut file in Cricut Design Space. I only used 5 bicycles for the final project, but I cut twelve because they’re adorable and I will use them for another project later. You can remove any bicycles you don’t plan to use (or add more) and your Cricut will automatically position them to minimize cutting space.
- Prepare your Cricut Foil Iron-on on your cutting mat with the liner (colorful, shiny) side down and the clear, carrier sheet side up.
- Set your Cricut’s pressure setting wheel to Custom. Choose “Foil Iron-On” from the drop down menu. I didn’t select “Mirror Image for Iron-On” for my version because I wasn’t concerned about the bike’s direction.
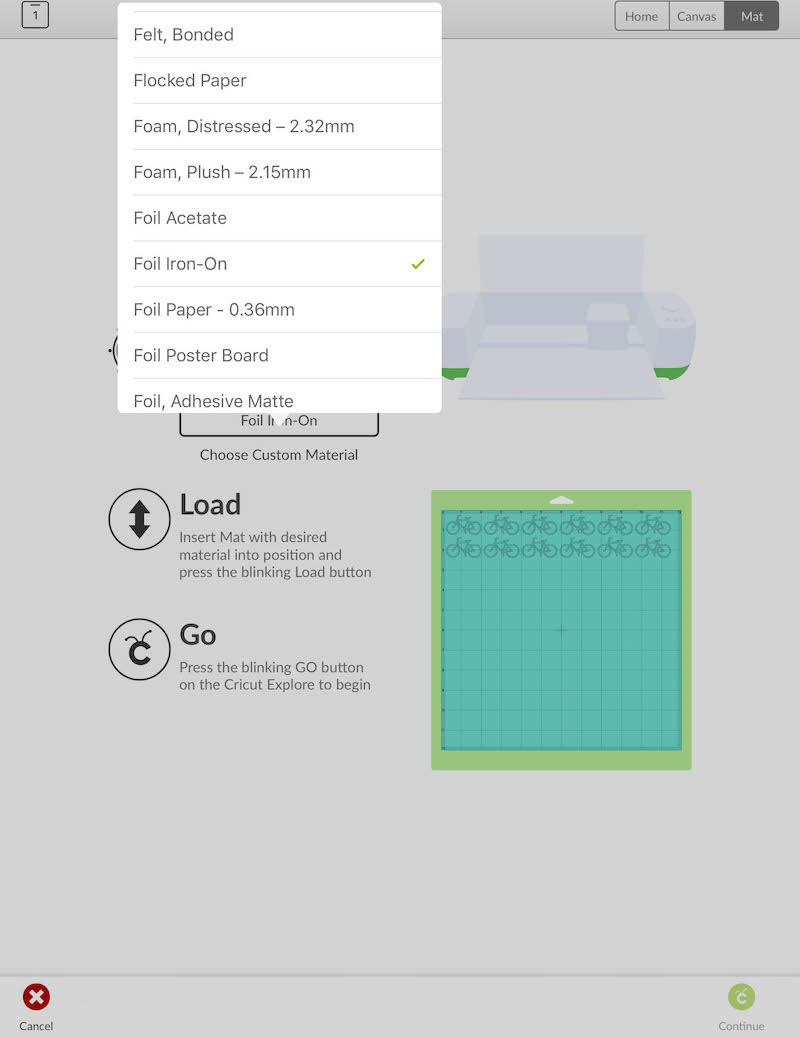
- Choose “Go” and follow the instructions for cutting.
- Once your iron-on sheet is cut, remove it from the mat.
Weed iron-on
- With your trimmer or scissors, trim the iron-sheet down. Set aside uncut piece of iron-on for another use.
- With the weeder, gently remove excess iron-on to expose your bicycles.
- Set aside your weeded iron-on and cut fabric.
Cut fabric
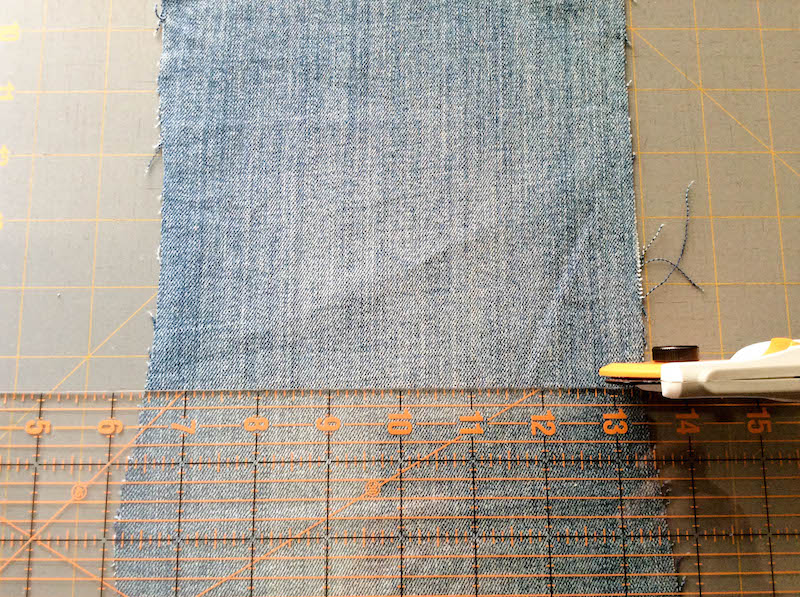
- With Easy Change Ergo Control Rotary Cutter, cutting mat, and acrylic ruler, cut 2 pieces of denim as follows.
- Front piece: 16” (40.5 cm) x 2.5” (6.5 cm). This will be trimmed down to 15” (38 cm) x 2” (5 cm) later.
- According to this tutorial, here’s how you would customize the length to fit a smaller or larger leg: With a pair of pants on, measure the circumference of the part of your lower leg where you would wear the cuff. Add 5” (13 cm) to the length of your measurement. Cut the piece of denim to that length. The final piece will be trimmed down to your measurement plus 4” (10 cm).
- Back piece: 18” (46 cm) x 4.5” (11.5 cm). This will be trimmed down to 17” (43 cm) x 4” (10 cm) later.
- If you customized the measurement of the front piece, cut this piece to be 2” (5 cm) longer than your front piece. It will be trimmed down to your measurement plus 6” (15 cm) later.
- Cut 1 piece of batting to the same measurement as the front piece of denim.
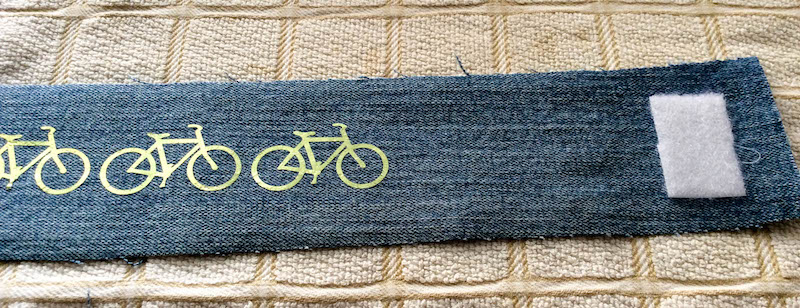
Iron on your embellishment
- Set the front piece of your denim on the ironing board.
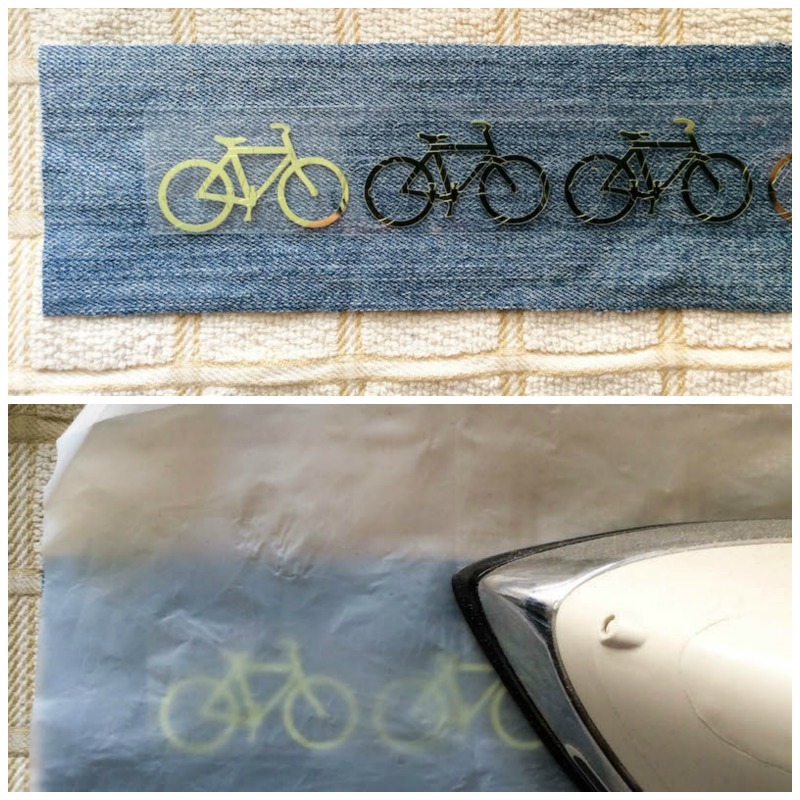
- Position your Foil Iron-on on the front piece of your denim with the liner side up (so the colorful bicycle image is facing you):
- Center the width of the bicycles within the center 2” (5 cm) of the front piece.
- Leave at least 1” (2.5 cm) at one short edge and at least 5” (13 cm) at the other short edge unembellished. (In other words, do not apply iron-on there.)
- Set your iron on the cotton setting.
- Place the the non-stick pressing sheet above the Foil Iron-on. Press firmly for about 30 seconds. Remove the iron. You will be able to see the iron-on removing itself from the liner. If it still seems firmly affixed to the liner, repeat holding the iron over the pressing sheet for another 30 seconds.
- Remove the iron and the pressing sheet and let the liner cool. Once it is cool, remove the liner and your bicycles will be affixed to your denim.
Iron on your fasteners
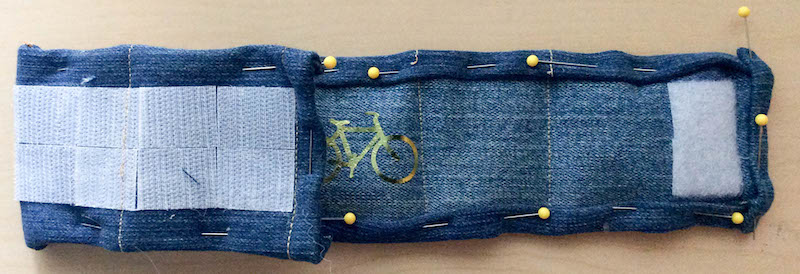
- Set the back piece of your denim on the ironing board.
- Position your VELCRO® Brand Iron On fasteners with the “loop” (soft) side up on the back piece. (This is actually not what is shown in the picture but I realized later that since the back piece is the side that touches your pants, it would be best to use the “loop” side instead of the “hook” side.)
- Center the fasteners within the center 2” (5 cm) of the back piece.
- Leaving at least 1” (2.5 cm) at one short edge, remove the adhesive backing and position the fasteners in a 2 x 4 layout as shown below.
- Set your iron on the cotton setting.
- Place the the non-stick pressing sheet above the VELCRO® Brand Iron On. Press firmly for about 90 seconds. Remove the iron and let the piece cool.
- For the front piece of denim, position your VELCRO® Brand Iron On fasteners with the “hook” (textured) side up on the front piece. (This is actually not what is shown in the picture as noted above.)
- Center the fasteners within the center 2” (5 cm) of the front piece.
- Leaving about ½” (1.5 cm) at the short edge opposite the bicycle iron-on, remove the adhesive backing and position the fasteners in a 1 x 2 layout as shown below.
- Set your iron on the cotton setting.
- Place the the non-stick pressing sheet above the VELCRO® Brand Iron On. Press firmly for about 90 seconds. Remove the iron and let the piece cool.
Quilt layers together
- Assemble a “quilt sandwich” as follows:
- Place the back piece of denim face down (so that the side with the VELCRO® Brand Iron On is facing away from you).
- Center the Fairfield World batting on top of the back piece of denim.
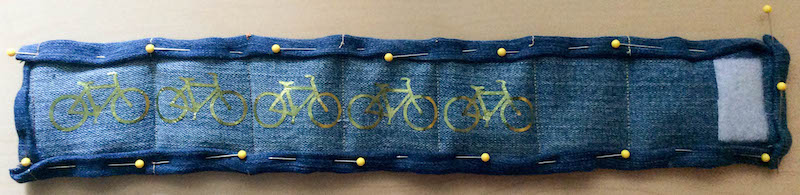
- Center the front piece of denim on top of the batting with the right side facing you.

- Be sure that the VELCRO® Brand Iron On on the back piece of denim is not on the same short edge as the fastener on the front piece of denim.
- Pin pieces together.
- Starting with the back piece of denim facing up and using a straight stitch, sew through all three layers along the outer edge of the fasteners to anchor the piece.
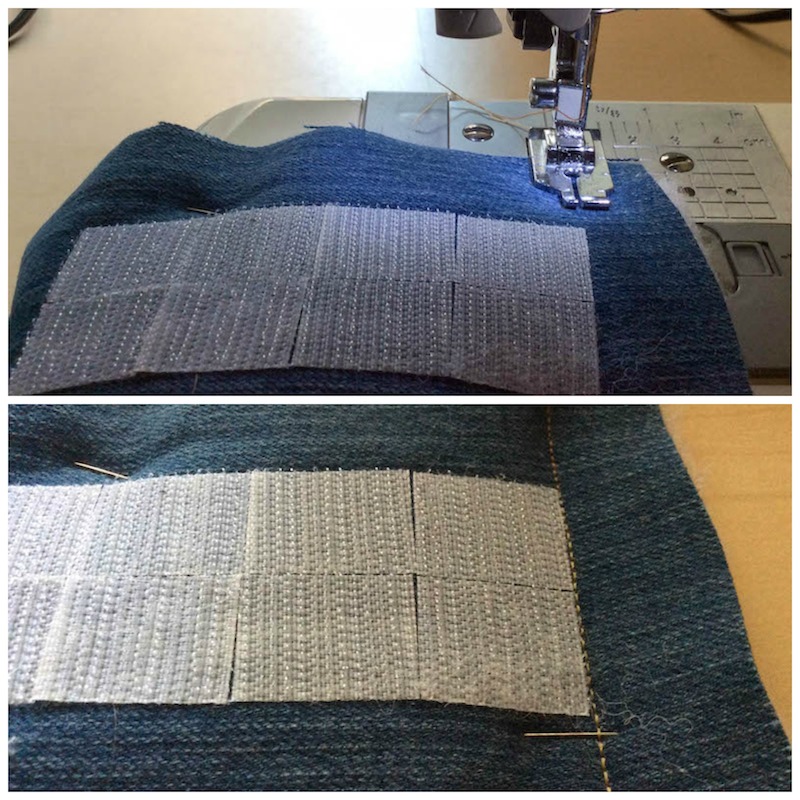
- Turn so the front piece of denim is facing up. Using a straight stitch, sew from the lower edge of the front piece to the top edge of the front piece between each bicycles, going through all 3 layers.
- Continue working across front piece in this manner, spacing out stitches after ironed on bicycles as shown below.

Trim to final measurements
- Mark the the front piece of denim to the final measurements described above, being sure to leave at least ½” (1.5 cm) clearance around the VELCRO® Brand fasteners on the edges.
- Trim the front piece of denim and the batting to the final measurements.
- Mark the back piece of denim to measure 1” (2.5 cm) larger than the front piece on each side. Trim to final size.
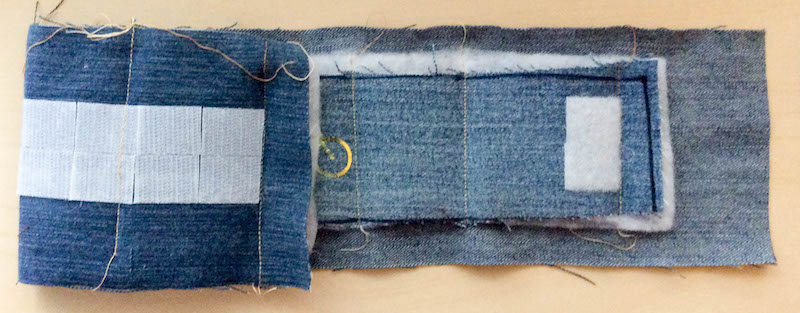
Prepare binding
- Starting with one of the long sides, fold the side of the back piece in half, pressing down with your fingers. (If your denim is unruly, you may want to iron these edges once you fold in half.)
- Fold the half piece in half again, so that the folded back piece folds over the front piece. Pin into position as shown below.
- Continue to prepare each side until the leg cuff is pinned on all 4 sides. Be sure that your fasteners on each side are not covered by the backing.
- With the front side facing up and using a straight stitch, sew through all layers of the binding, being sure to secure it to the front piece. Backstitch in the corners to secure. (I used a Quarter Inch Presser Foot to do this, but you could use another foot while keeping the seam narrow.)

Finishing
- Trim off loose threads and wear!
I hope you enjoyed this tutorial. You can find more back-to-school projects by following the links below.

- Crochet Pattern: Fantail Pencil (or Crochet Hook) Case with No-Sew Liner by Underground Crafter
- Semi-Quilted Bike Pant Leg Cuff Tutorial by Underground Crafter (you are here)
- First Day of School Printables by Hey Let’s Make Stuff
- 20 Lunch Bag/Sack Sewing Patterns and Tutorials by Life Sew Savory
- Check out all the other fun posts in this year’s summer fun series HERE.
The Semi-Quilted Bike Pant Leg Cuff is also featured on AllFreeSewing.com. Sign up for their free newsletter to get free patterns sent to you daily!
3 thoughts on “Semi-Quilted Bike Pant Leg Cuff Tutorial”