
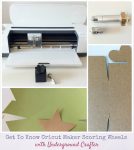

I’m kicking off a series of posts about a new set of Cricut tools, the Scoring Wheel and Double Scoring Wheel, that will make it much easier (and more precise) to make folds in your projects. These Scoring Wheels can even turn a papercrafts newbie like me (or you?) into a pro!
This post contains affiliate links. I may receive compensation (at no added cost to you) if you make a purchase using these links. This post is part of a series sponsored by Cricut, but all opinions and thoughts are my own.
If you’ve been reading my blog for a while, you know that I’ve been pining for a Cricut Maker for almost a year. When Cricut offered me the opportunity to get a Cricut Maker AND try out its latest tools, the Scoring Wheel and Double Scoring Wheel, I knew I had to say yes. If you can believe it, I’ve been keeping this whole thing a secret since MAY (that’s two months, people!). I’m so excited to share the news about the Scoring Wheels today as the start to a three-part series about these new tools.
About the the Scoring Wheel and Double Scoring Wheel
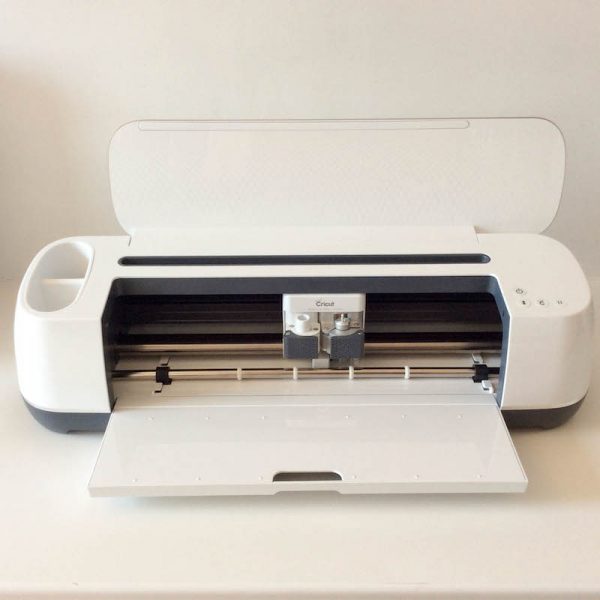
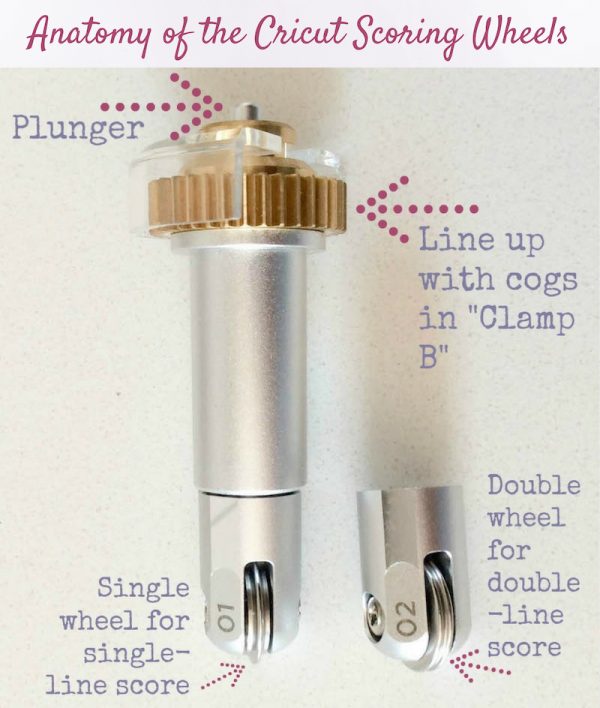
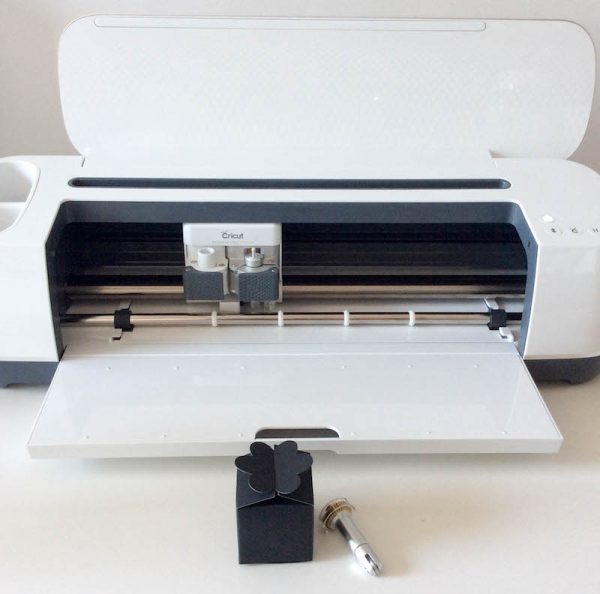
The Scoring Wheel and Double Scoring Wheel are scoring tools for the Cricut Maker.
Both are part of the Maker’s Adaptive Tool System and can be used in “Clamp B.” The Scoring Wheels are about the size of a cutting blade with housing. Both Scoring Wheels share the same housing, so you can swap them out by pushing on the plunger at the top until the Scoring Wheel in the housing is released. Then, you can snap in the other Scoring Wheel. (Don’t worry, the shape is such that you can’t put either Scoring Wheel in “the wrong way.”)
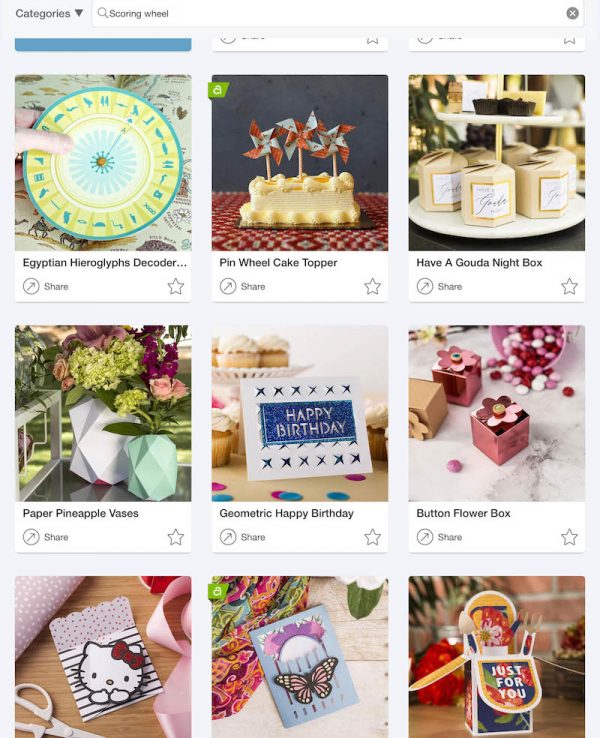
Ok, that’s fascinating and all, but why would you want to use a Scoring Wheel? As the name suggests, it’s all about scoring. If you haven’t done much in the world of papercrafts, you may be wondering “What the heck IS scoring?” It’s the creation of fold lines that make it very easy to make boxes, accordion folds, and really, any other type of fold with a huge range of materials. Here are just a few of the Ready-to-Make projects in Cricut Design Space that require scoring.
The main difference between the two Scoring Wheels is in the type of materials you can use with each one. The “standard” or “single” Scoring Wheel makes a single-line score, so it is best for thinner materials, like paper (including construction paper, handmade paper, origami paper, pearl paper, and wrapping paper), cardstock (including glitter and corrugated cardstock), acetate, and vellum. The Double Scoring Wheel makes a double-line score, so it is ideal for thicker materials that would otherwise be difficult to fold, such as heavy papers (like corrugated paper, watercolor paper, and sparkle paper), heavy cardstocks (like poster board, flat cardboard, kraft board, patterned glitter cardstock, or light chipboard), cork, and craft foam.
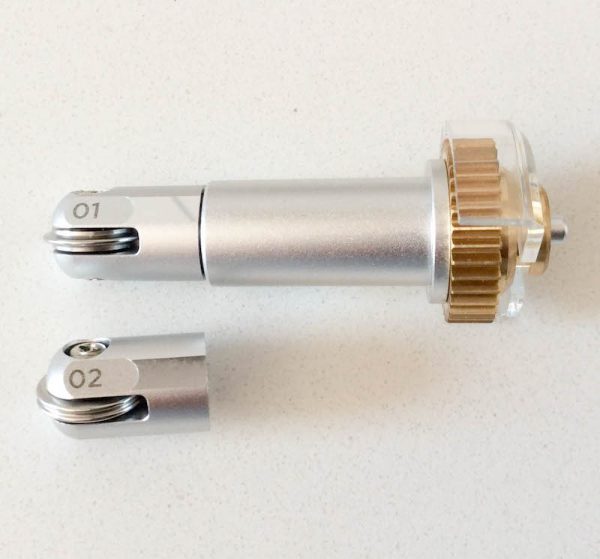
If all of this sounds complicated, don’t worry! Cricut Design Space will let you know exactly which tool you need to use after you indicate what material you plan to cut. The Scoring Wheels have a small number etched on the side: 01 is the Scoring Wheel (since it makes a single-line score) and 02 is the Double Scoring Wheel (since it makes a double-line score).
You can watch the Cricut special with Anna Griffin on HSN for more details. The Scoring Wheels aren’t for sale anywhere else yet, but you can read more about them on the Cricut blog here.
Double Scoring Wheel Project
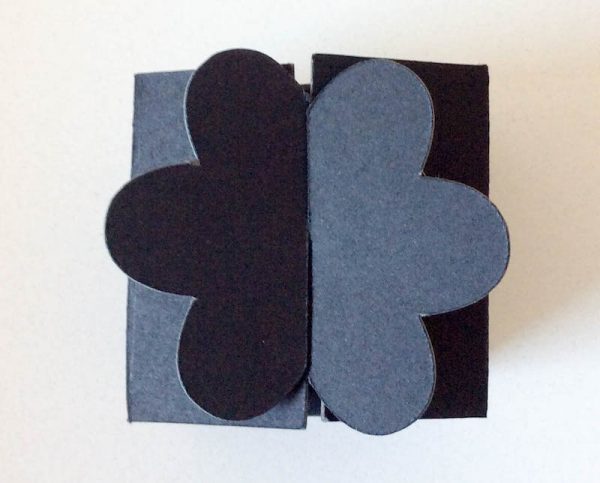
Because I like to live on the edge, I decided to try the Double Scoring Wheel first. I mean, why not! Since the Scoring Wheel selection is determined by material, I wanted to use kraft board. I searched for “scoring wheel” in the Design Space and looked through a few projects. I picked out the Button Flower Box Ready-to-Make project…
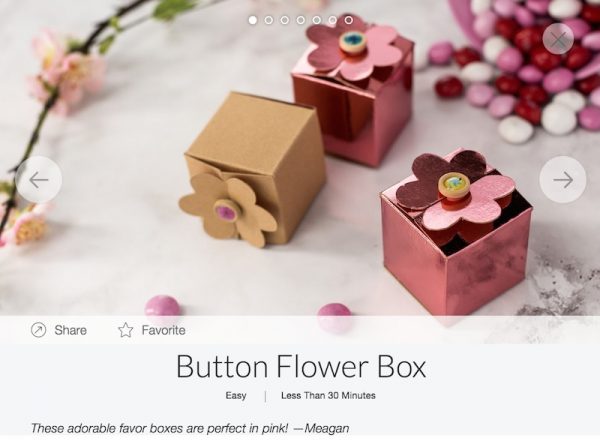
…but I wanted mine to be more elegant – a black tie affair, if you will. For my version, I used:
- Cricut Maker with Cricut Design Space and Cricut Access Standard subscription,
- Kraft Board Sampler – 1 sheet per box,
- the Double Scoring Wheel,
- Premium Fine Point Blade,
- StandardGrip Cutting Mat, and
- Beacon Zip Dry, or any clear glue for paper.
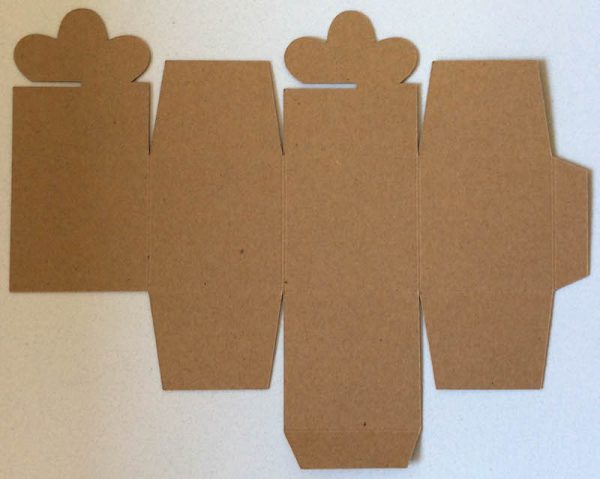
For best results with the Double Scoring Wheel, you should fold INTO the lines. Keep that in mind as you position your material on the cutting mat, since you’ll want the right side to face down.
It turned out that it was a bit harder to photograph the scoring lines in Black (duh!), so I also made a version in Natural.
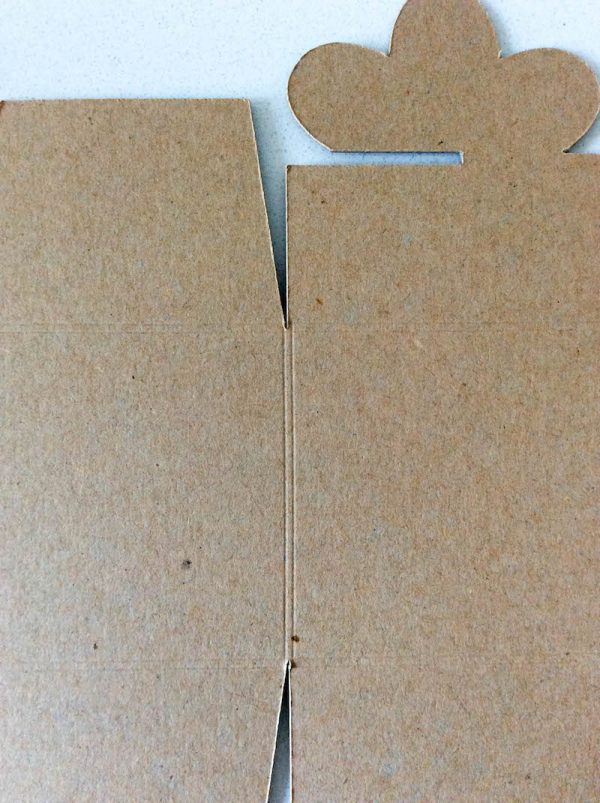
As you can see, the double scoring lines are very close together.
This project was so easy to put together following the instructions in Design Space.
The only change that I made was to make two boxes instead of three. Now to find a tiny gift to put inside each box!
Scoring Wheel Project
Once I used the Double Scoring Wheel, I decided to dive into a more complicated scoring project: the Paper Pineapple Vases Ready-to-Make project with the Scoring Wheel.
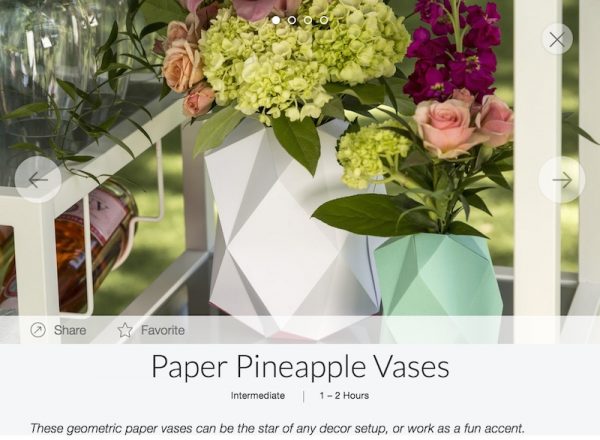
This project cuts four vases – a small (about 3” tall), two medium (about 5” tall), and a large (about 10”). I recommend that you click on Customize first, even if you don’t plan to make any changes, so you can see which colors correspond to which sizes. Things get pretty confusing otherwise!
For my version, I used:
- Cricut Maker with Cricut Design Space and Cricut Access Standard subscription,
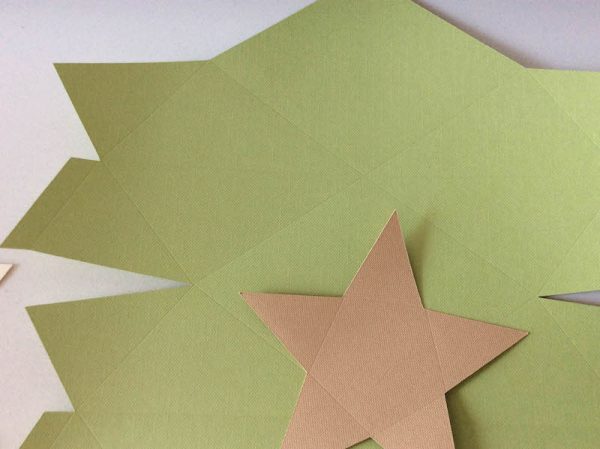
- Cardstock- 9 sheets (12” x 12”) in total – I used a combination of colors from the Sorbet Sampler and the Neutrals Sampler for a more muted, earthy look,

- the Scoring Wheel,
- Premium Fine Point Blade,
- LightGrip Cutting Mat, and
- Beacon Zip Dry, or any clear glue for paper.
I remembered that when cutting thinner materials, I should peel the mat away from the paper rather than peeling the paper from the mat, and so none of the pieces tore.

They were super easy to fold along the score lines, too.
Now to get assembling — and find something pretty to put into those vases. Tune in next week for the rest of this project and more about the Scoring Wheels!
This is a sponsored conversation written by me on behalf of Cricut. The opinions and text are all mine.
1 thought on “Cricut Basics: Get To Know Cricut Maker Scoring Wheels”