

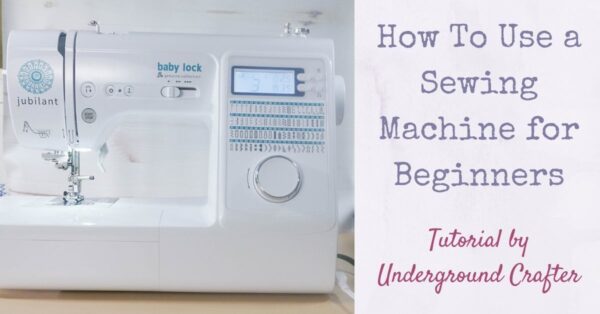
It seems that more and more people are turning to sewing as a way to make useful and beautiful items while relieving stress, so I decided to start a sewing basics series. My first post is for those of you who are new to machine sewing, or who haven’t sewn in a while. I’m sharing how to use a sewing machine for beginners with a step-by-step tutorial.
This post contains affiliate links. I may receive compensation (at no added cost to you) if you make a purchase using these links. This post is sponsored by Baby Lock. All opinions and thoughts are my own. Additional materials for this post were generously provided by Yarnspirations and Fairfield World. Camera was generously provided by B&H Photo Video and Pro Audio.
When I first started using the Baby Lock Jubilant in 2018, I was quite a bit rusty. Since I moved in with MC in 2008, I could count on both hands the number of times I had sewn something and it had been a few years since I had an all day sewing fest. Now that I have a machine that fits my lifestyle and is portable enough to set up and put away quickly in our apartment, I’ve been sewing regularly.
In today’s post, I’m going to share my tips for getting started with a Baby Lock Jubilant or another beginner-friendly sewing machine. By the way, if you haven’t found your perfect sewing machine match yet, check out my unboxing and review of the Jubilant here, or take the Baby Lock Match Maker Quiz here. You can also call, visit, email, or message your local Baby Lock retailer — in my experience, they are usually able to help you find a great sewing machine match by asking a few questions.
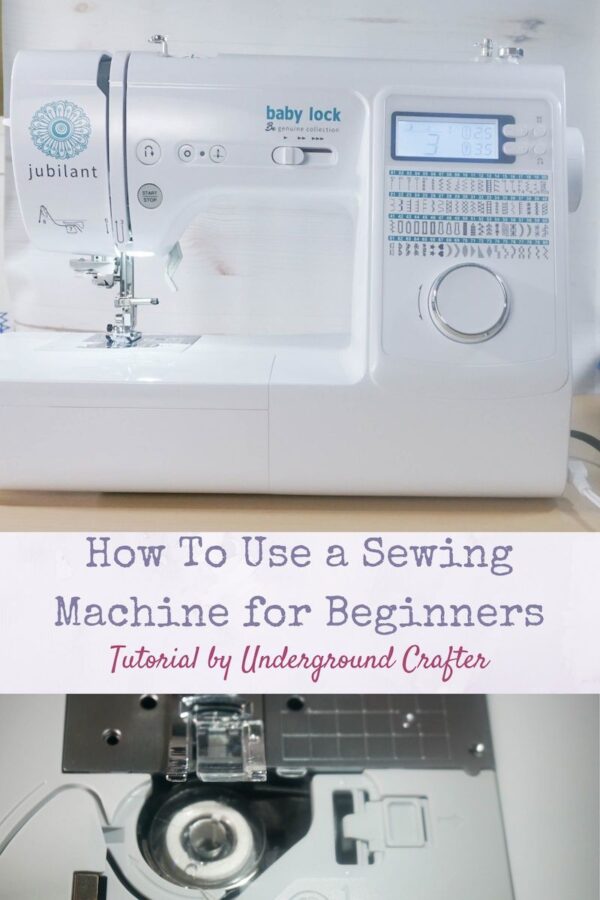
How To Use a Sewing Machine for Beginners
To use your sewing machine for the first time, you’ll need a few basic supplies.
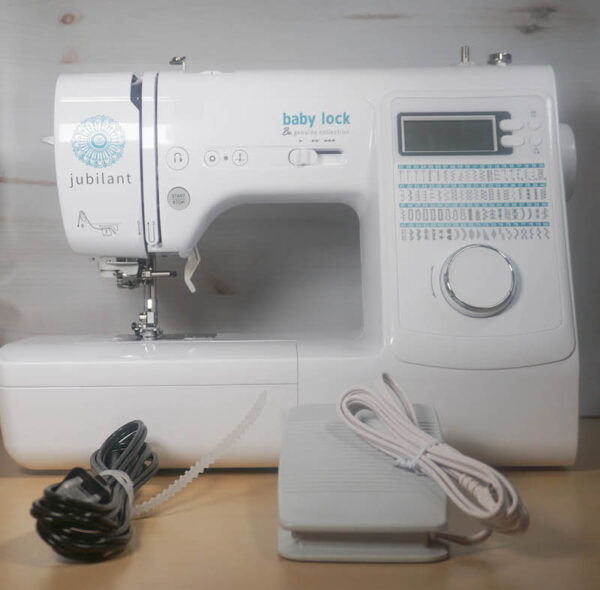
- Baby Lock Jubilant, or another beginner-friendly sewing machine, along with the goodies it came with.
- Sewing machine manual, if available. (You can often find the PDF version of your sewing machine manual online by searching for the [machine name and model] manual.)
- Coats & Clark Cotton Machine Quilting Thread, or any cotton machine sewing thread.
- Small piece of Fairfield Oly-Fun. Alternatively, a small piece of 100% cotton quilting fabric works.
Step 1: Power Up Your Sewing Machine
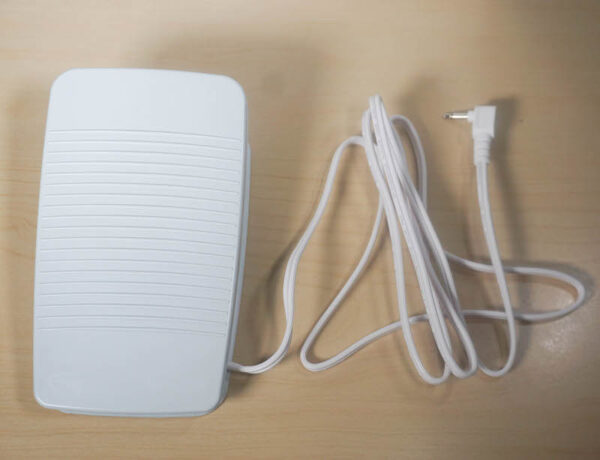
Start by taking your sewing machine, the foot controller (also known as the pedal) and the power cord out of the box or storage case you have it in.
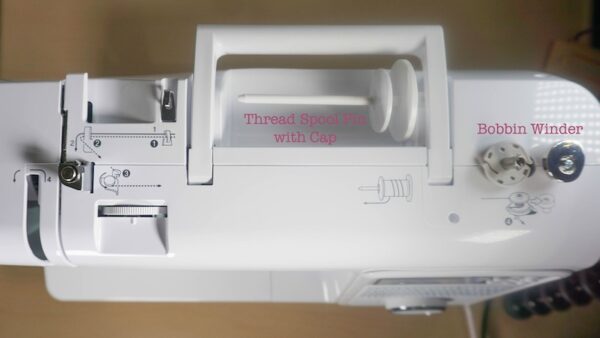
While every sewing machine is slightly different, when facing your machine from the front, you will find the needle and sewing area on the left, the thread spool and bobbin winder on the top,…
…and the handwheel, foot controller (pedal) jack, power supply jack, and the power switch on the right.
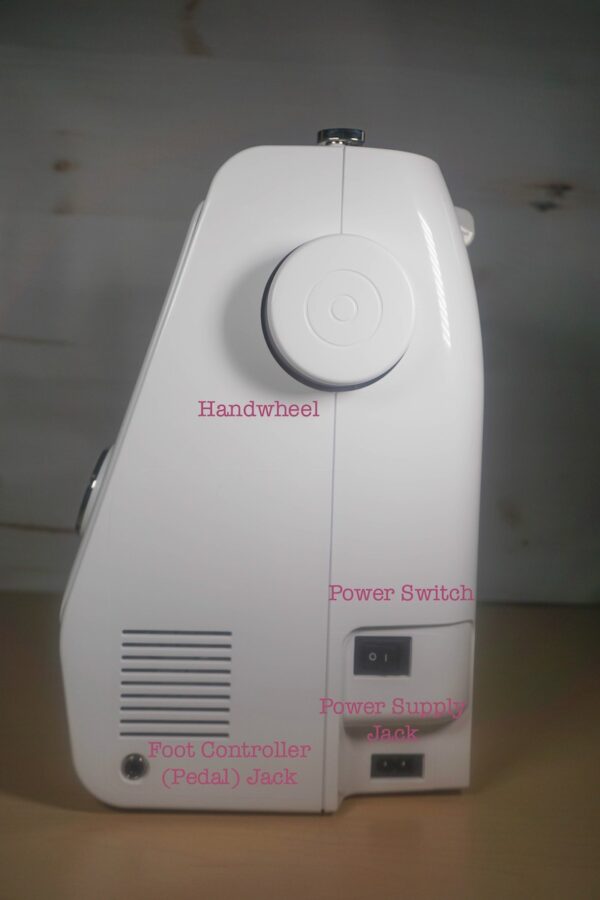
You’ll want to start by inserting the plug from the foot controller into the jack.
Side note: Some sewing machines don’t require you to use a foot controller because they have additional options. The Baby Lock Jubilant also has a start/stop button, while some other Baby Lock models, like the Brilliant, also have a knee lift.

Position the foot controller on the floor so that if you are sitting facing the machine with your hands in front of the needle, you can comfortably put your foot on the pedal. (I use my right foot for sewing, but everyone is different!)
Once you have the foot controller plug inserted into the jack, insert your power cord into the power supply jack.
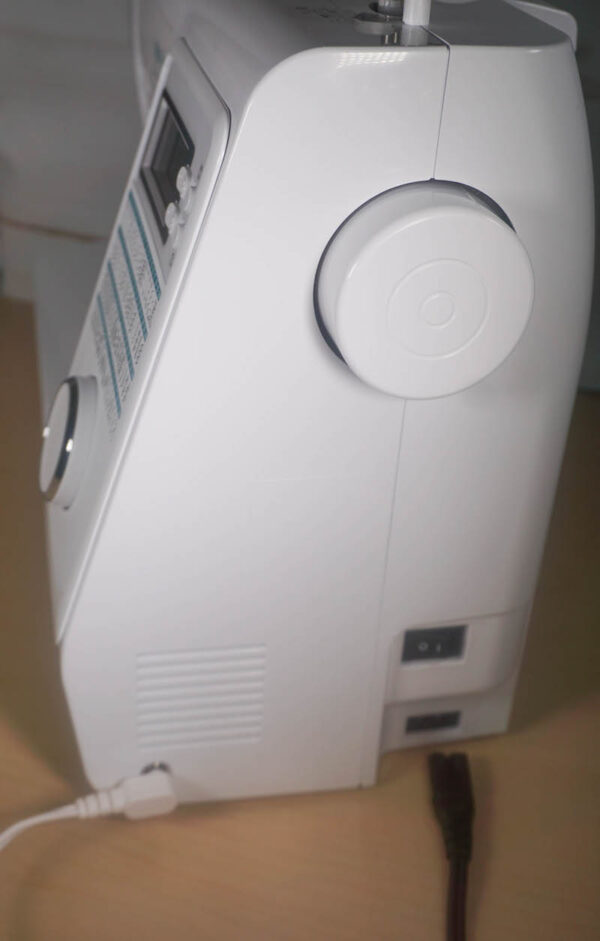
Once the power cord is in the jack, make sure the machine is off. (The power switch will be flat on the 0 side when it is turned off.) Then, plug the power cord into an outlet. Now, you can turn the machine on by pressing the power switch so that the | side is flat.
You’ll notice there is also an air vent just above the foot controller jack. Be sure not to cover the vent while the sewing machine is powered on, as the vent allows air to circulate from the sewing machine motor and prevents overheating.
Step 2: Wind the Bobbin
Sewing machines come with a needle already installed, so you won’t have to worry about that. But, the needle is usually in the down position when you open your machine. Turn the handwheel towards you (counterclockwise) to raise and lower the needle.
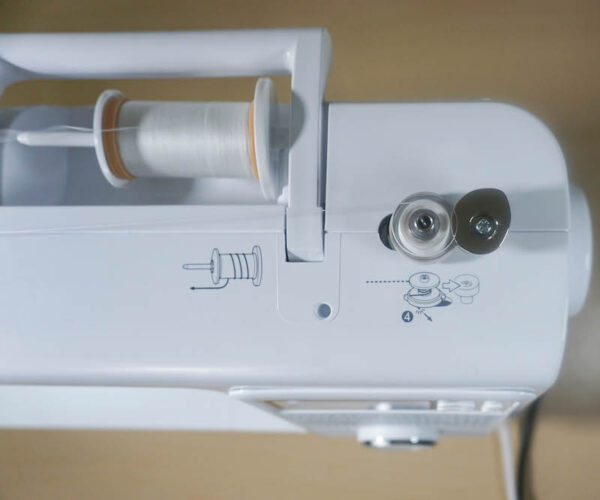
Start by winding the bobbin thread. What’s a bobbin you ask? It’s the little mini spool of thread that forms the bottom of your stitches. The Baby Lock Jubilant has a drop-in bobbin, while some other machines like the Baby Lock Zest use a front-loading bobbin. (You can also buy pre-wound bobbins, but it’s good to learn how to do it yourself so you can pick the exact type of thread you’d like to use.)
At the top of your machine, start by sliding the thread spool cap to the left to remove it from the thread spool pin.

Now, insert your spool of thread onto the thread spool pin. If you’re using Coats & Clark Cotton Machine Quilting Thread (or most standard spools of cotton sewing machine thread), the spool pin will perforate the paper on the edges of the spool of thread.
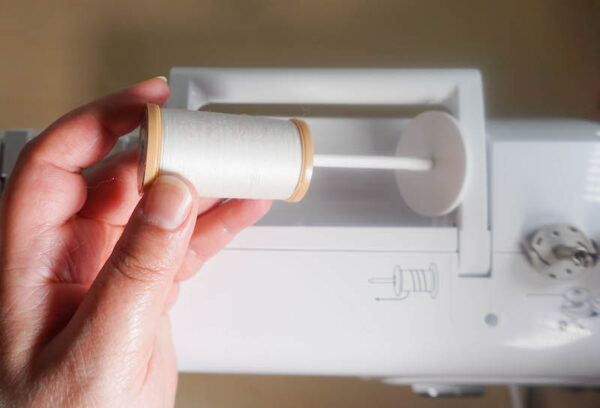
Once the spool of thread is on the thread spool pin, you’ll want to replace the thread spool cap. The Baby Lock Jubilant comes with different sizes of thread spool caps. Use the cap that keeps the thread spool in place the best since a wiggling spool of thread will lead to thread snags, machine jams, and/or messy stitches.
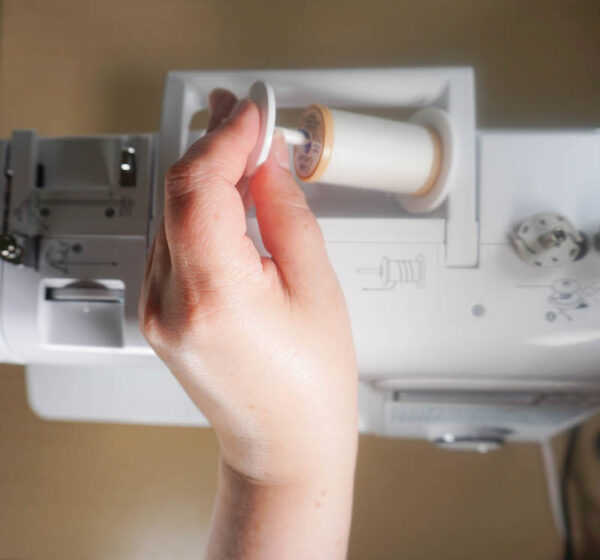
One of my favorite things about Baby Lock machines are the helpful illustrations. You can always check the manual, but it’s nice to have step-by-step pictures to guide you through the next steps. For example, the illustration under the thread spool pin shows the direction the thread should be moving in.
Follow the step-by-step pictures to position the thread so that it will work its way to the bobbin winder.
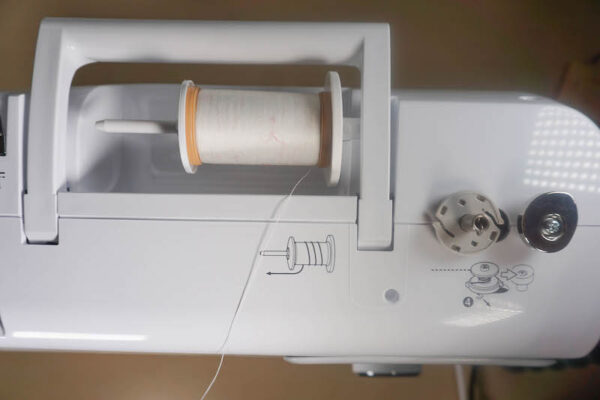
Your machine will come with several empty bobbins. On the Baby Lock Jubilant, one will be in the bobbin cover and there will be several more in the accessory compartment in the flatbed attachment. (Both the bobbin cover and the flatbed attachment are at the front of the machine, between you and the needle.) Place one bobbin on the bobbin threader.

Lightly thread the bobbin, as shown in the illustration, and then slide the bobbin to the right to lock it into position with the bobbin winder.

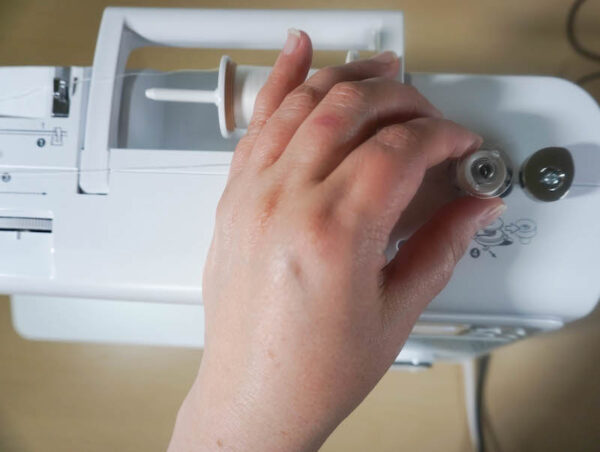
Check the front of the machine. I recommend keeping the sewing speed controller on the slowest speed (one arrow) until you feel confident with your machine. To wind the bobbin, you can either press the start/stop button or press your foot down on the foot controller.

Once the bobbin is nearly full, press the start/stop button or take your foot off the foot controller.
Slide the bobbin to the left to remove it from the bobbin winder. Cut the thread from the bobbin.
To insert the wound bobbin, press the tab at the right of the bobbin cover to remove it.

Drop the bobbin into the bobbin case and then follow the illustration etched into the machine to make sure that the bobbin thread comes to the surface correctly.
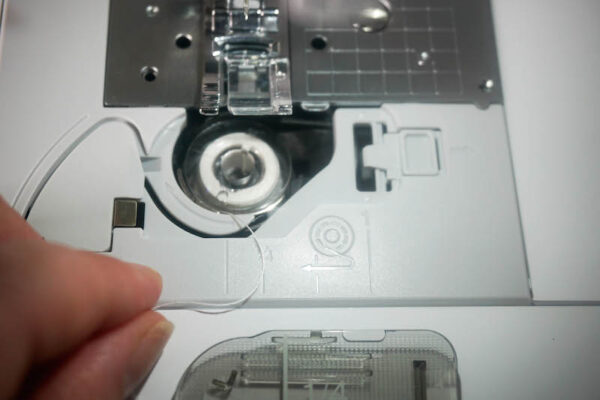
Return the bobbin cover to its original position and make sure it snaps into place.

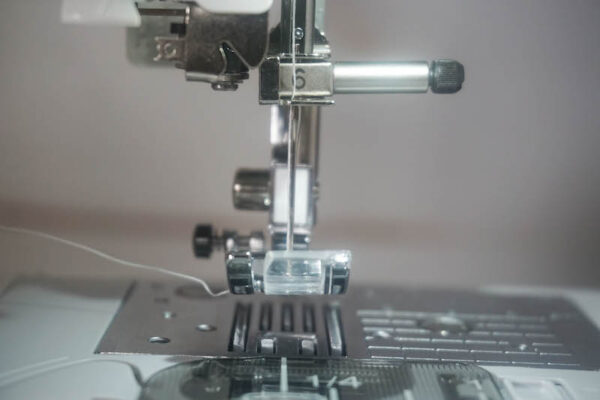
Step 3: Thread Your Sewing Machine Needle
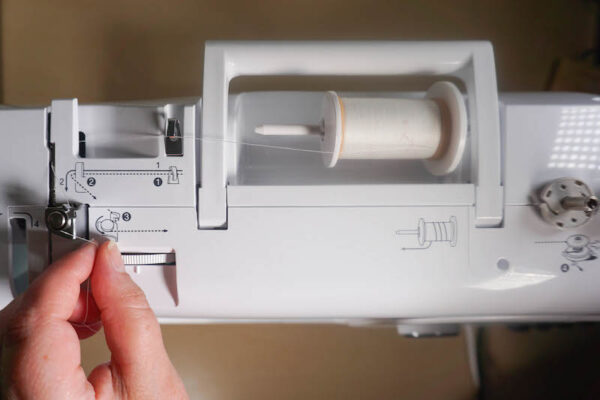
Now, you’ll need re-position the thread at the top of the machine in order to thread the needle. Follow the illustrations on your machine. You may need to rotate the handwheel towards you to move the needle to make sure the thread catches for position 4. Updated to add: The needle must be in the highest position and the presser foot lever must be in the “up” position to automatically thread your needle.

Once the machine is threaded, use the thread cutter on the left side of the machine to cut the thread. Lower the needle threader level and, if you’ve properly followed the illustrations to position your thread correctly, it will automatically thread your needle.

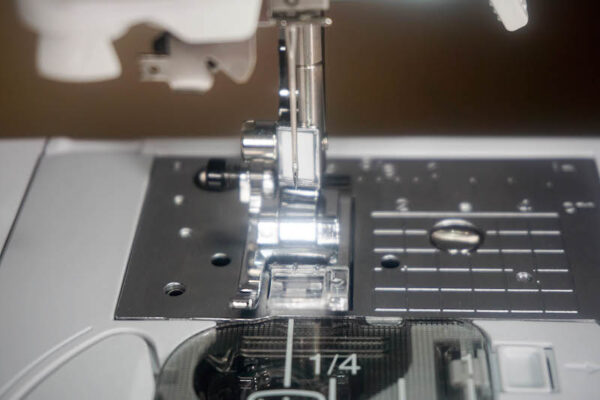
I like to lift the presser foot (the switchable foot that holds the fabric down while sewing) and move the thread under the foot before I start sewing. Use the presser foot lever (the gray lever to the right and above the needle and presser foot) to lift the presser foot.
Step 4: Test Your Settings
Right now you’ll be SO.EXCITED.TO.START.SEWING!
But.
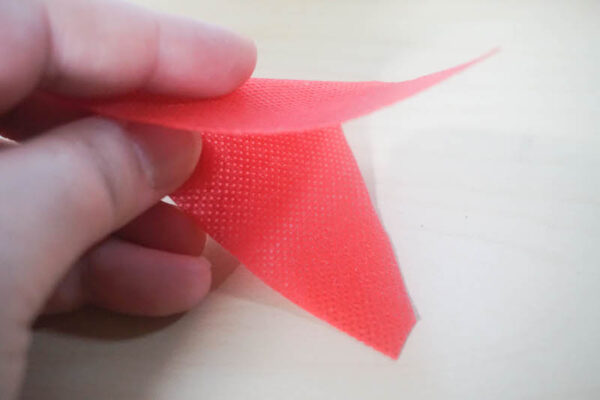
I highly recommend you test your settings first. Use a small piece of Fairfield Oly-Fun or 100% cotton quilting fabric. I recommend these because they are easy to sew on with a standard presser foot, on all types of sewing machine needles, and with pretty much any type of thread you may have on hand.
I always start by testing a straight stitch with the main presser foot. For the Baby Lock Jubilant, use stitch 3, which comes on as soon as you turn on the machine, with the J zigzag foot, which comes installed.
Fold the fabric piece over, so you’ll be practicing on two layers (just like real sewing).
Position your layers of fabric under the presser foot. (By the way, that gray piece to the right is the presser foot lever.) The presser foot should be in the down position before you begin to sew.
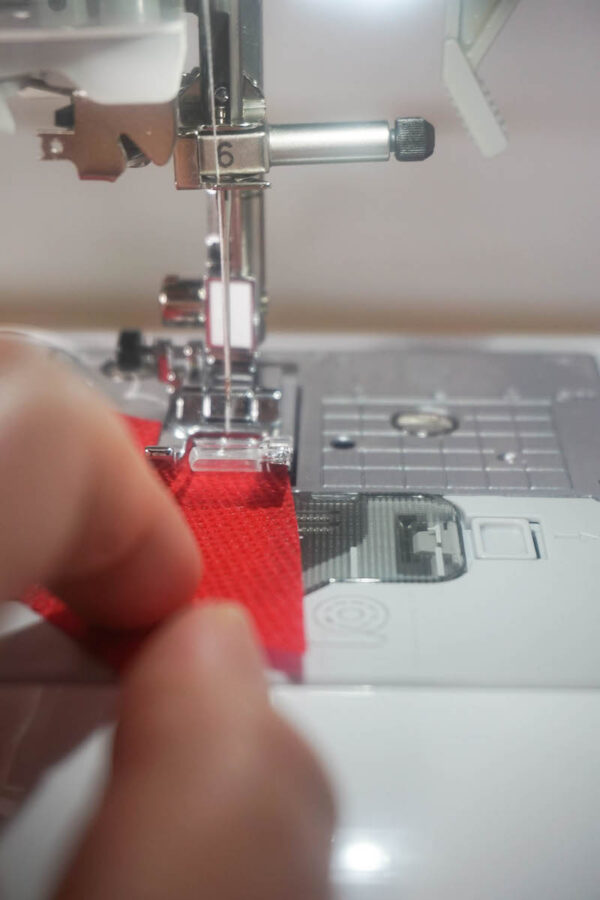
Start sewing, either by pressing the start/stop button or by lowering your foot onto the foot controller.
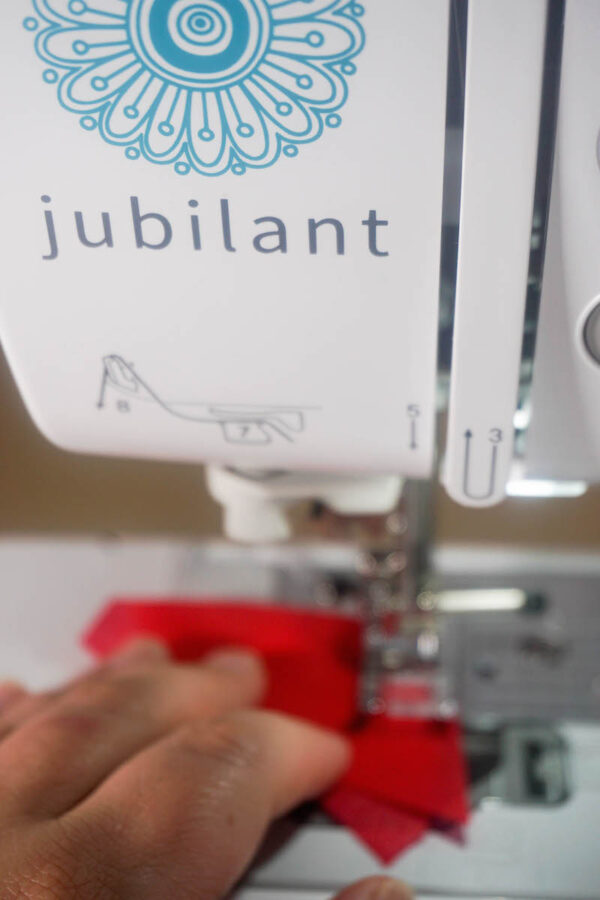
Keep sewing until you come to the end of your small piece. Stop sewing by pressing the start/stop button or by taking your foot off the foot controller. Use the thread cutter at the left of your machine to trim the thread.
Check your work. Are your stitches even on both sides? Is there even thread on both sides?
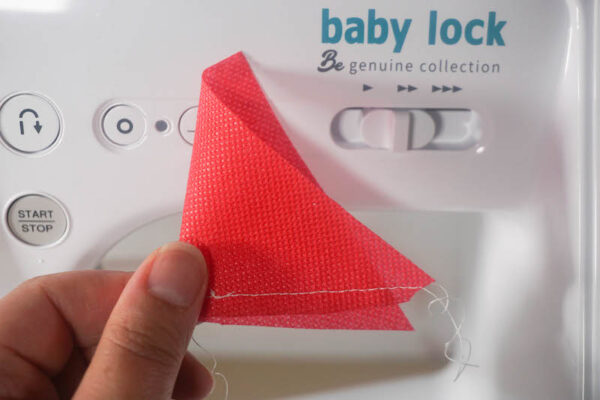
If not, you’ll want to check how the machine is threaded first. Missing bottom threads is usually a bobbin problem, and missing top threads is usually a problem with how you threaded the spool at the top of the machine. Weird stitches can be a problem with the spool cap being too loose.
If your stitches look good, you are ready to start sewing! Tip: I always keep a small scrap of fabric to test any new thread, stitch, presser foot, or needles before I sew on my “real” project. It can save you a lot of stress in the long run.

I hope these tips have been helpful. If you have other topics you’d like to see in the sewing basics series, let me know!