

Does the thought of figuring out which presser foot you should be using — or even of changing your presser foot — make you feel confused? Whether you’re new to machine sewing, want to get the most out of your sewing machine, or are branching into new areas of sewing or quilting, this sewing machine presser foot guide is for you! In this Sewing Basics post, I’ll be answering your most frequently asked questions about sewing machine presser feet and sharing tips for getting the most out of 18 different presser feet, including some you may already be have at home.

This post contains affiliate links. I may receive compensation (at no added cost to you) if you make a purchase using these links. This post is sponsored by Baby Lock and is part of our ongoing collaboration. All opinions and thoughts are my own.
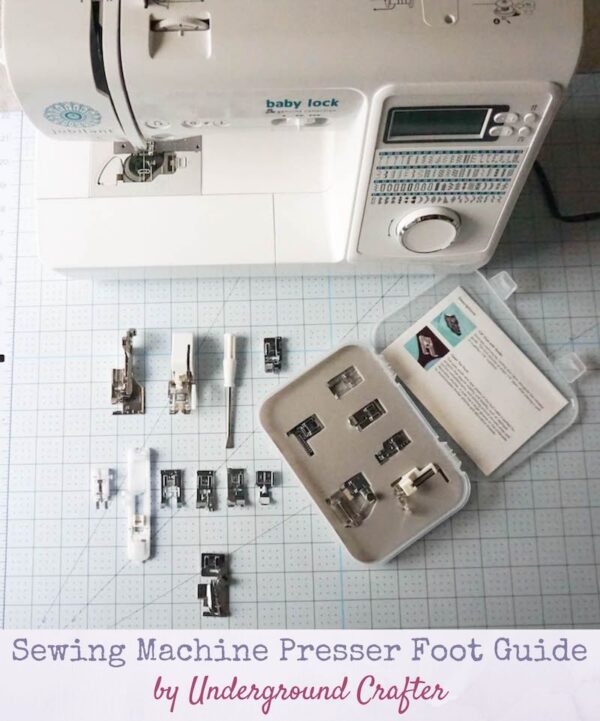
Sewing Machine Presser Foot Guide
I’m answering your most frequently asked questions about sewing machine presser feet including why you would change your presser foot, how to change your presser foot, how to find out which presser feet work with your machine, and tips for getting the most out of 18 different presser feet including a buttonhole foot, walking foot, overcasting foot, monogramming foot, and more!
But first, what is a presser foot?
The presser foot is an accessory, usually metal or plastic, that can be attached to your sewing machine. It holds your fabric flat while you are sewing and, along with the feed dogs underneath, helps to guide your fabric through as you stitch. A lot of sewists never think about presser feet because one is already installed on the machine when you buy it. If you’ve only done straight stitching with non-stretch, non-stick fabrics, you may not have had to use another presser foot yet.

Why would I change the presser foot?
There are several reasons you may want to (or need to!) change your presser foot.
- Stitch. If you’ve selected a decorative or utility stitch that isn’t straight, you may need to change the presser foot so that the needle has enough space (and in the right directions) to move without breaking. If you have a computerized sewing machine like the Baby Lock Jubilant, the machine will suggest the best option for a presser foot when you select the stitch. If you have a mechanical sewing machine, you can check your manual to select the correct foot when you change your stitch.
- Fabric. Some fabrics, like leather or vinyl, can be challenging to work with unless you have a specialized presser foot that makes it easier for those fabrics to move through the machine.
- Technique. Some sewing techniques, like free motion quilting or creating a buttonhole, are easier to do or are only possible with specialized presser feet.
- Needle(s) position. If you move your needle position to the left, right, or center, or if you use twin needles, you may need to change your presser foot so the needle doesn’t crash into the presser foot and break.
How do I change a presser foot?
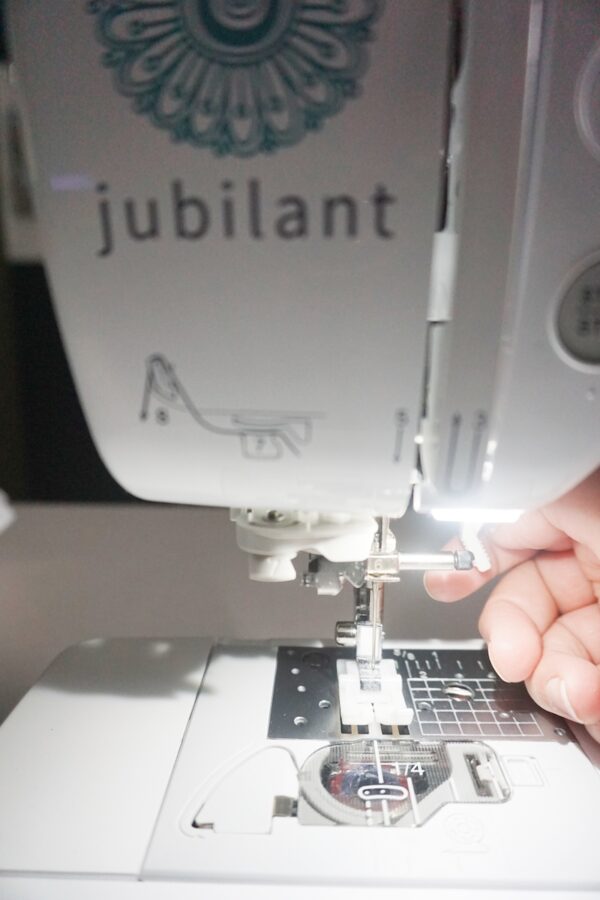
Most (but not all) presser feet for machines like the Baby Lock Jubilant use a snap-on mechanism. At the top of each snap-on presser foot, you’ll see a small horizontal line. This is where you’ll “snap” the foot onto the presser foot holder.

With your machine off and the needle up, lift the presser foot lever to the right of your needle.

This will lift up the presser foot.

Your presser foot is being held in place by a presser foot holder. Behind that, there is a black button. When you press on that button, the presser foot holder will release the presser foot and the foot will drop.

While still holding the button down, you’ll place a different presser foot into the presser foot holder. When you release the button, the new presser foot will snap into place. You can then return the presser foot level to its standard position and turn on your machine.
For more details, watch How to Change a Presser Foot on the Baby Lock Jubilant on YouTube.
There are some presser feet that have a few additional steps when changing. For example, both the Side Cutter Foot (at left) and Walking Foot (at right) have forks that need to be positioned properly to the needle clamp screw on your machine.

But not to worry, this is actually easier to do than it sounds. For the Side Cutter Foot, you’ll extend the fork first. Turn off the sewing machine with the needle up, and remove the presser foot that is already on the machine. Then, position the Side Cutter Foot fork so it attaches to the needle clamp. Now you’re ready to snap on the presser foot.

If this seems daunting, don’t worry! I’ve linked up videos to help you use any specialized walking feet below.
Which presser feet are included with the Baby Lock Jubilant and what can I do with those feet?
The Jubilant comes with seven presser feet. Here is how they can be used.

- J Zigzag foot: This foot is a powerhouse! When I visited Baby Lock’s headquarters in Summer, 2019, so many people said this was their favorite foot and there are a lot of reasons why.
- It’s great for straight stitch sewing as well as many zigzag stitches.
- It’s also a leveling presser foot that lets you sew through dense layers. Watch this video to see how to adjust the leveling pin to sew through layers of thick denim.
- Lining up your fabric at the edge of this foot makes a perfect quarter inch (1/4″) seam for all of you quilters out there.
- You can also use this foot for twin needle stitching; left, middle, or right needle positions; and over 25 stitches on the Jubilant including feather stitch, blanket stitch, and stem stitch.

- N Monogramming Foot: This foot is used for over 20 stitches on the Jubilant including the satin scallop stitch, the ladder stitch, and a variety of decorative stitches including hemstitching.You can find out more in this Monogramming Foot video.
- G Overcasting Foot: This foot is used for overcast seams and to protect edges from fraying. It’s the recommended presser foot for three different overcasting stitches on the Jubilant. I’ve used the G Overcasting Foot in projects like these Fabric Postcards.
- I Zipper Foot: This foot is used for inserting zippers or snap tape and to attach piping or decorative cording. You can find out how to use this foot in the Baby Lock Standard Zipper Foot video.
- R Blind Stitch Foot: This foot is used to make your hems invisible and can be used with two blind hem stitches on the Jubilant. Watch How To Blind Hem Knit Fabrics with the Baby Lock Jubilant to learn more.
- M Button Fitting Foot: This foot is used for sewing on buttons with your machine with no need to bust out the hand sewing tools. You can find out how to use it in Attaching a Button with the Baby Lock Jubilant.
- A Buttonhole Foot: This presser foot can be used to make one of eight buttonholes on the Jubilant, as well as a bar tack stitch to reinforce a pocket. Watch Perfect Buttonholes with the Baby Lock Jubilant to learn more.
How do I find out which presser feet can be used with another sewing machine?
Visit the Baby Lock website to find your current machine or the sewing machine you are considering buying. Once you have your machine selected, click on “Details.”
- Select “Manuals, Updates, and Brochures” to download the manual and then scroll to “Included Accessories” to find the list of presser feet that are included with purchase of that machine.
- Select “Compatible Accessories” to find out what additional accessories, including presser feet and other goodies, will work with that machine.
You can also use the website to check whether existing presser feet you have are compatible with a new machine you may want to purchase.

What are some other sewing machine presser feet I can try?
There are so many presser foot options available, but I’ll share more details about 11 other presser feet that I have at home.
If you like to quilt, the Quilting 6 Foot Kit collection of presser feet has you covered with six great options.

- Open Toe Foot: This foot has a wide opening and is made with clear plastic to help with visibility and stability. You can use it for appliqué and other surface embellishments. The groove on the bottom makes it easier to sew thicker stitches, trims, and heavier decorative threads. Watch this foot in action in this video.
- Straight Stitch Foot: this foot has a small opening to make needle positioning more straightforward (pun intended). It’s helpful for avoiding puckering or “jumping” when sewing lightweight fabrics.
- 1/4″ Foot with Guide: If you’ve found that the perfect quarter inch seam has eluded you, this foot can help! It has a small guide at the edge that makes it harder for your fabric to escape its clutches (haha). This foot is also great for topstitching.
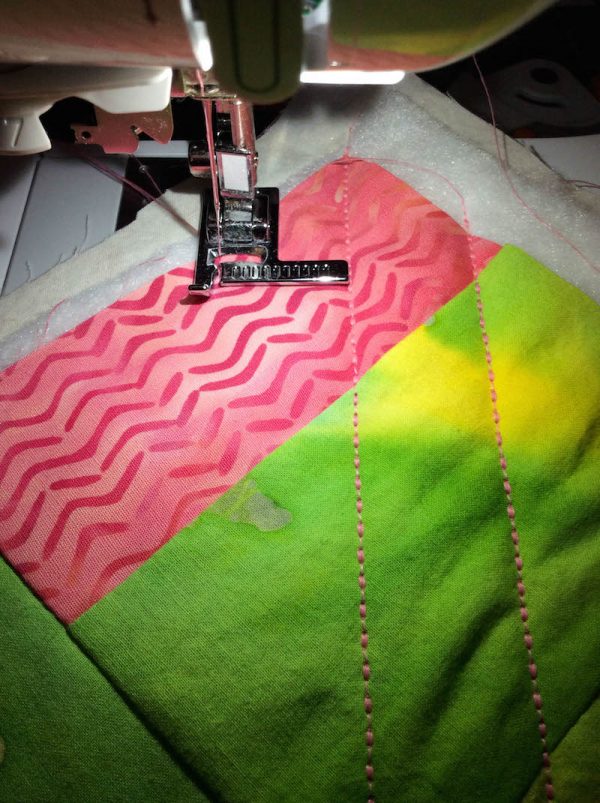
- Free-Motion Darning Foot: This foot has a clear front to increase your visibility and control when you are doing free-motion quilting. You can use this foot for stippling, meandering, and thread painting. Watch this video to find out How To Free Motion on the Baby Lock Jubilant.
- Stitch Guide Foot: This presser foot comes with a built-in ruler on the right side for perfectly spaced quilting lines, topstitching, or garment work. I used it to get evenly spaced quilt lines in my Quilted Tote.
- Adjustable Bias Binder Foot: This foot lets you attach 1/4″ to 3/4″ bias binding using straight or decorative stitches. You can use pre-packaged or pre-pressed binding with this foot. Watch this foot in action in this video.
Other feet you may want to try are…
- Bias Binder Foot: This presser foot is ideal for turning bias-cut strips of fabric into binding for quilts, ties for face masks, or to use when finishing garments.

- Edge Joining Foot: This foot can be used to join two pieces of fabric along the edges, to “stitch in the ditch” (or sew directly over seams) when quilting, and make narrow edges. You can see this foot in action in this video.

- Side Cutter Foot: If you like the look of serged edges but don’t have a serger, this foot may be right for you! This foot sews overcasting stitches, but it also trims raw edges with a built in knife blade. Watch this foot in action in this video.

- Teflon Foot: This foot is ideal for sewing onto “sticky” fabrics like leather, pleather, suede, some cork fabrics, and vinyl which can be difficult to move through the machine using a standard foot. You can find more tips for sewing with leather in 13 Tips and Tools for Sewing with Leather for the First Time. And, you can see this foot in action in this video.
- Walking Foot: The walking foot has its own feed dogs to help move multiple layers of fabric evenly through the sewing machine without shifting. This foot can be used for straight-line quilting and to add binding to quilts, to add straps to bags and other layered projects, and to sew fabrics like corduroy or velvet that slip or stretch easily. The walking foot should only be used with straight stitches. You can watch this foot (and other Baby Lock walking feet) in action in this video.

I hope this guide has answered all of your questions about presser feet for the Baby Lock Jubilant, and in general! If you still have more questions about presser feet or have another question you’d like to see me answer in a Sewing Basics post, let me know in the comments.
Thank you, very useful info!
I like that it gives you the option to watching a video for each foot.
I just brought a new baby lock machine this has helped me decide which feet I would want to add.
Glad it was helpful!
Thanks for the easy to read print of the common pressure feet. I’ve copied it.
Can you tell me what is pressure foot P?
CAE