
I’m so excited to introduce Amanda from Easy on the Tongue as today’s guest designer! Amanda is sharing an easy pumpkin knitting pattern to decorate your home this fall. Pumpkins seem to be everywhere this time of year, and you can get in on the trend with this quick make!

This post contains affiliate links. I may receive compensation (at no added cost to you) if you make a purchase using these links. Photos in this post are © Amanda Nel/Easy on the Tongue and are used with permission.
About Easy on the Tongue
Amanda Nel is the author and creator of Easy on the Tongue. She started her blog as a creative outlet and to share years of experience with others. Amanda wants her readers to find happiness in creating stuff they never believed they were capable of making. She loves knitting, crochet, machine embroidery and sewing quick and easy projects but is always up for a challenge! With 5 (almost 6) grandchildren, this grandma spoils! Amanda runs her own business and blog, and loves coffee, travelling, and enjoying life to the fullest.
Show your support by following Amanda on Website | Facebook | Instagram | Pinterest | Ravelry | TikTok | YouTube
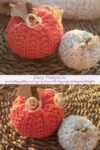
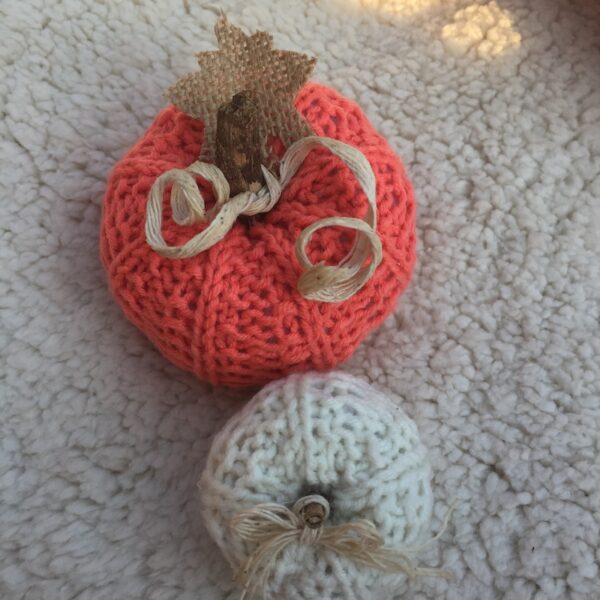
Easy Pumpkin Knitting Pattern by Easy on the Tongue
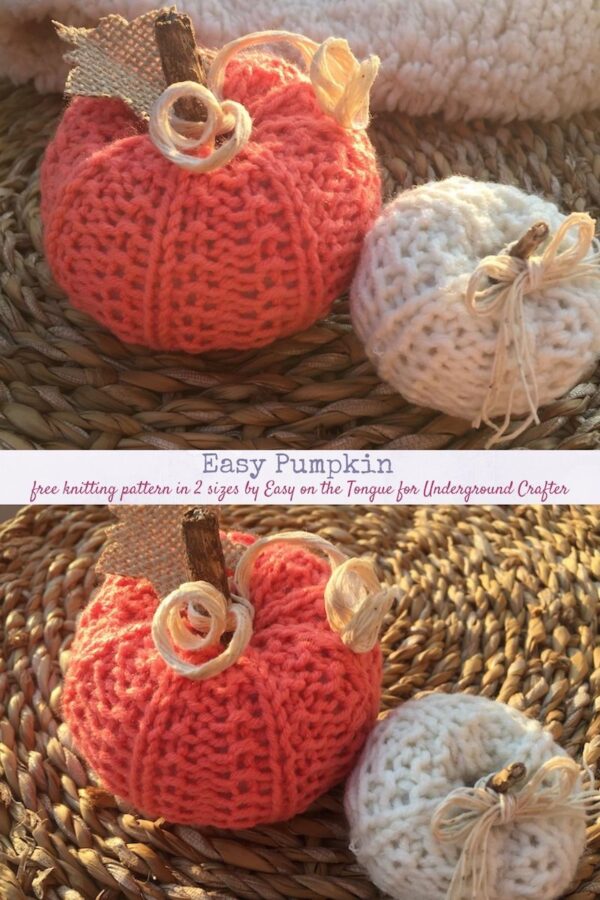
Use the easy pumpkin knitting pattern to add to your Fall decorations!

It looks great as a display with some other fall-themed or fall-colored items in your entrance, your kitchen, or as a special focal point.

We are sharing not one but two sizes of the pumpkin pattern. You can make a couple in the smaller size and string it together as a bunting or to compliment your bigger pumpkin.
Whatever or however you’re doing it, pumpkin spice your life!
Materials Needed
- Elle Pure Gold Double Knit (Light)
- Substitutes for the yarn: Stylecraft Bambino DK, Schachenmayr Original Baby Smiles Little Soft & Easy, Lion Brand Vanna’s Style, Sirdar Snuggly Soothing, or any light (#3, DK) yarn. You can also use a medium (#4, worsted) yarn but your pumpkin will be larger.
- Knitting Needles according to the thickness of your yarn (I used 4mm, 6US, 8UK)
- Blunt Needles (for stitching it together)
- Fairfield Poly-Fil Fiber Filling
- Scissors
- Raffia
- Mod Podge
- Glue gun
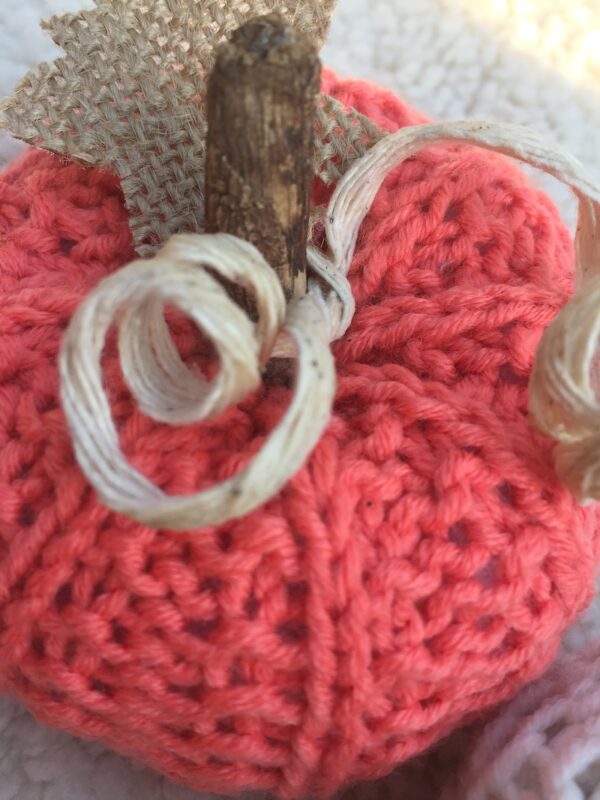
- Stick or cinnamon stick for the stalk
Knitting Techniques Used
- Casting on stitches
- How to make a knit stitch
- How to purl
- Casting off stitches
Size/Dimensions (Approximate)
- Larger Pumpkin: 4″ wide (10cm) x 4″ high (approximate 9.5cm)
- Small Pumpkin: 2.5″ wide (6.5cm) x 3″ high (approximate 7cm)
Skill Level
- Very easy – just a rectangle in an easy knit stitch pattern.
Abbreviations
- k – knit
- p – purl
- st – stitch
- sts – stitches
- * Repeat instructions after asterisk as indicated.
Knitting Pattern Instructions
- Gauge is not really of that importance as a thicker yarn will produce a bigger pumpkin and vice versa.
- You need about 20g of yarn to complete the larger pumpkin.
Stitch Pattern for the Larger Pumpkin

- Cast on 35 sts.
- First Row: *k2, p2, repeat from * to last 3 sts, k2, p1
- Repeat this row until your work measures 4″ (10cm), which is 26 rows using double knit yarn and the needle size as stated above.
- Don’t cast off.
- Leave a long enough tail, cut yarn and thread needle. With your stitches still on the needle (working from right to left), thread needle through every single stitch.

- Insert needle through the stitches again and cinch closed (bottom of your pumpkin). Weave in the ends.
- With right sides together, thread your starting tail and sew the sides together and turn your piece inside out.
- Stuff the tube with fiber filling – you’ll know when it is too much.

- Stitch the top, cinch and close. Hold on to the yarn and thread as we are going to be shaping the pumpkin now.
Shaping the Pumpkin
- Insert the needle from the top to the bottom and pull. Catch some stitches to secure and thread to the top of the pumpkin again. Weave in and secure.
- Add some glue and press the stick a little bit in the centre. Add the tendrils, twine or ribbon. A nice finishing is twine or rope with wooden beads.
Stitch Pattern for the Small Pumpkin

- Cast on 19 sts.
- First Row: *k2, p2, repeat from * to last 3 sts, k2, p1
- Repeat this row until your work measures 3″ (7.5cm), that is 20 rows with double knit yarn and the needle size as stated.
- Finish your pumpkin the same manner as the larger one (above).
How To Make the Tendril
- Wrap raffia around a pencil and smear Mod Podge over it (finger works fine).
- Leave to dry and gently remove from the pencil.
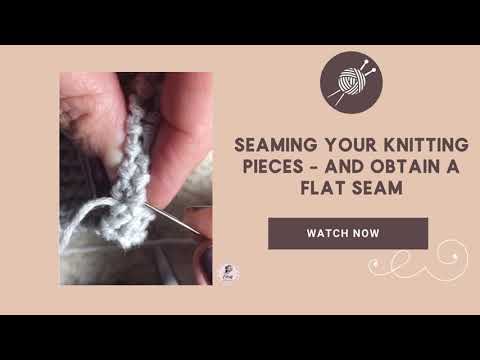
- Here is a quick video to demonstrate how to sew your knitting pieces together
Thank you for visiting Underground Crafter and please do share this pin.
Please share your makes with us on your social media account of choice.
Happy Knitting!
Thanks for sharing Marie!