
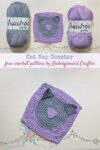
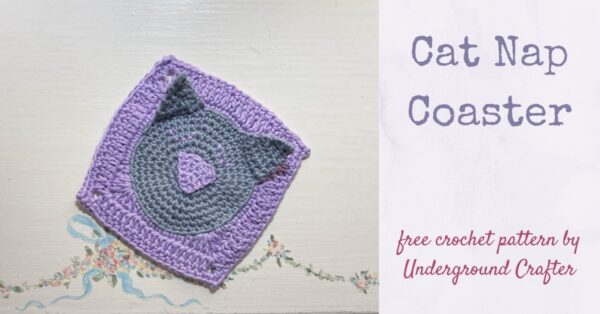
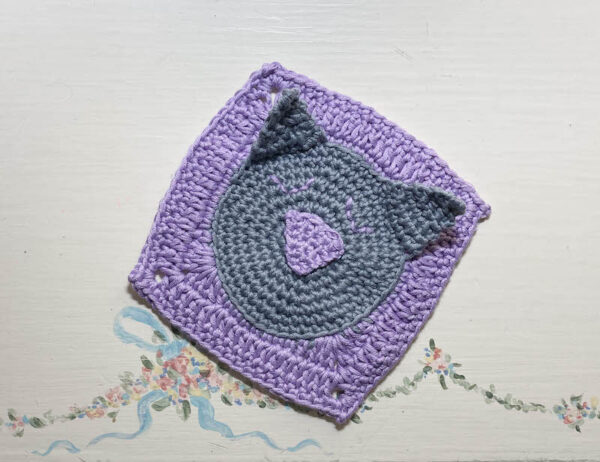
Today I’m sharing a crochet cat coaster pattern as part of the Quick Summer Makes Blog Hop with Littlejohn’s Yarn. The Cat Nap Coaster is an easy peasy pattern that is purr-fect for fans of felines.
This post contains affiliate links. I may receive compensation (at no added cost to you) if you make a purchase using these links. I am a King Cole Brand Ambassador and this post is part of our ongoing collaboration. All opinions and words are my own. WeCrochet generously provided the crochet hook for this project.
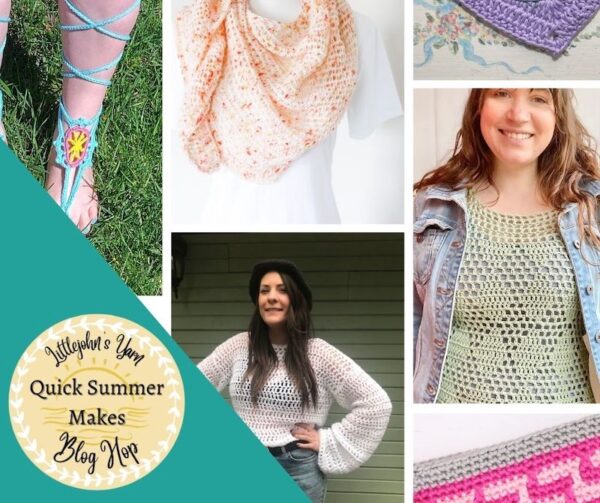
I’m joining Alysha from Littlejohn’s Yarn for the Quick Summer Makes Blog Hop!
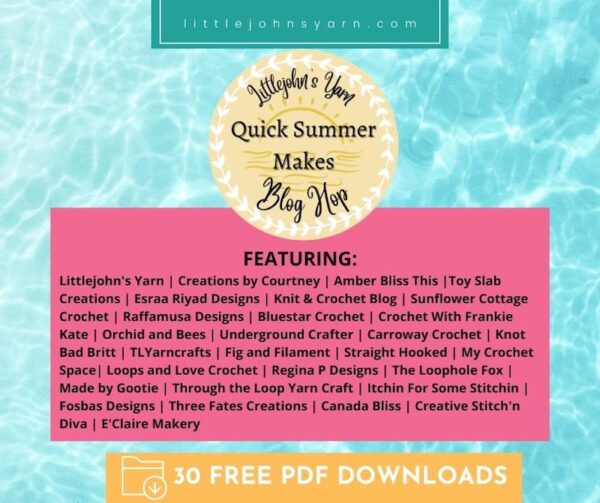
Throughout June, get new patterns for speedy summer projects. Visit this roundup on Littlejohn’s Yarn daily through June, 2022 for the coupon code to download that day’s pattern PDF for free.
The Cat Nap Coaster is my contribution to the Quick Summer Makes Blog Hop. Scroll down for the Cat Nap Coaster pattern. When I first became a brand ambassador for King Cole yarn, they sent me two skeins of Bamboo Cotton DK yarn. I loved loved loved these two colors but for the longest time I was waiting for project inspiration to strike. When I was invited to join the blog hop, I thought I would combine one of my favorite quick summer makes — granny squares — with something practical. And, that’s how the idea for this crochet cat coaster pattern came together. The grey yarn reminds me of some of my favorite furry friends, while the purple adds a pretty contrast.
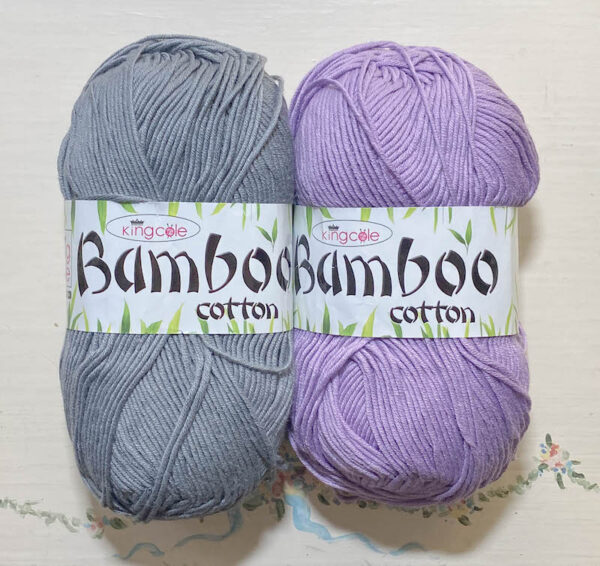
The combination of bamboo and cotton makes for a great coaster. We have some beautiful wood surfaces at home and I am forever looking for ways to protect those surfaces from beverage containers that sweat. With two skeins of King Cole Cotton Bamboo DK, you can make 7-10 coasters. Bamboo Cotton DK is available from your local yarn shop or online at LoveCrafts or Wool Warehouse UK.
If you make your own Cat Nap Coaster, I’d love to see it! Share your progress and questions by tagging me on Facebook as @Underground Crafter or on Instragram as @ucrafter. You can also share a picture in the Underground Crafters Facebook group. Sign up for my weekly newsletter and get a coupon code for your choice of one of my premium patterns and private access to my vault of subscriber goodies. Plus, you’ll never miss one of my free patterns again!
Add the Cat Nap Coaster to your favorites or queue, or buy the ad-free PDF on Ravelry.

Cat Nap Coaster
Crochet Cat Coaster Pattern by Underground Crafter


This simple crochet cat coaster pattern is perfect for fans of felines. Make up to 7-10 coasters from two skeins of yarn.
Finished Size
- Coaster: 5” (13 cm) square.
Materials
- King Cole Bamboo Cotton DK yarn (50% bamboo viscose/50% cotton, 3.5 oz/100 g, 252 yd/230 m) – 1 skein each 3455 Steel (CA) and 3456 Thistle (CB), or approximately 25 yd (23 m) in any light weight, cotton (or bamboo cotton) yarn.
- Bamboo Cotton DK is available from your local yarn shop or online at LoveCrafts or Wool Warehouse UK.
- WeCrochet Bright US Size G-6/4 mm crochet hook, or size needed to obtain gauge.
- Locking stitch markers.
- Yarn needle.
Gauge
- Finished coaster = 5” (13 cm) square in pattern. Exact gauge is not critical for this pattern.
Abbreviations Used in This Pattern
- BL – back loop only – Moogly has a helpful video tutorial for identifying the front and back loops here.
- CA – Color A
- CB – Color B
- ch – chain
- dc – double crochet
- FL – front loop only – Moogly has a helpful video tutorial for identifying the front and back loops here.
- hdc – half double crochet
- pm – place marker
- rep – repeat
- Rnd(s) – Round(s)
- sc – single crochet
- sc2tog – single crochet 2 stitches together (decrease) – [Insert hook in next st, yo and draw up a loop] twice, yo and draw through all 3 loops on hook. Yarn Obsession has a helpful video tutorial for this stitch here.
- sl st – slip stitch
- sp – space
- st(s) – stitch(es)
- *Repeat instructions after asterisk as indicated.
- () Work stitches between parentheses into same stitch or space.
- [] Repeat instructions between brackets as indicated.
Pattern Note
- When choosing colors, note that CA is the color of the cat face and Ears. CB is the color of the background, “sleepy eyelids,” and Nose.
- A helpful video tutorial for embroidering with the backstitch is available in this blog post.
Pattern Instructions
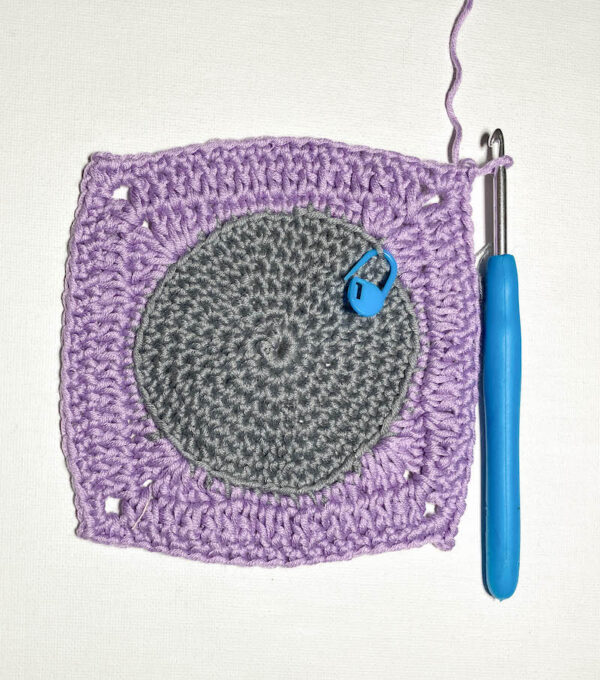
Coaster
- With CA, ch 4, skip 3 ch, join with sl st to next ch to form ring.
- Rnd 1: (Right Side) Ch 1, 8 sc into ring, pm in last st and move up each Rnd to mark position. (8 sts)
- Rnd 2: 2 sc in each st around. (16 sts)
- Rnd 3: [2 sc in next st, sc in next st] around. (24 sts)
- Rnd 4: [2 sc in next st, sc in next 2 sts] around. (32 sts)
- Rnd 5: [2 sc in next st, sc in next 3 sts] around. (40 sts)
- Rnd 6: [2 sc in next st, sc in next 9 sts] around. (44 sts)
- Rnd 7: [2 sc in next st, sc in next 10 sts] around. (48 sts)
- Rnd 8: Sc in each st around, join with sl st to first sc. Fasten off CA.
- Rnd 9: Join CB with sl st to BL of any st, ch 1, 2 dcBL in same st, *dcBL in next st, hdcBL in next st, scBL in next 7 sts, hdcBL in next st, dcBL in next st,** (2 dcBL, ch 2, 2 dcBL) in next st; rep from * around, ending last rep at **, 2 dcBL in first st, ch 1, join with sc (counts as ch-1 sp) to first dc. (15 sts on each side + 4 ch-2 sp)
- Rnd 10: Ch 1, dc in same ch-2 sp, *dc in each st across to ch-2 sp,** (dc, ch 2, dc) in next ch-2 sp; rep from * around, ending last rep at **, dc in first ch-2 sp, ch 1, join with sc (counts as ch-1 sp) to first dc. (17 sts on each side + 4 ch-2 sp)
- Rnd 11: Ch 1, 2 sc in same ch-2 sp, *sc in each st across to ch-2 sp,** (2 sc, ch 2, 2 sc) in next ch-2 sp; rep from * around, ending last rep at **, 2 sc in first ch-2, ch 2, join with sl st to first sc. (21 sts on each side + 4 ch-2 sp). Fasten off CB.
First Ear
- Position a ruler, piece of paper, or any other straight object diagonal across two ch-2 sp.
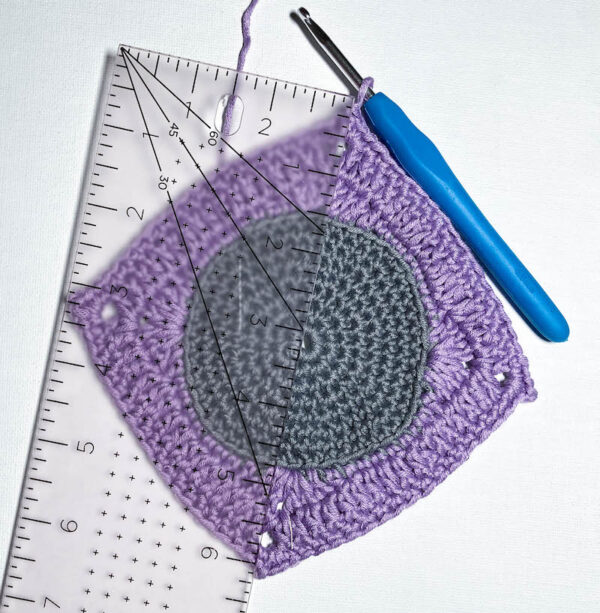
- Pm in FL of st in last Rnd of CA that is directly aligned below ch-2 sp.
- Row 1: Join CA with slstFL to st 3 stitches before marked st (so that marked st would be the fourth worked). Ch 1, scFL in same st and in each of next 6 sts, removing marker as you work. (7 sts)
- Row 2: Turn, ch 1, sc2tog in first 2 sts, sc in next st and in each st across. (Decreases by 1 st)
- Rows 3-6: Rep Row 2, 4 times until 2 sts remain.
- Row 7: Turn, ch 1, sc2tog in first 2 sts. Fasten off CA. (1 st)
Second Ear
- Repeat as for First Ear, starting at adjacent ch-2 sp.
Nose
- With CB, ch 2.
- Row 1: Turn, skip 1 ch, 2 sc in next ch. (2 sts)
- Row 2: Turn, ch 1, sc in first st, 2 sc in next st. (3 sts)
- Row 3: Turn, ch 1, sc in first st and in each st across to last st, 2 sc in next st. (Increases by 1 st)
- Rows 4-5: Rep Row 3 twice, ending Row 5 with 6 sts. Fasten off CB with long yarn tail (approximately 12”/30.5 cm) for seaming and embellishing.
Assembly, Embellishing, and Finishing
- With yarn needle, weave in all yarn tails except for long yarn tail at end of Nose.
- Position Nose on center CA circle section of coaster between Ears, using the photo as guide. Thread yarn needle with long yarn tail in CB from end of Nose. Sew Nose to center circle.
- Continuing with CB, create “sleepy eyelids” with embroidery backstitch (see Pattern Notes).
- With yarn needle, weave in remaining yarn tails on Wrong Side of Coaster.