
Today’s Sewing Basics post will show you how to use a clapper for quilting and sewing. I’ve included photo and video tutorials along with the written instructions. If you’re new to clappers, I answer some frequently asked questions about tailor’s clappers. Let’s get started!
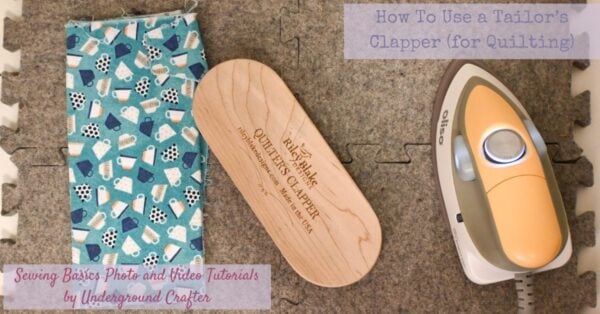
This post contains affiliate links. I may receive compensation (at no added cost to you) if you make a purchase using these links. Supplies for this post were provided by Riley Blake Designs, Oliso, and Sewing by Sarah.
Before I share the tutorial, I’ll answer a few basic questions you might have about clappers.
What is a tailor’s clapper?
Tailor’s clappers originated in garment sewing. They were used in tailoring to get crisp, professional results when pressing men’s clothing. Clappers are made from hardwoods such as oak or maple, and the original tailor’s versions have a pointed edge for adding permanent creases and working on collars and other tight spaces.
What are quilter’s clapper?
Today, you can find specially made quilter’s clappers like the Riley Blake Designs 7″ version used in this tutorial. Quilter’s clappers are usually symmetrical with rounded or squared edges. They work the same way as tailor’s clappers.
How do clappers work?
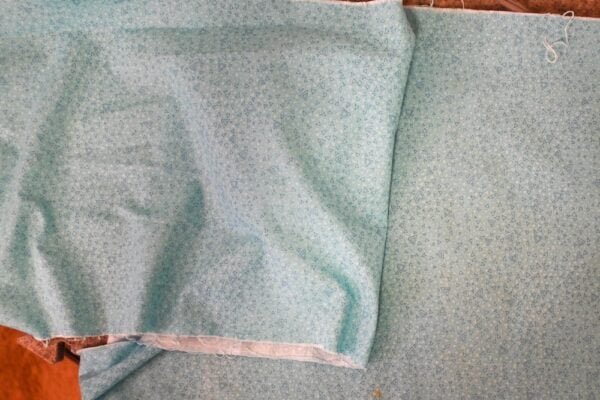
If you’ve ever accidentally left your iron on fabric for too long, you know that it can burn, distort, or otherwise damage your fabric so you are limited in how long you can keep the iron held to the fabric. With a clapper, you can keep heat and steam moisture pressed to the fabric for longer while applying a consistent pressure. The wood absorbs the steam moisture while the fabric cools, so the fabric remains in the pressed position permanently. You can use a clapper to press fabric that is overly wrinkled, to open pesky seams on quilt blocks, to wrangle fabrics like denim and wool into submission, to prevent jersey fabrics from curling, and even as part of your standard sewing routine. In the photo below, the left side was pressed with an iron, while the right side was pressed with a clapper. It is much smoother and the crease the fabric got in the dryer is gone.
What tools I need to press fabric with a clapper?
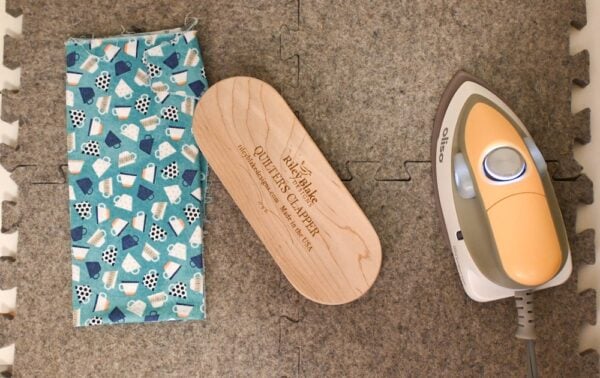
I used 100% cotton quilting fabric and an Oliso Mini Iron. Since the mini iron doesn’t have a steam function, I paired it with a spray bottle. I also used the Sewing by Sarah Wool Press ‘n Lock Tiles and the Riley Blake Designs 7″ Hardwood Quilter’s Clapper. To use a clapper, you’ll need an iron and iron-safe surface, your clapper, and water to produce steam, as well as any type of fabric you can press with a steam iron.
Now that you have the basic information about clappers, let’s get into the tutorials!
How To Use a Tailor’s Clapper (For Quilting)
A Sewing Basics Tutorial by Underground Crafter
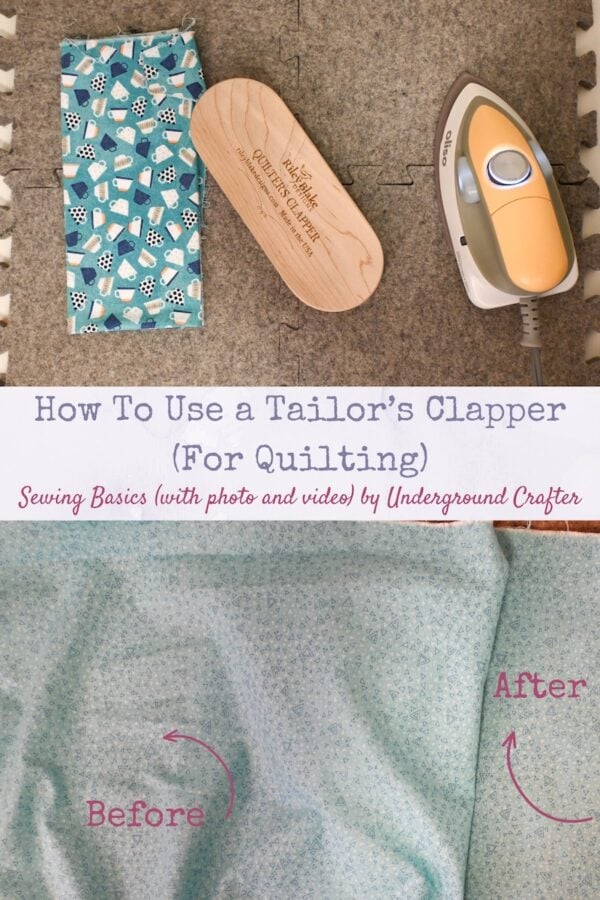
Watch the video below to see a clapper in action, or scroll down for the written and photo tutorial.
If you can’t see the clapper video above, watch it on YouTube, or scroll down for the written tutorial.
Step 1: Spray the fabric with water until it is damp, or apply steam from your iron.
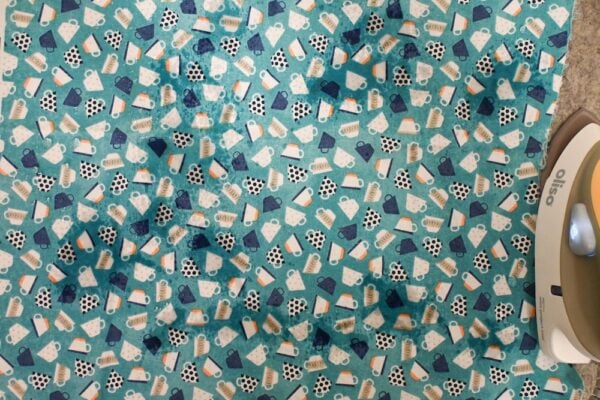
Step 2: Briefly press the fabric with your iron (as normal).
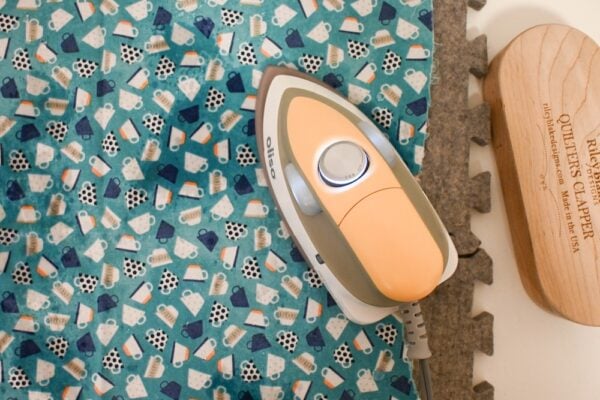
Step 3: Position the clapper over the area you just pressed.
When you remove the iron, immediately position the clapper over the fabric you just pressed. Hold the clapper in place for about 15-30 seconds, or until you feel the fabric cooling.
As you’re using the clapper, hold it firmly in place. Don’t swish it side to side or rock it. You’ll also want to lift it straight up when you’re finished to keep your pressed area flat. This is especially important if you’re working with seams.
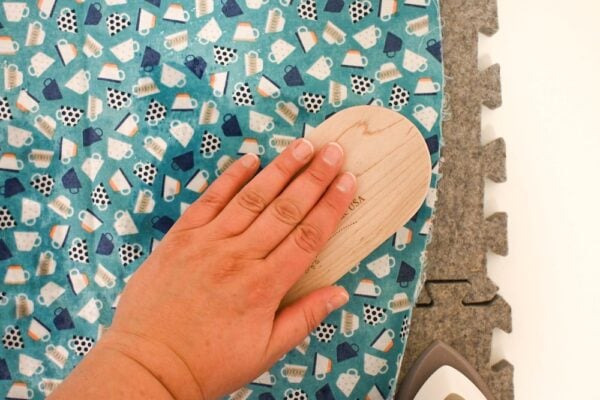
Step 4: Repeat Steps 1-4.
Continue working across your fabric or quilt block in overlapping segments until you have pressed it all.
Step 5: Care for your clapper properly.
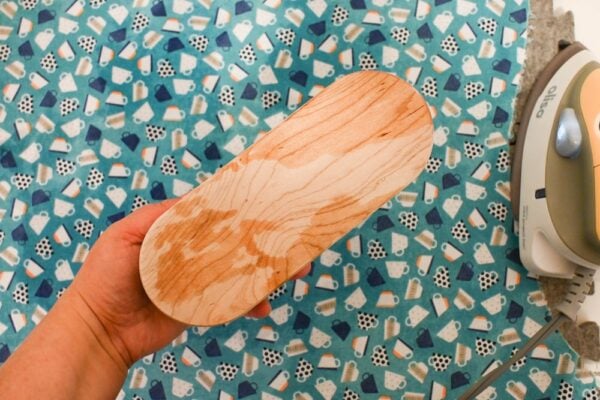
Your clapper will still be damp after you finish as shown in the photo below. To keep your clapper working for decades, let your clapper dry completely, and then store in a dry area to prevent warping.
Have you tried using a tailor’s clapper or quilter’s clapper? Share your progress and questions in the Underground Crafters Community or by tagging me on Bluesky as @UndergroundCrafter, Facebook as @UndergroundCrafter, or Instagram as @ucrafter. Sign up for my weekly newsletter and get a coupon code for your choice of one of my premium patterns and private access to my vault of subscriber goodies. Plus, you’ll never miss one of my free patterns again!