
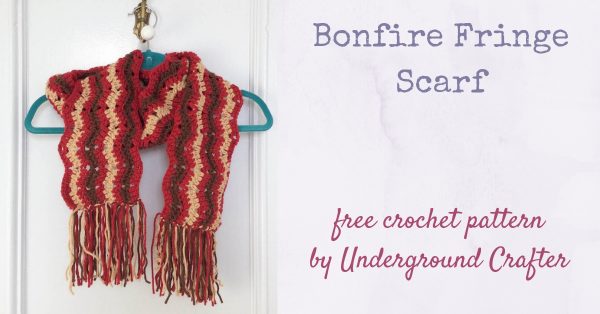
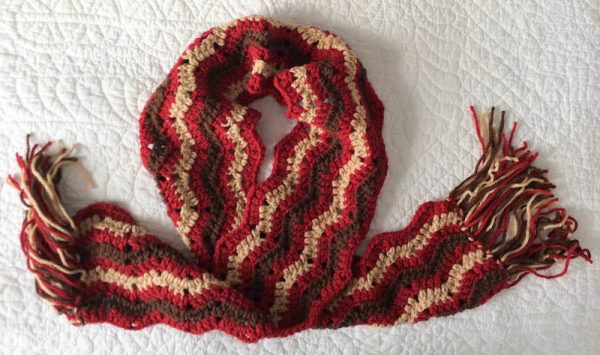
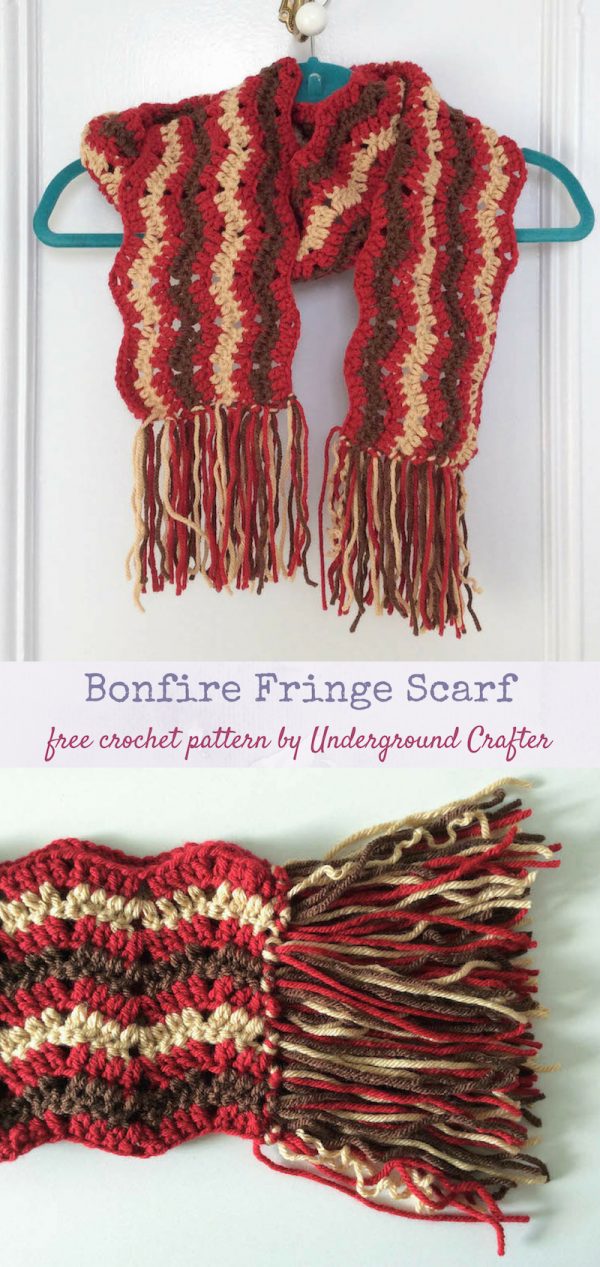
The Bonfire Fringe Scarf Free is a free crochet pattern for a striped, ripple scarf. It’s made using simple increases and decreases and there’s no need to weave in ends! Since it’s crocheted from side to side, the yarn tails are part of the fringe. This easy peasy scarf makes a great accessory for yourself or to gift. And, I’m even sharing a great tip for trimming your fringe to perfection.
This post contains affiliate links. I may receive compensation (at no added cost to you) if you make a purchase using these links. Materials for the sample were generously provided by LoveCrochet/Paintbox Yarns and Fiskars.
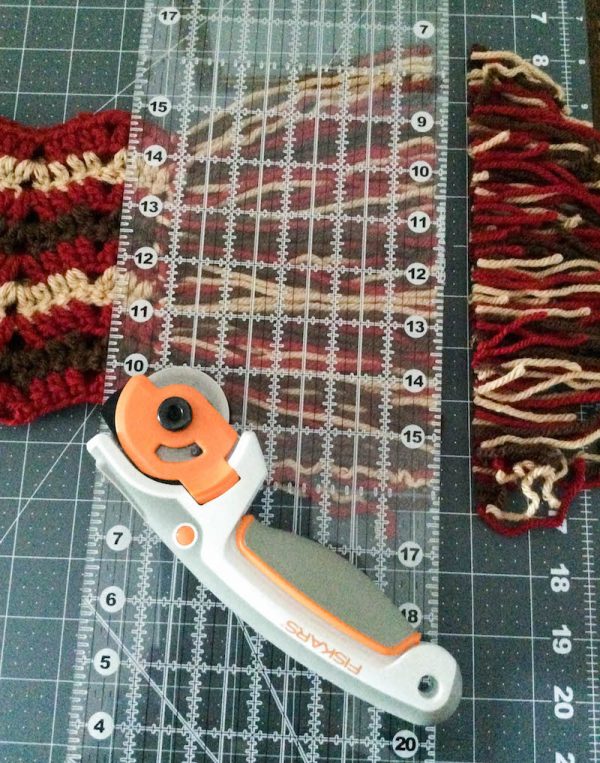
Do you ever come across a crafting tip or hack and it’s so amazing, but also so simple, that you don’t understand how you have lived your life to this point without knowing about it? Well, a few weeks back this helpful video tutorial for cutting fringe with a rotary cutter by One Dog Woof showed up in my Facebook feed. Mind blown! How had I never done this before? I was practically kicking myself. I knew I had to try it out, especially since the nice folks at Fiskars had just sent me their Folding Cutting Mat, Folding Ruler, and RazorEdge Softgrip Fabric Shears for some upcoming sewing projects.
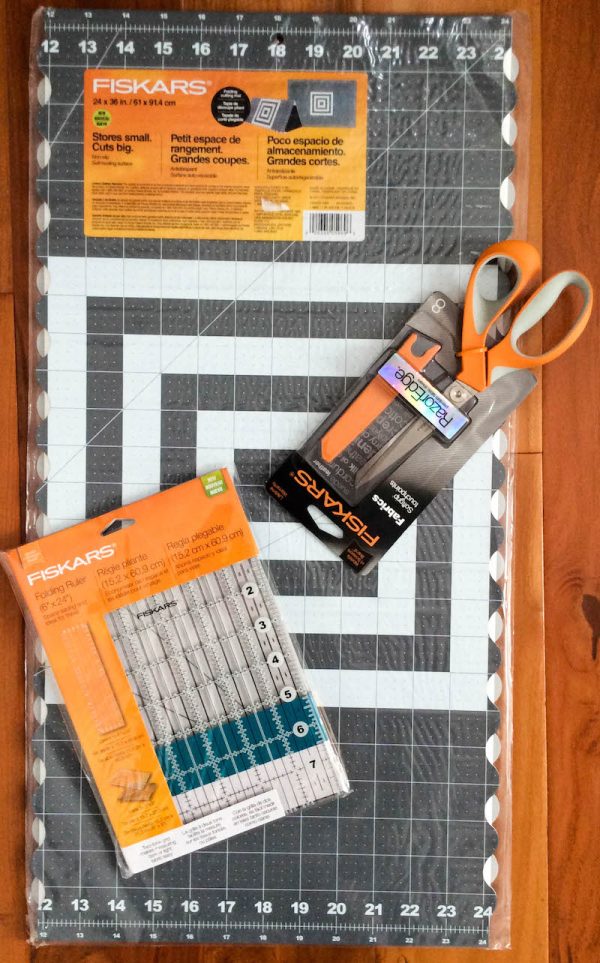
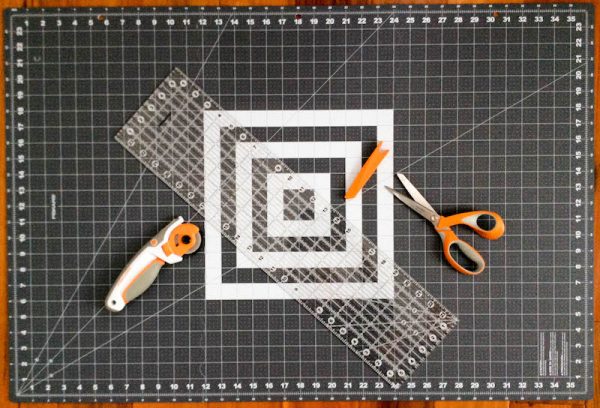
These are perfect for me because I do a lot of crafting on the go, and they fold up for carrying (and, in the case of the scissors, sheath for safety) and then expand to full size once you get to your crafting destination. The picture below also includes my trusty Fiskars 45 mm Easy Change Ergo Control Rotary Cutter.
Now that I had my rotary cutter and mat set up, I went digging into my yarn stash for the perfect colors for a project with fringe. I had several skeins of Paintbox Yarns Simply Chunky yarn, a soft acrylic yarn, on hand. Confession: These skeins were supposed to be for a totally different project, but now all I could think of was a scarf with fringe and I loved the color combination!
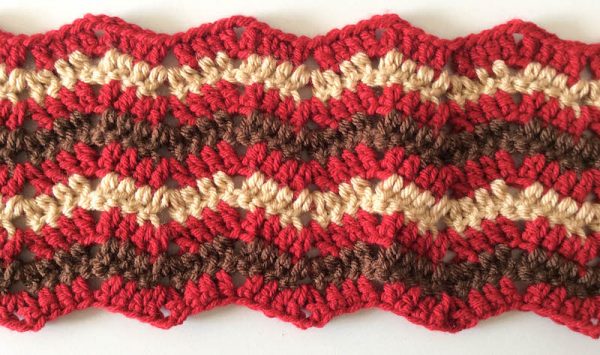
Ripple patterns are so fun to crochet and they look great with fringe, so I searched for a simple ripple pattern with no complicated decreases in my stitch guide collection. I came across this stitch pattern and I love how it turned out with the colors. There’s a great, earthy look to it and it’s a very unisex color combination.
The best part of this scarf is that, because it’s crocheted side to side, you don’t have to weave in any ends. That’s right, not a single yarn tail gets woven in. They all end up in the fringe.
This makes it the Bonfire Fringe Scarf a pretty quick project. So, how exactly did I trim my fringe to perfection? I used ChiWei’s hack of cutting it with my rotary cutter. It makes the fringe edges so much easier to deal with. If you have a rotary cutter, cutting mat, and quilting ruler on hand, I highly recommend using this method. It’s much faster than the dreaded scissor trim that I usually do.
If you make your own Bonfire Fringe Scarf, I’d love to see it! Share your progress and questions by tagging me on Bluesky as @UndergroundCrafter, Facebook as @UndergroundCrafter, or on Instagram as @ucrafter. You can also share a picture in the Underground Crafters Facebook group. Sign up for my weekly newsletter and get a coupon code for your choice of one of my premium patterns and private access to my vault of subscriber goodies. Plus, you’ll never miss one of my free patterns again!
Add the Bonfire Fringe Scarf to your Ravelry favorites or queue.

Bonfire Fringe Scarf
Crochet Fringe Scarf Pattern by Underground Crafter


This striped scarf keeps you cozy against the chill of the night. The simple ripple pattern doesn’t use any complicated decreases, and there’s no need to weave in any ends because of the fringed edges.
Finished Size
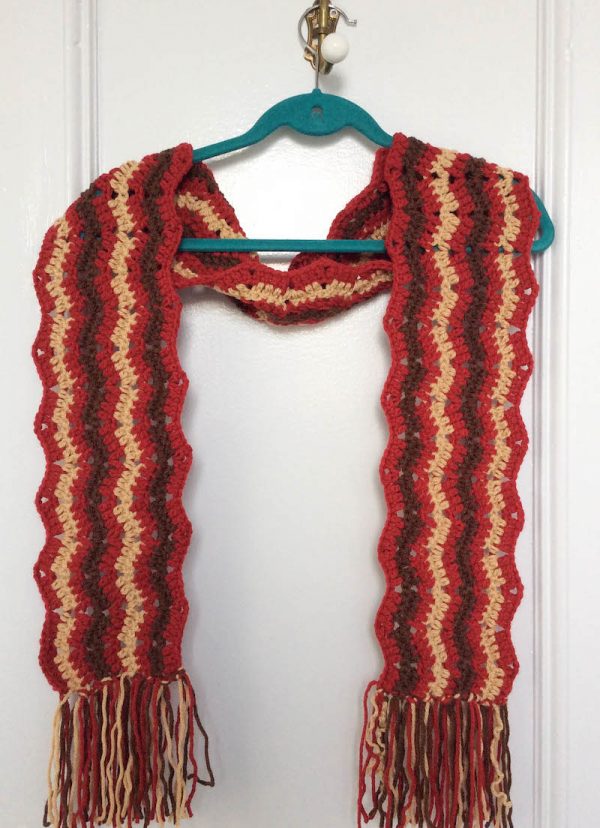
- Adult: 55.5” (141 cm) long x 5.5” (14 cm) wide without fringe; 65” (165 cm) long with fringe.
Materials
- Paintbox Yarns Simply Chunky yarn (100% acrylic, 3.5 oz/100 g, 149 yd/136 m) – 2 skeins in 315 Red Wine (CA) and 1 skein each in 308 Light Caramel (CB) and 310 Coffee Bean (CC), or approximately 170 yd (155.5 m) in CA and 75 yd (68.5 m) in CB and CC in any bulky weight yarn.
- US K-10.5/6.5 mm crochet hook, or any size needed to obtain correct gauge.
- Yarn needle.
- Cutting mat, quilting ruler, and rotary cutter (optional, for trimming fringe) – I used my Fiskars Folding Cutting Mat, Fiskars Folding Ruler, and Fiskars 45 mm Easy Change Ergo Control Rotary Cutter.
Gauge
- 1 ripple (from valley to valley) = 2.5” (6.5 cm) across in pattern. Exact gauge is not critical for this project.
Abbreviations Used in This Pattern
- CA – Color A
- CB – Color B
- CC – Color C
- ch – chain
- dc – double crochet
- rep – repeat
- sk – skip
- sp – space
- st(s) – stitch(es)
- yo – yarn over
- *Repeat instructions after asterisk as indicated.
- () Instructions between parentheses are worked in same stitch or space.
Pattern Notes
- Tips for crocheting with a long foundation chain are available in the video below.
- If you can’t see the video above with tips for a long foundation chain, click HERE to watch it on YouTube.
- Yarn tails are left hanging when changing colors to form base of fringed edges. Always start and end rows with at least 6” (15 cm) long yarn tails unless otherwise noted in pattern, or approximately 1” (2.5 cm) longer than desired final length of fringe.
- A helpful video tutorial for changing colors in the last yarn over of a double crochet row is available below.
- If you can’t see the video above for changing colors, click HERE to watch it on YouTube.
- Cute As a Button Crochet has a helpful photo tutorial for adding fringe to a crochet scarf here.
- You can find a helpful video tutorial for cutting fringe with a rotary cutter by One Dog Woof here.
- Ch-2 sp count as 2 sts (2 ch) for end-of-row stitch counts.
Pattern Instructions
Scarf
- Starting with CA and leaving a long yarn tail (approximately 10”/25.5 cm) to be used for fringe (see Pattern Notes), ch 224 (or any multiple of 10 sts, + 4).
- Row 1: Turn, sk 3 ch (counts as dc), dc in next 5 ch, *sk 2 ch, dc in next 4 ch, ch 2, dc in next 4 ch; rep from * across to last 6 sts, sk 2 ch, dc in next 3 ch, 2 dc in last ch, changing to CB in last yo of final dc. Fasten off CA. (221 sts)
- Row 2: Turn, ch 3 (counts as dc, here and throughout), dc in same st, dc in next 3 sts, *sk 2 sts, dc in next 3 sts, (dc, ch 2, dc) in ch-2 sp, dc in next 3 sts; rep from * across to last 6 sts, sk 2 sts, dc in next 3 sts, 2 dc in last st, changing to CA in last yo of final dc. Fasten off CB.
- Row 3: Rep Row 2, changing to CC in last yo of final dc. Fasten off CA.
- Row 4: Rep Row 2, changing to CA in last yo of final dc. Fasten off CC.
- Row 5: Rep Row 2, changing to CB in last yo of final dc. Fasten off CA.
- Rows 6-9: Rep Rows 2-5.
Add Fringe
- Prepare 18 groups of fringe (one group for each row on each side of scarf) as follows:
- Cut 12” (30.5 cm) pieces of CA, CB, and CC (or add approximately 1”/2.5 cm to your planned final length of fringe and then double that number).
- Fold each group of 3 strands of yarn in half.
- Attach fringe using crochet hook at end of each row, incorporating hanging yarn tail from that row into group. See Pattern Notes for detailed photo tutorial for attaching fringe.
- Repeat for each row on each side of scarf.
- Trim fringe to approximately 5” (13 cm). I used the rotary cutter method. See Pattern Notes for video tutorial for trimming fringe with rotary cutter.
Hello Marie,
Thank you for this pattern! I’m not sure which excited me more…the simplicity of the pattern or the colours. I can see why you included this in your list of 16 fall quickies to make in a week-end. It started to snow lightly here yesterday so this is the perfect pattern for the weather.
I do enjoy your newsletters but I hope that you have time to rest this week-end because it sounds like that is a luxury in your world.