
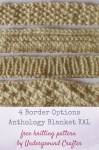
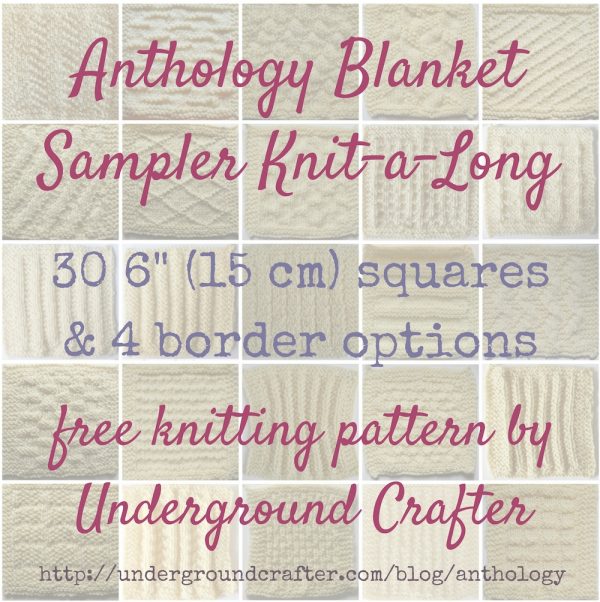
The Anthology Blanket is a sampler blanket that was released throughout 2016 as a knit along. For more details, including a schedule and links to all previously released posts, visit the Anthology Blanket home page. This post includes four knitting border options for your finished blanket.
This post contains affiliate links. I may receive compensation (at no added cost to you) if you make a purchase using these links.
If you’ve made it this far, congratulations! You should be close to a finished blanket. If you plan to add borders to your Anthology Blanket squares, here’s what I recommend.
- Spray block your squares (if you choose to). If you’re new to blocking, you can read Blocking Basics for Crocheters and Knitters.
- Seam your blocks together. You can find my seaming recommendations for this blanket here.
- Weave in your ends. (Trust me on this. Once the borders are on, you’ll want to be almost done, not staring down 60+ dangling yarn tails.)
- Then, get yourself a set of circular knitting needles – at least 40” (100 cm) long – in the same size you used for your blanket squares to work the borders. Although the borders are knitted flat, the long cord of a circular needle will make it much easier to hold your stitches.
Scroll down for four different border options for your blanket. And, of course, you can also choose to use the garter stitch border around each block and just seam your blocks together, weave in your ends, and declare your blanket finished!
If you’d like to chat with other knitters, stop by this thread on Ravelry. If you make your own Anthology Blanket, I’d love to see it! Share your progress and questions by tagging me on Bluesky as @UndergroundCrafter, Facebook as @UndergroundCrafter, or on Instagram as @ucrafter. You can also share a picture in the Underground Crafters Facebook group. Sign up for my weekly newsletter and get a coupon code for your choice of one of my premium patterns and private access to my vault of subscriber goodies. Plus, you’ll never miss one of my free patterns again!
Add the Anthology Blanket to your Ravelry favorites or queue!

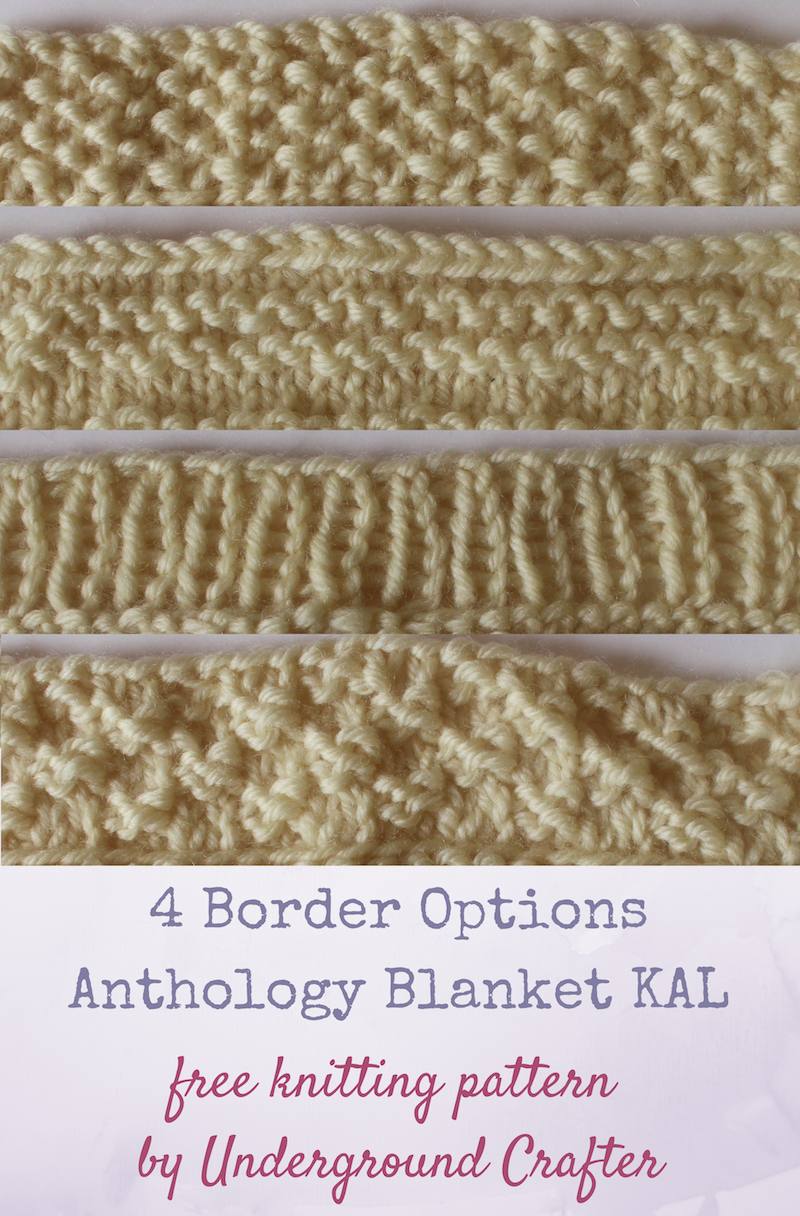
4 Knitting Border Options
Knitting Patterns by Underground Crafter


All the knitting border patterns below start by picking up a row of stitches along an edge with the right side facing. This row up picked up stitches counts as a row of knit stitches on the right side. You can find a tutorial for picking up stitches below.
Finished Size
- Customized.
Materials
- Cascade 220 Superwash yarn (100% superwash wool), or the same weight of yarn used for the project you are adding borders to.
- US Size 7/4.5 mm circular knitting needles, or the size used for the project you are adding borders to.
- Yarn needle.
Abbreviations Used in These Patterns
- BO – bind off
- k – knit
- k2tog – knit 2 sts together – A helpful video tutorial is below.
- If you can’t see the k2tog video above, watch it on YouTube.
- p – purl
- rep – repeat
- RS – right (front) side
- sl 1 – slip 1 st, knitwise
- st(s) – stitch(es)
- WS – wrong (back) side
- * Rep instructions after asterisk as indicated.
Pattern Note
- For all border options, pick up stitches along any edge with the RS facing. A helpful video tutorial demonstrating how to pick up stitches is available below.
- If you can’t see the picking up stitches video above, watch it on YouTube.
Pattern Instructions
Border Option 1: Seed Stitch Border

- Pick up sts along any edge.
- Start with an even number of sts. (If you have an odd number of sts, k2tog in the first 2 sts of the first row.)
- Row 1: (WS) Sl 1, *k1, p1; rep from * across to last st, p1.
- Row 2: Sl 1, *p1, k1; rep from * across to last st, p1.
- Rep Rows 1 & 2 until desired size is reached.
- BO in pattern for Row 1. Fasten off.
- Repeat Border 1 along opposite edge of blanket.
- Continue on to finishing instructions.
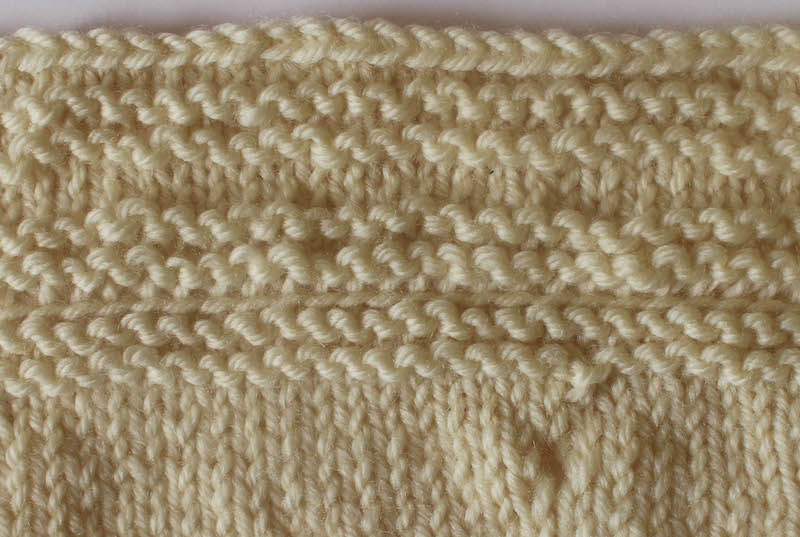
Border Option 2: Garter and Stockinette Stripes Border
- Pick up sts along any edge.
- Start with any number of sts.
- Row 1: (WS) Sl 1, k across to last st, p1.
- Rows 2-4: Rep Row 1.
- Row 5: Sl 1, p across.
- Row 6: Rep Row 1.
- Rep Rows 1-6 until desired size is reached, ending after Row 6.
- BO in pattern for Row 5. Fasten off.
- Repeat Border 2 along opposite edge of blanket.
- Continue on to finishing instructions.
Border Option 3: Ribbed Border
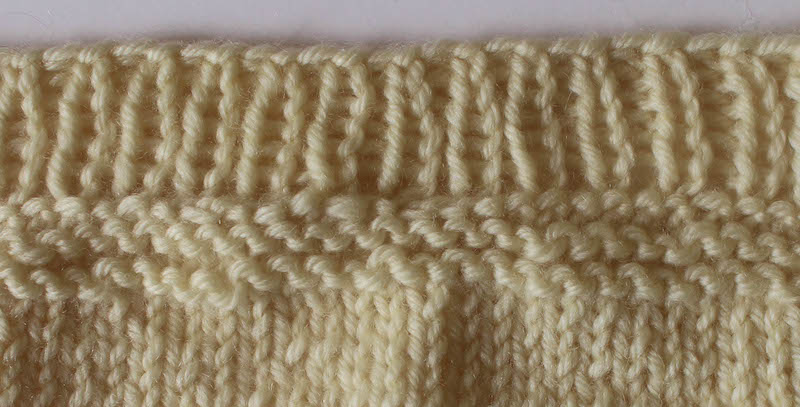
- Pattern Note: Just like ribbing on a sweater cuff, this will border will “pull in” from the outside of the blanket but it will be very stretchy.
- Pick up sts along any edge.
- Start with an odd number of sts. (If you have an even number of sts, k2tog in the first 2 sts of the first row.)
- Row 1: (WS) Sl 1, *k1, p1; rep from * across.
- Row 2: Sl 1, *p1, k1; rep from * across to last 2 sts, p2.
- Rep Rows 1-2 until desired size is reached, ending after Row 1.
- BO in pattern for Row 2. Fasten off.
- Repeat Border 3 along opposite edge of blanket.
- Continue on to finishing instructions.
Border Option 4: Double Seed Stitch Border
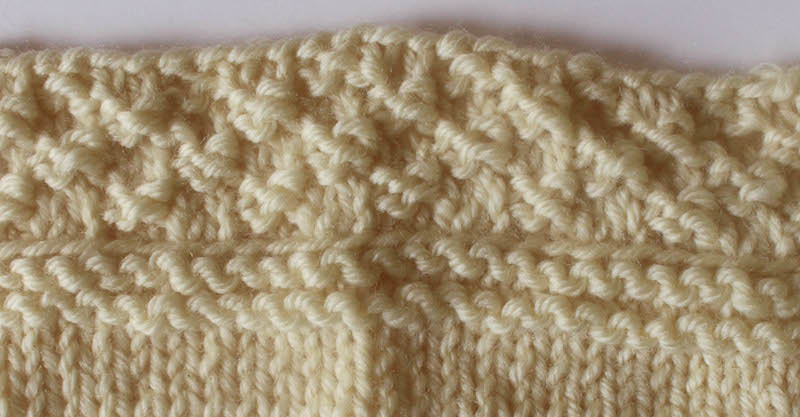
- Pick up sts along any edge. This border doesn’t have a “neat edge,” so is best used as the last 2 borders (since no more sts need to be picked up on the sides).
- Start with a multiple of 4 sts. (If you have a different multiple of sts, decrease evenly through the first row by k2tog instead of k. Remember that each k2tog decreases by 1 st.)
- Row 1: (WS) *K2, p2; rep from * across.
- Row 2: Rep Row 1.
- Row 3: *P2, k2; rep from * across.
- Row 4: Rep Row 3.
- Rep Rows 1-4 until desired size is reached, ending after Row 3.
- BO in pattern for Row 4. Fasten off.
- Repeat Border 4 along opposite edge of blanket.
- Continue on to finishing instructions.
Finishing
- With yarn needle, weave in ends. Spray block if desired. If you’re new to blocking, read Blocking Basics for Crocheters and Knitters.
© 2014, 2016 by Marie Segares (Underground Crafter). This pattern is for personal use only. You may use the pattern to make unlimited items for yourself, for charity, or to give as gifts. You may sell items you personally make by hand from this pattern. Do not violate Marie’s copyright by distributing this pattern or the photos in any form, including but not limited to scanning, photocopying, emailing, or posting on a website or internet discussion group. If you want to share the pattern, point your friends to this link: https://undergroundcrafter.com/anthology. Thanks for supporting indie designers!
On border 2, it looks like there’s a straight line between the last 2 rows of garter stitch. Wyou tell me how to do that please? Thanks.
I picked up stitches in the back loop. You can find a tutorial here: https://undergroundcrafter.com/2016/10/13/knitting-tutorial-pick-stitches/