

Alright, who’s excited about knitting? I know I am! In today’s post, I’ll share all the details you need to know about getting started with your Anthology Blanket, including information about preparing each square for seaming, blocking, and assembly. I’m even including a pattern for a sample square so you can check your gauge and a planning grid so you know how many squares you’ll need to make.
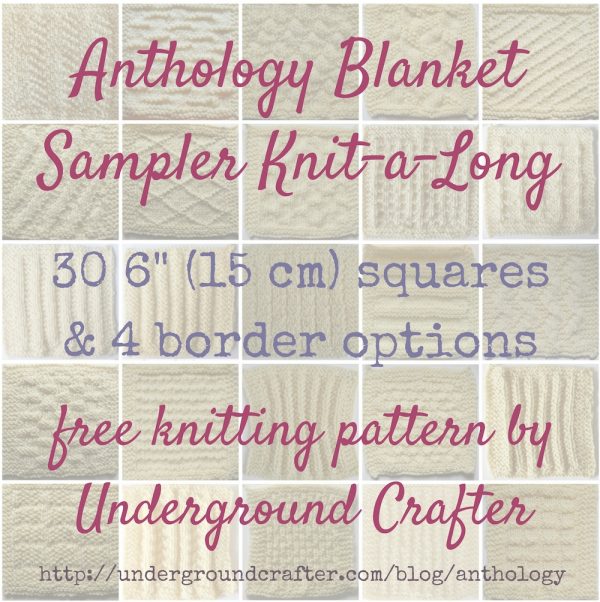
The Anthology Blanket is a sampler blanket that will be released throughout 2016 as a knit-a-long. For more details, including a schedule and links to all previously released posts, visit the Anthology Blanket home page.
This post contains affiliate links.
Getting Started with Your Anthology Blanket
Each of the 30 sampler square patterns will include a garter stitch border as well as edge stitches on each side to make it easier to join your squares.
Casting On and Binding Off
I used the long tail cast on and the “standard” or “chain” bind off. If you’re a newbie knitter, these videos by Lion Brand Yarn demonstrate those techniques.
You are welcome to use any cast on or bind off method that you prefer – it’s your blanket!
Tension, Gauge, and Blocking
My squares measured about 6” (15 cm) when I used Cascade 220 Superwash yarn (a smooth, light medium weight yarn) along with US-7 (4.5 mm) knitting needles. To check your gauge, I’ve also included a pattern for simple stockinette square in today’s post. (This isn’t one of the 30 squares, so feel free to rip it out afterwards or use it for a future blanket!)
You may want to block your squares before assembly. Many knitters block everything, others block only sometimes, and the rest never block. The garter stitch borders will help your squares lay flat, so if you hate blocking, you can probably avoid it. But, you may find that your blanket looks more even and is easier to assemble if you do block. Blocking can be particularly helpful for very textured squares. I used the spray blocking method for my squares. You can learn more about blocking in this post.
Pattern Reading Tips
If you struggle with pattern reading, here are a few tips.
- Check over the abbreviations list and read through the pattern before you start knitting.
- Use highlighting (or highlighter tape, sticky notes, or a ruler, if you printed out the pattern) to “track” your place in the pattern.
- If you find a pattern confusing, break it down into small parts. You can write the pattern out in your own words, highlight each stitch, and/or use check marks as you finish each part.
- Make notes on the pattern to include any alterations you made for future reference. (For this sampler, you might want to include the length of yarn you used to cast on, if you’re using the long tail cast on, and how much yarn you used for each square.)
- If you’re still having trouble, ask for help!
Weaving in Ends
Make sure to leave a yarn tail at least 6” (15 cm) long on your cast on edge of each square.
- Weaving in ends keeps your work from unraveling. This is especially important for blankets, which usually get a lot of wash and wear.
- Weaving in ends also makes your projects look neat. Very Pink Knits has videos demonstrating how to weave in ends on stockinette stitch and garter stitch.
- Waiting until your project is finished to weave in your ends usually creates a lot of anxiety! Weave in the yarn from your cast on edge as you finish each square, and it won’t be as tedious.
Remember to leave a yarn tail at least 3 times the length of your square on the bind off edge. This will be used to join your squares, so don’t weave it in yet!
Seaming and Assembly
Seam your squares as you finish them, randomly, or spread them out after finishing all 30 to choose the layout you like best.
- If you don’t have a lot of room to lay out your squares (or if pets or children will promptly move them) take a picture of each square and use a free photo collage website, like PicMonkey, to help you plan your layout.
- I recommend using the yarn tail from your bind off edge and any one of these seaming methods to join each square together.
- Photo tutorial for joining squares with the mattress stitch,
- Photo tutorial for joining squares with the whipstitch, or
- Photo tutorial for joining squares with the slip stitch.
- Leave a yarn tail approximately 3 times the length of your square after you bind off for seaming.
- Join squares together across a row using the yarn tail.
- After each square is joined, weave in the remaining yarn tail.
- Once each row is formed, cut a long strand of yarn (approximately 3 times the length of the row) and use the same seaming method to join the rows together.
- After each row is joined, weave in the remaining yarn tail.
- Once the blanket is assembled, add your borders.
- After finishing borders, weave in any remaining ends.
Not sure how many squares you’ll need? Download the planning sheet to figure it out!
Gauge Square: Stockinette Stitch
Before you get started with the sampler squares, you may want to check your gauge to see if you need to adjust your needles or tension to get a 6” (15 cm) square. (By the way, since this is your blanket, feel free to make larger or smaller squares! But you may need more or less yarn if your squares are a different size.)
If you’re using a new-to-you yarn, you may also want to watch the gauge square to see if there’s any shrinkage, color bleeding, pilling, or other issues before you put your whole blanket through the wash!
Don’t forget to share a picture on Ravelry or with my Facebook page if you make one!

Stockinette Stitch 6″ (15 cm) Square
Knitting Pattern by Underground Crafter


This simple square will help you check your gauge.
Finished Size
- 6″ (15 cm) square.
Materials
- Cascade 220 Superwash (100% superwash wool), or approximately 41 yds (37.5 m) in any medium weight yarn.
- US Size 7/4.5 mm knitting needles, or any size needed to obtain gauge.
Gauge
- Completed square = 6″ (15 cm) in pattern. Exact gauge is not critical for this project.
Abbreviations Used in This Pattern
- BO – bind off
- CO – cast on
- k – knit
- p – purl
- rep – repeat
- RS – right (front) side
- sl 1 – slip 1 st, knitwise
- st(s) – stitch(es)
- * Rep instructions after asterisk as indicated.
Pattern Note
- Pattern repeat is any multiple of 1 st. Instructions include 4 st borders.
Pattern Instructions
- CO 32 sts.
Border
- Row 1: Knit to last st, p1.
- Row 2: Sl 1, k to last st, p1.
- Rows 3 & 4: Rep Row 2 twice.
Stockinette stitch pattern
- Row 1: (RS): Sl 1, k to last st, p1.
- Row 2: Sl 1, k3, p across to last 4 sts, k3, p1.
- Rep Rows 1 & 2 until square measures approximately 5.5” (14 cm), ending after Row 2.
Border
- Rows 1-4: Rep Border Row 2, 4 times.
- BO in pattern for Border Row 2. Fasten off with long yarn tail (approximately 3 times the width of square) for seaming.
© 2014, 2016 by Marie Segares (Underground Crafter). This pattern is for personal use only. You may use the pattern to make unlimited items for yourself, for charity, or to give as gifts. You may sell items you personally make by hand from this pattern. Do not violate Marie’s copyright by distributing this pattern or the photos in any form, including but not limited to scanning, photocopying, emailing, or posting on a website or internet discussion group. If you want to share the pattern, point your friends to this link: http://undergroundcrafter.com/anthology. Thanks for supporting indie designers!
If you’d like to chat with other knitters, stop by this thread on Ravelry. You can also share your progress and questions with me by tagging me on Facebook as @Underground Crafter.
Add the Anthology Blanket to your Ravelry favorites or queue!
Is there a way of getting the ‘Free knitting pattern: Anthology Blanket (2016 Sampler Blanket Knit-a-Long)’ in a printed version instead of knitting to a computer? Is there a version where all of the block patterns are printed together? I love your pattern and idea, I only just discovered it.
Thanks for stopping by, Mara. At this point, the pattern isn’t yet available as a PDF ebook, though I do plan to compile it once the knit-a-long is over.