
I’m continuing my series of tutorials on joining granny squares (and other crochet and knitting projects) today with a tutorial on using the slip stitch join. As I’ve mentioned before, I love granny squares but I don’t have a favorite way to join them. I like to switch it up!
If you love granny squares, too, or are just looking for more ways to seam pieces together, after reading this you’ll want to check out the previous tutorials in this series to learn how to join granny squares with
- The mattress stitch,
- The whipstitch, and
- The single crochet.
The slip stitch method is another technique that is invisible on the front side. This does leave a noticeable seam on the back, but it is very sturdy. This is a great seam for things with a defined wrong side that will be subject to a lot of wear and tear (like baby blankets and pet projects).
For the slip stitch join, you’ll need a crochet hook in the same size as the one you used for your project. (If your project was knit, match the crochet hook milimeter size to the size of the knitting needles you used.)
Tutorial: How to seam with the slip stitch
Update: A video tutorial is now available. Watch below or scroll down for the photo tutorial.
If you can’t see the video tutorial above, click here to watch it on Facebook.
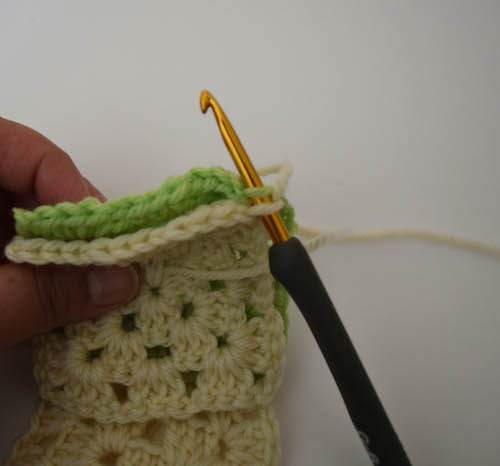
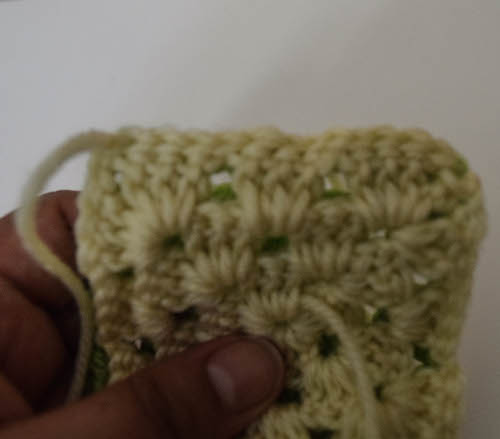
Step 1: Start with the pieces wrong side out/with right sides together.
The slip stitch join will be worked on the wrong (back) side of the project. When possible, don’t fasten off the yarn from the last piece and use that to join, as in the picture below.
(If you’ve already fastened off, don’t worry! Just start with a slip knot in the yarn you will use for seaming on the hook.)
Step 2: Insert the hook through the back loops of the first stitch on each project.
In this case, I’m starting with the yarn tail from the piece on the left. Lefties should start at the right.
The back loops will be the two outer loops. The inner loops of each piece will not be seamed, and when you turn the project right side out, they will look untouched.
Step 3: Yarn over.

With the seaming yarn, yarn over.
Step 4: Draw the yarn through both loops.
You’ve just finished your first slip stitch! You’ll have just one loop on the hook.

Step 5: Continue slip stitching across.
Working in corresponding stitches on each piece to avoid puckering, insert your hook into the outer loops of the next stitch, yarn over, and draw through all 3 loops on your hook.

Continue repeating Step 5 until the seam is finished!
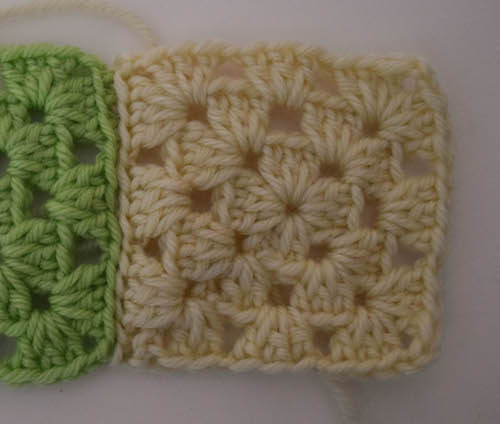
You can see that it looks like a foundation chain across the back of the project.
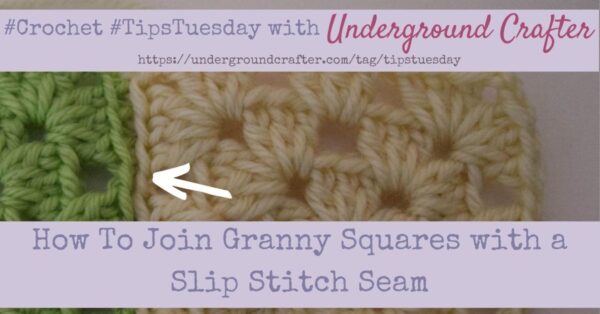
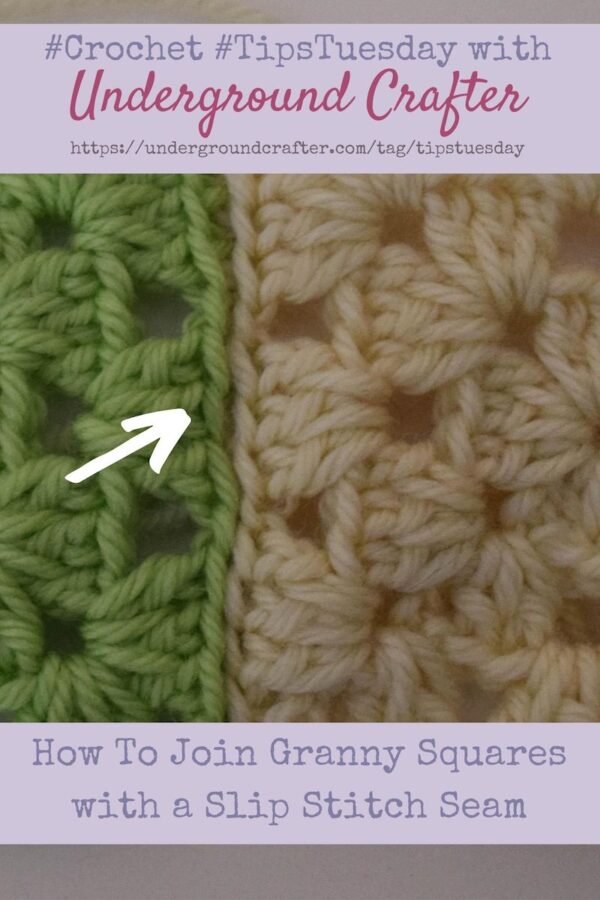
Since you worked in the back loops, the seam is invisible on the front.
It even allows the front loops to look more visible on the front!
After your seam is finished, weave in the yarn tail on the wrong side of your project to secure it from unraveling.
What’s your favorite method for joining granny squares?
Thank you very much for this tutorial on joining Granny Squares. I have always used the slip stitch to join them but I can see where I will be using this stitch in future. One thing I have noticed in your photos is that the joining colour is not visible from the front. This relieves a lot of stress for me because I do like squares in various colours but joining them leaves a visible join when the colours of blocks change. And…combining knitted squares with the same technique is an added bonus! Thank you for sharing this information. Your creativity and boundless energy inspires me.