

Are you looking for a free crochet Christmas angel ornament pattern? Then try the simple Cherub Ornament! This amigurumi seraph adds a handmade touch to Christmas decorations. This is a beginner-friendly softie pattern. A more advanced crocheter can add different embellishments to customize this project.
This post contains affiliate links. I may receive compensation (at no added cost to you) if you make a purchase using these links. Materials for this project were generously provided by Clover USA, Fairfield World, and Yarnspirations Red Heart.
Last year, I designed the Cherub Ornament for a special issue of I Like Crochet, my favorite digital crochet magazine. Since it launched years ago, I’ve had 24 patterns published in it, so I may be a little bit biased. (By the way, you get instant access to all of these patterns and hundreds more with your subscription.)
I wanted to make a simple design for a crochet Christmas angel that was beginner-friendly and could be completed quickly with just a few colors. The Cherub Ornaments make great gifts. Instead of the ornament loop, you can add a longer yarn tail to turn it into a gift wrap embellishment. You can also customize your version by changing the Face and Hair colors, or using a different color for the Body. And, of course, by using larger or smaller safety eyes you can change the look quite a bit, too.
If you make your own Cherub Ornament project, I’d love to see it! Share your progress and questions by tagging me on Bluesky as @UndergroundCrafter, Facebook as @UndergroundCrafter, or on Instagram as @ucrafter. You can also share a picture in the Underground Crafters Facebook group. Sign up for my weekly newsletter and get a coupon code for your choice of one of my premium patterns and private access to my vault of subscriber goodies. Plus, you’ll never miss one of my free patterns again!
Add the Cherub Ornament to your favorites or queue on Ravelry.

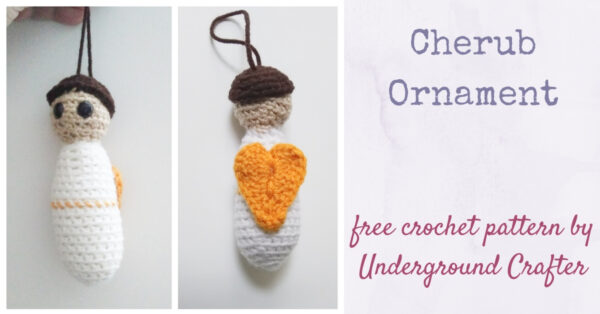
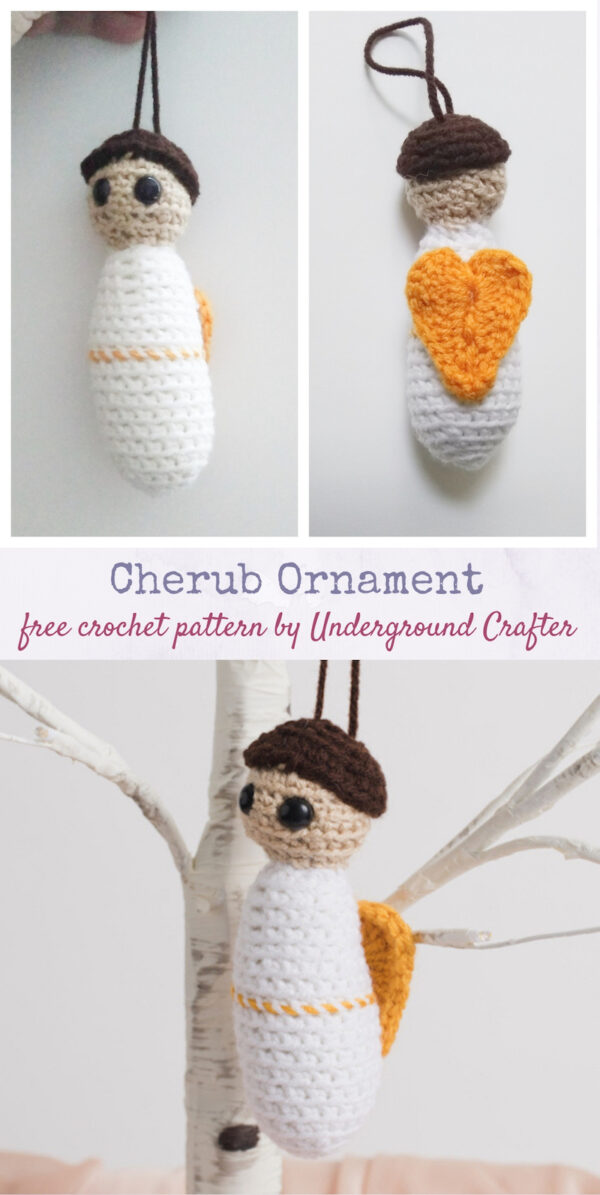
Cherub Ornament
Free Crochet Christmas Angel Pattern by Underground Crafter


The amigurumi seraph adds a handmade touch to Christmas decorations. This is a beginner-friendly softie pattern is made in four, joined pieces. This pattern is included with a subscription to I Like Crochet.
Finished Size
- Approximately 5.5” (14 cm) when stuffed.
Materials
- Red Heart Super Saver yarn (100% acrylic, 7 oz/198 g/364 yd/333 m) – 1 skein each in 334 Buff (CA), 311 White (CB), 321 Gold (CC), and 336 Warm Brown (CD), or approximately 20 yd (18.5 m) each in CA, CC, and CD, and 50 yd (46 cm) in CB in any medium weight yarn.
- US Size F-5/3.75 mm crochet hook, or size needed to obtain gauge.
- Yarn needle.
- Fairfield Poly-Fil Crafter’s Choice Dry Packing Fiber Fill.
- 10.5 mm black safety eyes – 1 pair.
- Clover Quick Locking Stitch Marker Set.
Gauge
- Exact gauge is not critical for this project. Stitches should be small so fiber filling doesn’t show.
Abbreviations Used in This Pattern
- BL – back loop – Marly Bird has a helpful tutorial for identifying the back loop here.
- CA – Color A
- CB – Color B
- CC – Color C
- CD – Color D
- ch – chain
- dc – double crochet
- hdc – half double crochet
- invdec – invisible decrease –Insert hook in front loop only of each of next 2 sts, yo and draw up a loop, yo and draw through 2 loops. A helpful video tutorial for this decrease is available below.
- If you can’t see the invdec video above, watch it on YouTube.
- Rnd(s) – Round(s)
- rep – repeat
- sc – single crochet
- sl st – slip stitch
- sp – space
- st(s) – stitch(es)
- yo – yarn over
- Repeat instructions after asterisk as indicated.
- [] Repeat instructions between brackets as indicated.
Pattern Notes
- When choosing colors, CA is the Head, CB is the Body, CC is the Wings, and CD is the Hair.
- Head, Hair, and Body are worked in rounds in continuous spirals without joining. Move stitch marker up each round to mark last st.
- Oombawka Design has a helpful tutorial for the magic adjustable ring here.
- A helpful video tutorial for the whipstitch is available below.
- If you can’t see the whipstitch video above, watch it on YouTube.
Pattern Instructions
Head
- With CA beginning at crown, start with magic adjustable ring (see Pattern Notes).
- Rnd 1: Ch 1, 6 sc in ring, pull yarn tail tightly to close ring, place stitch marker to mark last st (see Pattern Notes). (6 sts)
- Rnd 2: 2 scBL in each st around. (12 sts)
- Rnd 3: *2 scBL, scBL; rep from * around. (18 sts)
- Rnd 4: *2 scBL, scBL in next 2 sts; rep from * around. (24 sts)
- Rnd 5: ScBL in each st around.
- Rnd 6: Rep Rnd 5.
- Rnd 7: *Invdec, scBL in next 2 sts; rep from * around. (18 sts)
- Rnd 8: *Invdec, scBL; rep from * around. (12 sts)
- Fasten off with long yarn tail (approximately 18”/45.5 cm long) for joining.
Body
- With CB beginning at neck, ch 13.
- Rnd 1: Sk 1 ch, sc in next 12 ch, place stitch marker to mark last st, being careful
not to twist, begin working in unjoined rounds. (12 sts) - Rnd 2: [ScBL in next 5 sts, 2 scBL] twice. (14 sts)
- Rnd 3: [ScBL in next 6 sts, 2 scBL] twice. (16 sts)
- Rnd 4: [ScBL in next 7 sts, 2 scBL] twice. (18 sts)
- Rnd 5: [ScBL in next 8 sts, 2 scBL] twice. (20 sts)
- Rnd 6: Place stitch marker, do not move up, scBL around until Body measures approximately 2” (5 cm) from marker, remove marker, place stitch marker to mark last st.
- Rnd 7: *Invdec, scBL in next 3 sts; rep from * around. (16 sts)
- Rnd 8: *Invdec, scBL in next 2 sts; rep from * around. (12 sts)
- Rnd 9: *Invdec, scBL; rep from * around. (6 sts)
- Rnd 10: InvdecBL around. (3 sts)
- Fasten off with long yarn tail (approximately 12”/30.5 cm long) for seaming.
Wings
- With CC, ch 9.
- Row 1: Turn, skip 3 ch (counts as dc), 5 dc in next ch, dc in next 2 ch, hdc in next ch, sc in next ch, (sc, ch 3, sc) in next ch, turn to work on other side of foundation chain, sc in next ch, hdc in next ch, dc in next 2 ch, 6 dc in first ch. (22 sts + ch-3 sp)
- Row 2: Turn, ch 1, sc in first st, hdc in next st, dc in next 2 sts, hdc in next st, sc in next st, sl st in next 5 sts, 3 sc in ch-3 sp, sl st in next 5 sts, sc in next st, hdc in next st, dc in next 2 sts, hdc in next st, sc in next st. (25 sts)
- Fasten off with long yarn tail (approximately 24”/61 cm long) for seaming and decoration.
Hair
- With CD, work as for Head through Rnd 4. Rep Rnd 5 as for Head. Fasten off with long
yarn tail (approximately 18”/45.5 cm long) for joining.
Assembly and Finishing
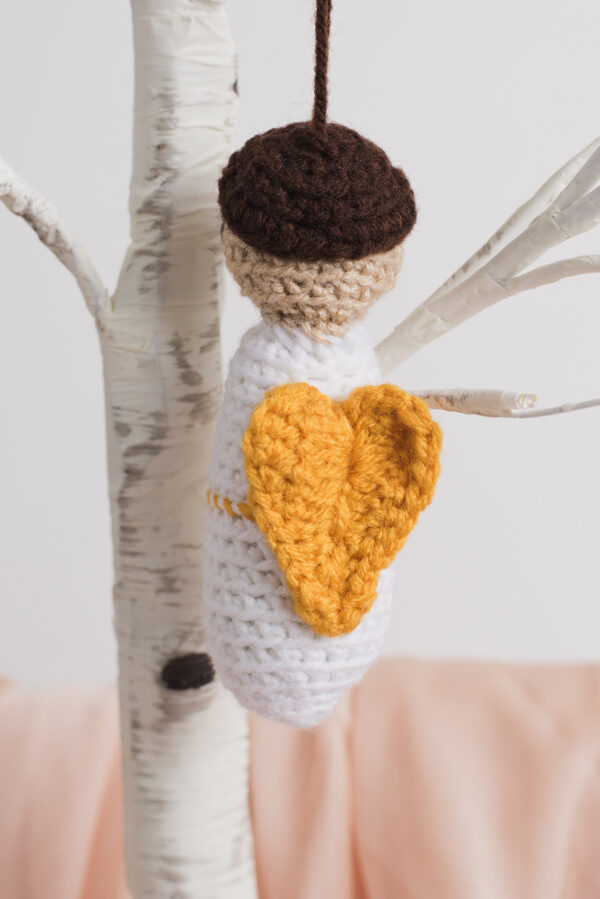
- With yarn needle threaded with CC from Wings, sew Wings down the center on back of Body, starting with top of Wings at Rnd 3 of Body.
- Weave in yarn until Rnd 8 of Body. Form Belt by working a whipstitch (see Pattern Notes) in CC through each loop on Rnd 8 of Body between Wings. Weave in ends on inside of Body.
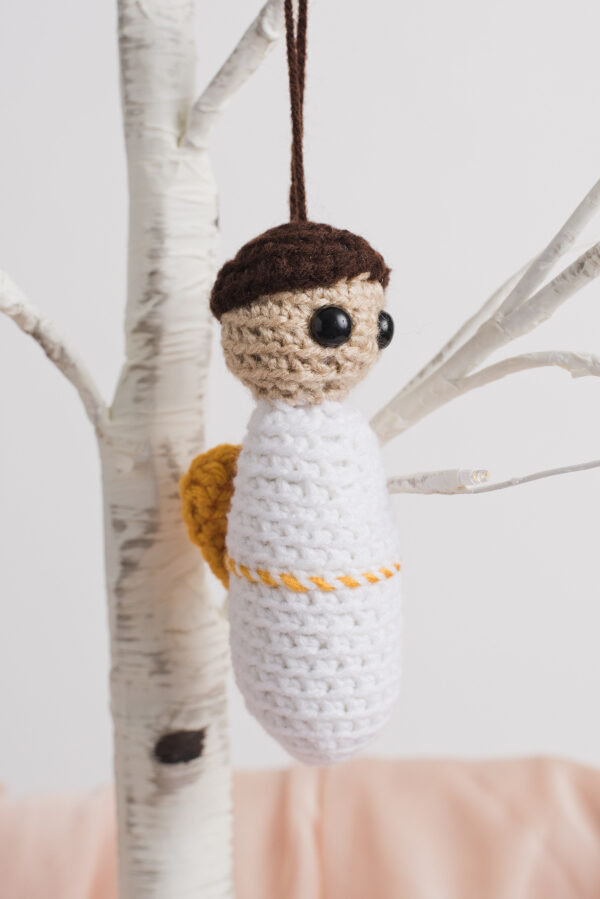
- Weave in ends from start of Head on inside of Head. Position safety eyes 2 stitches apart on Rnd 4 of Head. When satisfied with position, lock washers in place on inside of Head to secure.
- With yarn needle threaded with CB from start of Body, seam first Rnd of Body closed and weave in ends on inside of Body. Stuff Body firmly with fiber filling.
- Stuff Head firmly with fiber filling. With yarn needle threaded with CA from Head, whipstitch Head to Body. Create a defined neck by pulling yarn tightly. Weave in ends on inside of Head.
- Place Hair on top of Head at an angle starting with top of Hair at Rnd 2. With yarn needle threaded with CD from Hair, sew Hair to Head. Weave in yarn on inside of Hair, bringing needle out at center of top of Head. Create an ornament loop approximately 3” (7.5 cm) long with CD. Secure loop by weaving in remaining yarn tail through Hair.