

I’m sharing an easy-to-customize Cricut Infusible Ink tutorial that you can use to make a great gift for your favorite sewist or quilter this holiday season!
This is a sponsored conversation written by me on behalf of Cricut. The opinions and text are all mine.
This post contains affiliate links. I may receive compensation (at no added cost to you) if you make a purchase using these links. This post is sponsored by Cricut, but all opinions and thoughts are my own. Camera generously provided by B&H Photo Video and Pro Audio.
How I Make It Personal With Cricut
One of my favorite things about using my Cricut Maker is that I can easily make projects personal in so many ways. Cricut Design Space is so easy to use that I can customize an existing Ready-to-Make project or I can even create my own projects using the name or other personal details about the recipient.
Here are a few of the projects I’ve customized with my Cricut.
- Sewn Pattern Weights and Pincushion
- Crocheted Gift Card Holders
- Sewn Upcycled Denim Sachets
How To Heat Press also shared this guest post tutorial for customizing a pencil case with vinyl.
Besides customizing with names, there are many other ways to make projects personal. You can customize graphics using the many options available with a Cricut Access subscription, or you can upload your own images to Design Space.
And, while all of this is true of other Cricut machines, too, with the Maker you also have an Adaptive Tool System that allows you to seamlessly switch between tools, including several tools that aren’t available on any other Cricut machine, like the Knife Blade, Perforation Blade, Wavy Blade, Debossing Tip, Engraving Tip, and my favorites, the Rotary Blade (which makes even complicated fabric cuts perfect) and the Scoring Wheels (which turn anyone — even me! — into a papercrafting pro). This means you can customize your project even further by using more materials and details that aren’t possible on other machines.

With all that being said, for today’s project I wanted to focus on a simple project for an Infusible Ink tote bag that is easy to customize so you can crank out several for your friends and family before the holidays!
Still have questions about the Cricut Maker? You may find these posts helpful.
- 5 Things I Love About My Cricut Maker,
- Answers to Your Top 5 Cricut Maker Questions
- Get To Know Cricut Maker Scoring Wheels Part 1 and Part 2 and Part 3
- Get To Know the Cricut Maker Rotary Blade Part 1 and Part 2
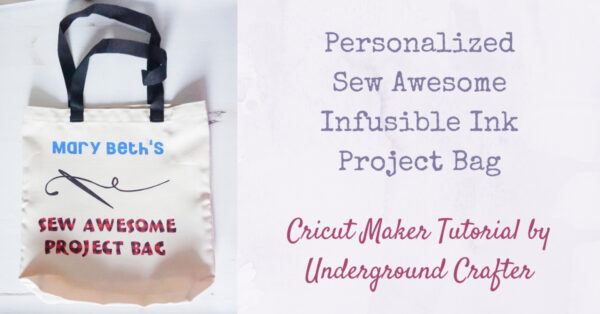
Sew Awesome Project Bag
Cricut Maker Infusible Ink Tutorial by Underground Crafter
Infusible Ink was released this summer and it takes iron-on to the next level for the home crafter. With Infusible Ink Transfer Sheets and Pens and Markers, you can make professional looking heat transfers that don’t fade, flake, or crack over time or with washing. These projects make great gifts because they live up repeated washing and regular use. If you’re new to Infusible Ink, you can find a quick project tutorial for using Infusible Ink Pens here.
Finished Size
- Fits a 19” (48 cm) x 14” (35.5).
Tools
- Cricut Maker with Cricut Design Space.
- Cricut EasyPress 2 with EasyPress Mat.
- Cricut Fine Point Blade with StandardGrip Mat.
- Cricut Weeder.
- Lint Roller.
Materials
- Sew Awesome Project Bag cut file in Design Space.
- Cricut Infusible Ink Transfer Sheets – I used both sheets from the Buffalo Check and 1 from True Blue.
- Cricut Tote Blank.
- White Cardstock – 1 piece.
Instructions
Cut Your Materials
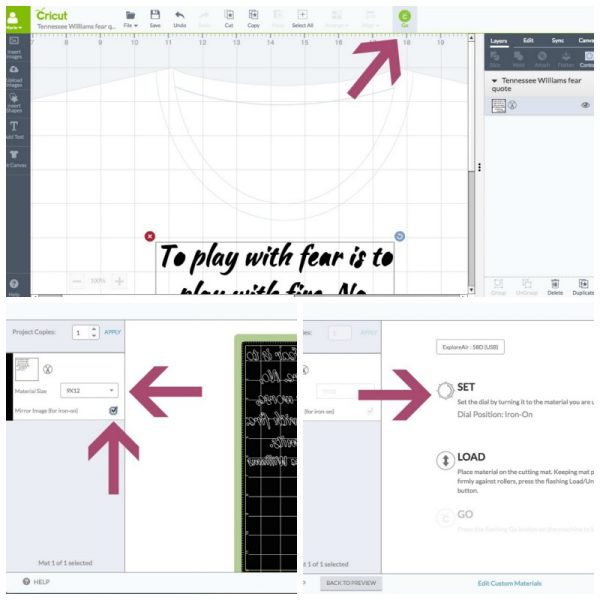
- Open the Sew Awesome Project Bag cut file in Design Space.
- To change the name, click on “Customize.” When the project is opened, double click on “Mary Beth’s” and enter the name you’d like to include instead.
- Place your Infusible Ink Transfer Sheets with the liner side down on the mat.
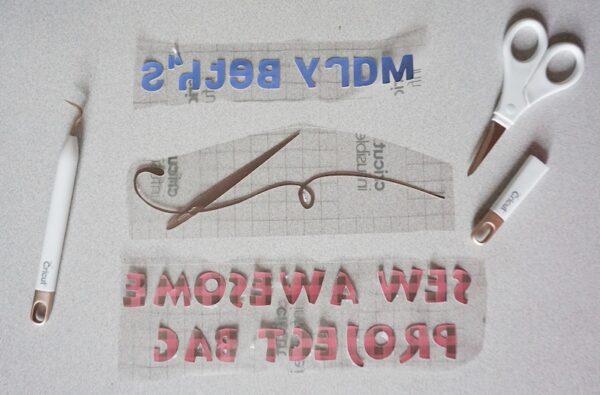
- Mirror each image and then follow the instructions for cutting.
- Be aware that Infusible Ink colors brighten significantly when heat is applied. While cutting, the colors may look dull, as on this Buffalo Check Transfer Sheet…

- …or even appear to be a totally different color, like this solid black sheet from the Buffalo Check Transfer Sheet. It looks brown!

Weed Your Transfer Sheets
- With your Cricut Weeder, weed the excess material from your Transfer Sheets.
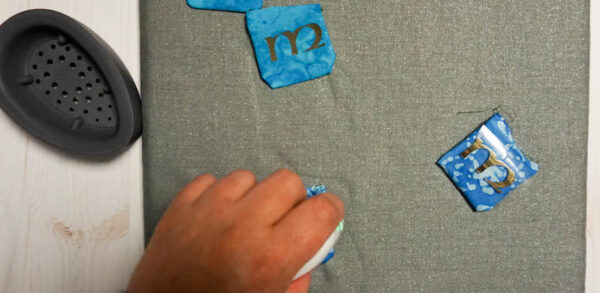
Prepare the Tote
- With the Lint Roller, carefully remove any debris from your Cricut Tote Blank. Remember to only use Cricut Blanks with the “Compatible with Infusible Ink” label for best results, as these blanks have been pre-treated.

- Place the piece of White Cardstock on top of the EasyPress Mat. Insert both inside of the Tote.
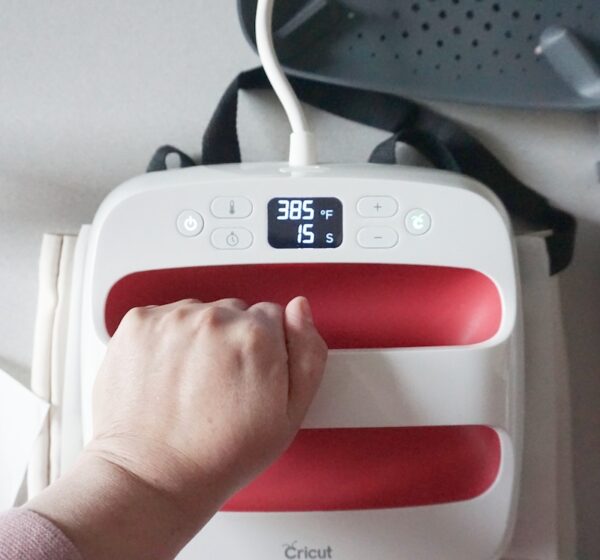
- Use the Cricut Heat Guide to identify the correct temperature and time for your heat-transfer material and base. When your EasyPress 2 reaches temperature, preheat the Tote for the recommended amount of time.

- Position the Infusible Ink Transfer Sheets, right side up, on your Tote until satisfied. Use the butcher paper included in the box to completely cover the surface that will be touched by your EasyPress 2.
- Tip: At this point, make sure you’ve weeded everything (I had to remove a stray piece that was still on the project).

- Using firm pressure and being careful not to move your “sandwich” of butcher paper, Infusible Ink, Tote, Cardstock, and Mat, press the EasyPress 2 down for the time required.
- When finished, remove your EasyPress2 carefully so you don’t shift your “sandwich.”
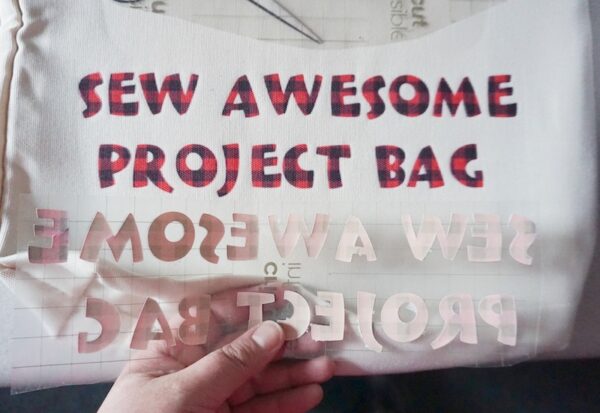
- Remove the butcher paper and the Infusible Ink liner while warm.

- Unlike when using iron-on, it is normal to still see Infusible Ink material on the liner.
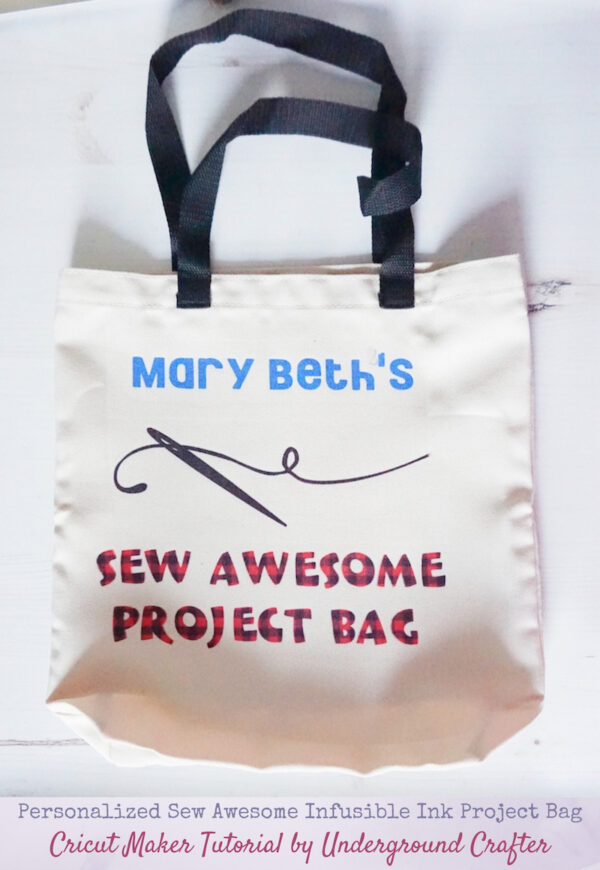
- Add sewing notions in this bag, or gift it by itself! If your sewing friend doesn’t have a Cricut Maker, you can even cut some fabric to include inside.