
This is a sponsored conversation written by me on behalf of Cricut. The opinions and text are all mine.
If you’re a quilter, you inevitable end up with fabric scraps. I’m sharing a fast and easy sewing project for gifts for fellow sewists and quilters that will help use up your scraps or jelly roll strips: a pincushion and pattern weight set. Better yet, I’m sharing how you can personalize this gift to make it even more special.
This post contains affiliate links. I may receive compensation (at no added cost to you) if you make a purchase using these links. This post was sponsored by Cricut but all opinions and thoughts are my own. Additional materials for this post were generously provided by Baby Lock, Fairfield World, and Clover USA. Camera was generously provided by B&H Photo Video and Pro Audio.
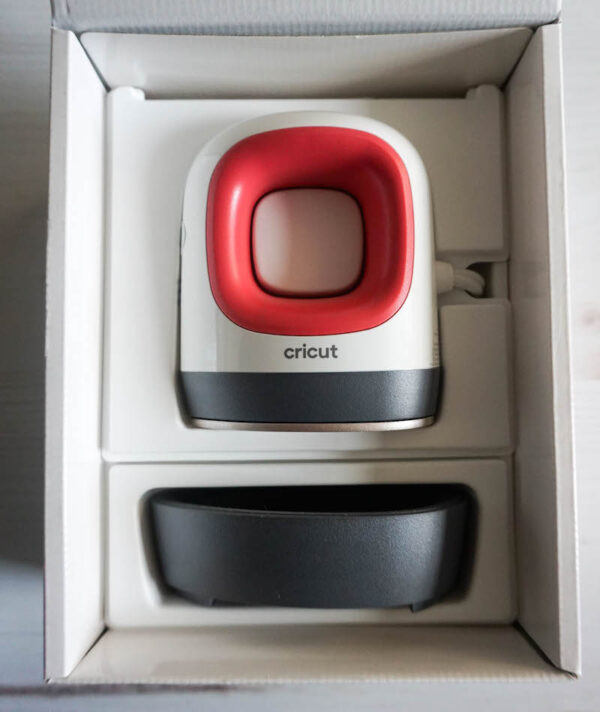
Recently Cricut released the newest edition to the EasyPress family, the EasyPress Mini.
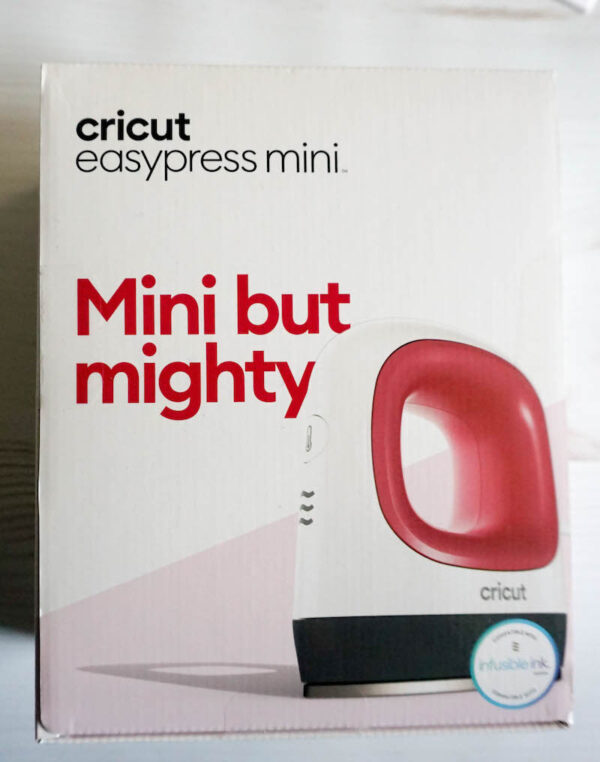
This tiny tool is perfect for keeping next to the sewing machine for pressing small seams and for transfering iron-on or heat transfer vinyl (HTV) and Infusible Ink onto smaller or harder to reach spaces.
As I’ve mentioned a few times before, I hate ironing so I was looking forward to trying out the EasyPress Mini. Whenever I try out a new product, I try to create a project that shows off why you would use the product so I knew I wanted to sew something scrappy and personalize it with iron-on. At about the same time, I discovered this when going through my fabric box.
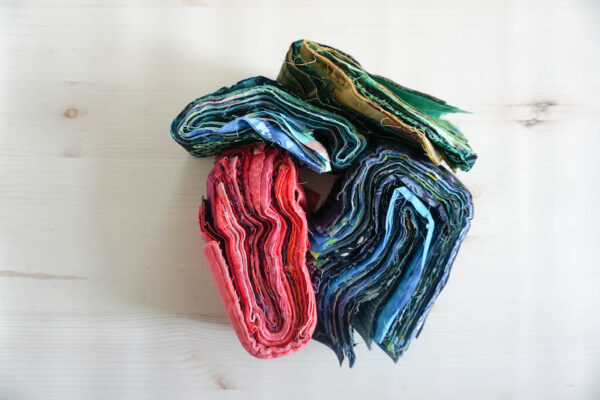
I first learned to quilt using the Make a Quilt in a Day Log Cabin book by Eleanor Burns, and because of that, I’ve always been partial to sewing quilts in strips. So, back in the day before jelly rolls were a thing, I decided to cut lots of batik cotton fabrics into 2.5” strips — basically, creating my own jelly roll. Sadly, I did not include any notes with the fabric, which I stored in its own plastic zipper bag, so I have no idea what the original plan for these strips was.
For this project, I decided to use parts of just two of these strips. If you don’t have jelly roll strips on hand, you can also use parts of two fat quarters or just leftover scraps from previous quilting or sewing projects.
This is the nineteenth pattern in the Little Gifts Sew Along. Are you just hearing about the Little Gifts Sew Along? Get all the details here.
- You can join in by sewing the projects as you have time.
- Share your progress and post pictures of your finished projects. Tag your projects and posts #sewlittlegifts and #stockingstuffersal on all social media.
- If you’d like to chat with other sewists, join the Underground Crafters Facebook group.
- By the end of the SAL, you’ll have up to 25 handmade projects. Most are easy sewing projects for gifts.
- Use the button below on social media. Right click (on desktop) or tap and hold (on mobile) to save.
Handmade Pincushion and Pattern Weight Set
Sewing Tutorial by Underground Crafter
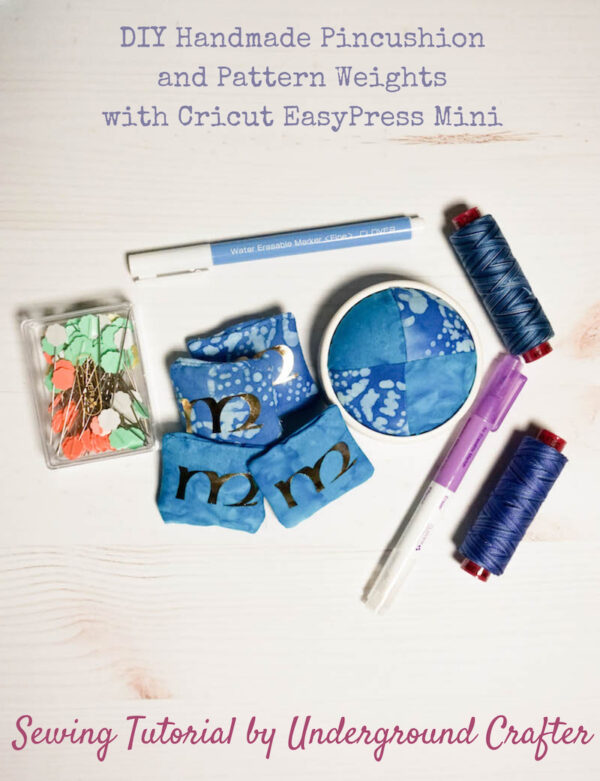
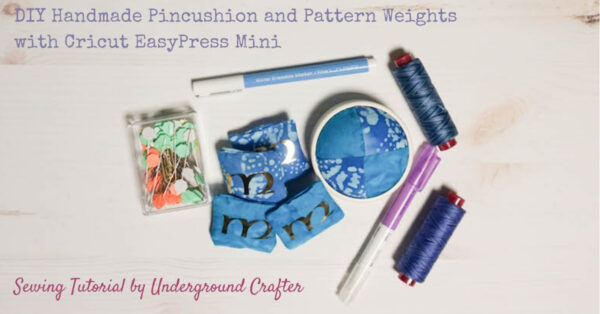
This handmade pincushion and pattern weight set is an easy sewing project that makes a great gift for a fellow sewist and quilter, and it’s also a wonderful way to use up scraps from jelly rolls, fabric strips, or other projects. I customized my version with iron-on using the Cricut EasyPress Mini. This is the nineteenth of 25 free sewing projects by 12 bloggers in the Little Gifts Sew Along.
Finished Sizes
- Pincushion: Approximately 2.5” (6.5 cm) diameter.
- Pattern weights: 2” (5 cm) square before stuffing.
Tools
- Baby Lock Jubilant sewing machine with J Leveling Presser Foot. (Read my review of the Jubilant here.)
- Rotary cutter, cutting mat, and acrylic ruler; or fabric scissors, acrylic ruler, and fabric marker.
- Cricut Explore series or Cricut Maker with StandardGrip Mat and Cricut Weeder (optional).
- Cricut EasyPress Mini and iron-safe surface.
- Clover Wonder Clips.
- Basic sewing supplies (seam ripper, etc.).
Materials
- 100% cotton fabric scraps in 2 colors – I used pieces from 2 jelly roll strips but you can also use pieces from 2 fat quarters or fabric scraps. See instructions for cut list.
- Cotton thread and monofiliment (“invisible”) thread.
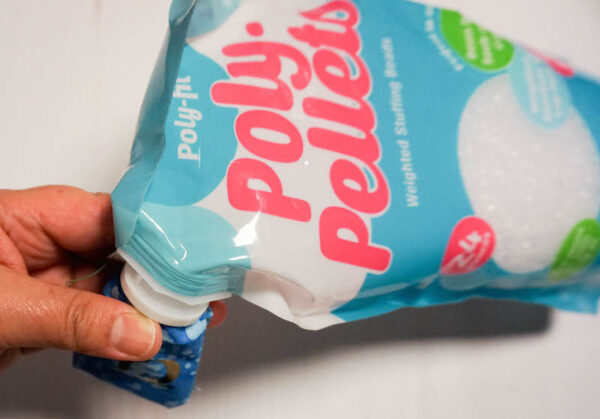
- Fairfield Poly-Fil Poly-Pellets Weighted Stuffing Beads.
- Fairfield Poly-Fil Fiber Filling.
- Cricut Iron-On (I used Cricut Foil Iron-On in Light Gold), or iron-on letters.
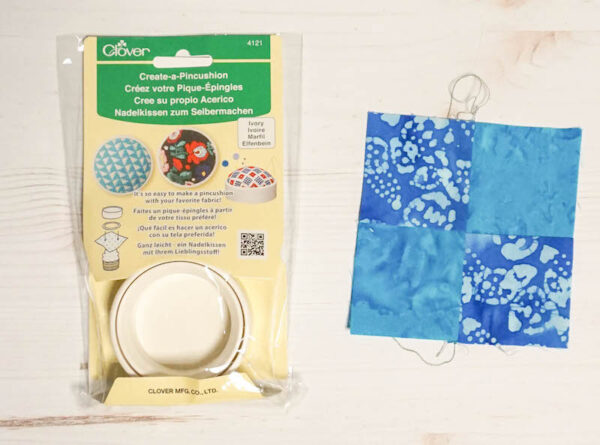
- Clover Create-a-Pinchusion in Ivory.
Instructions
Prepare and cut fabric
- 4-patch pincushion cover: Cut a 2.5” (6.5 cm) x 4.5” (11.5 cm) piece in each of 2 colors.
- Pattern weights (Cut 4 pieces for a set): For each pattern weight, cut a 2.5” (6.5 cm) x 8.5” (21.5 cm) piece of fabric. I cut 2 pieces from each color.
4-Patch Pincushion Cover
- With the right sides facing, use Clover Wonder Clips to hold the 2.5” (6.5 cm) x 4.5” (11.5 cm) pieces of fabric together along the long edge.
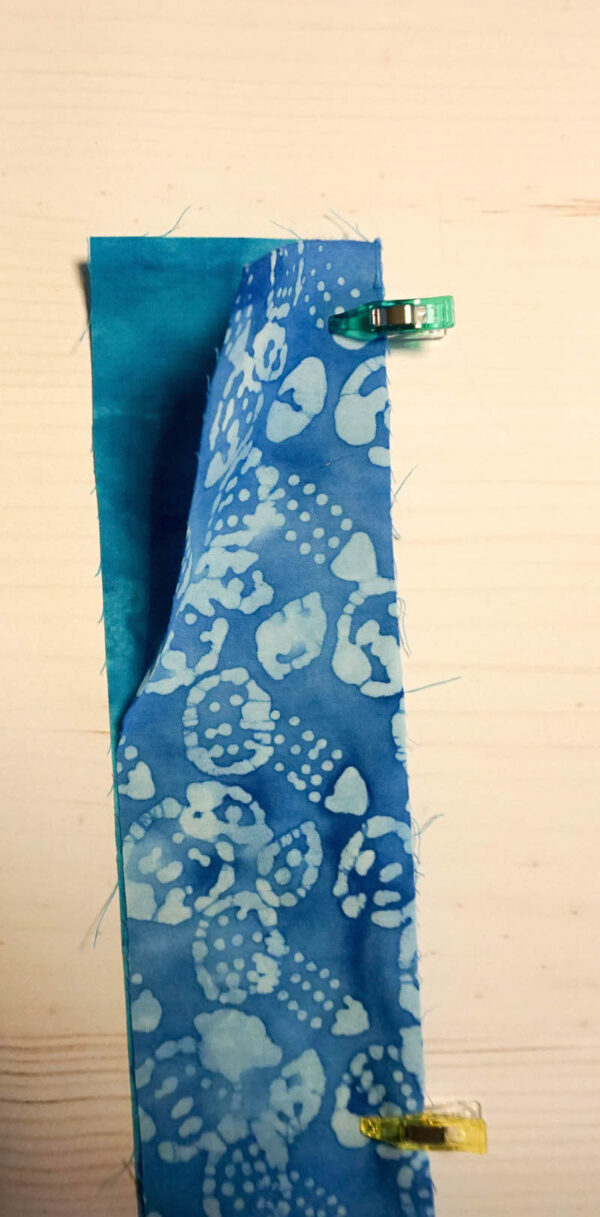
- With cotton thread and using a 1/4″ seam, seam across the long edge.

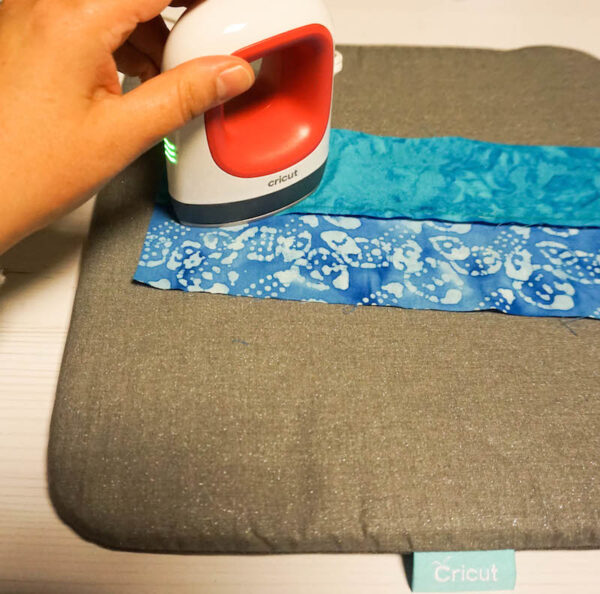
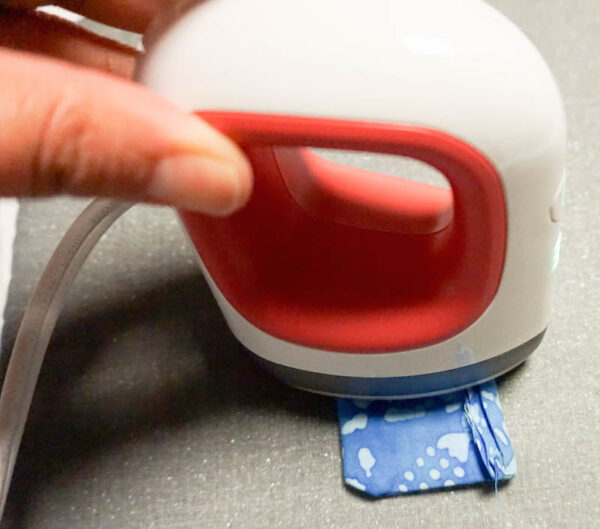
- Use the Cricut EasyPress Mini to press the seam flat.
- Cut into 2.25” (6 cm) pieces.
- Pin the 2 pieces together, being sure to line up the center seams on the squares.
- With cotton thread and using a 1/4″ seam, seam into a 4-patch block.
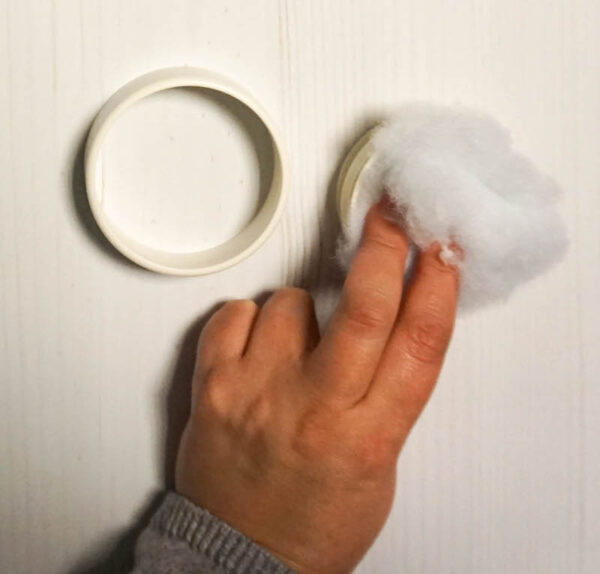
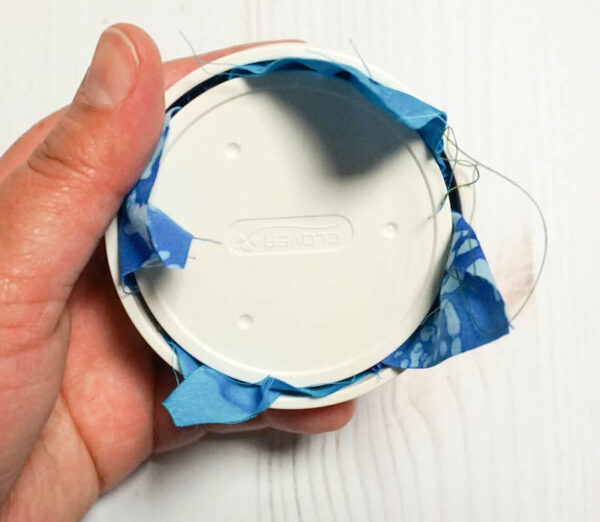
- Open the Clover Create-a-Pinchusion.
- Stuff the bottom piece with Fairfield Poly-Fil Fiber Filling.
- Position the 4-patch piece over the fiber filling.
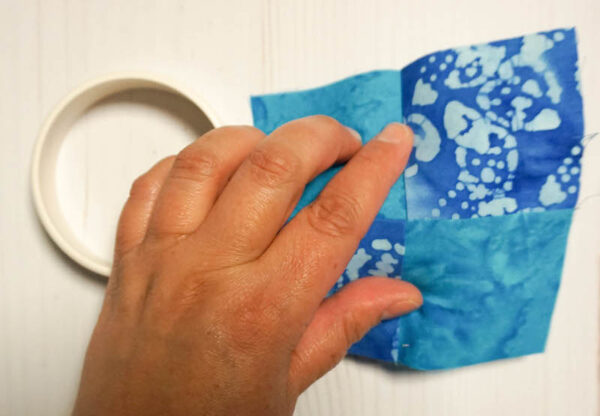
- Place the top ring of the Clover Create-a-Pinchusion over the fabric.
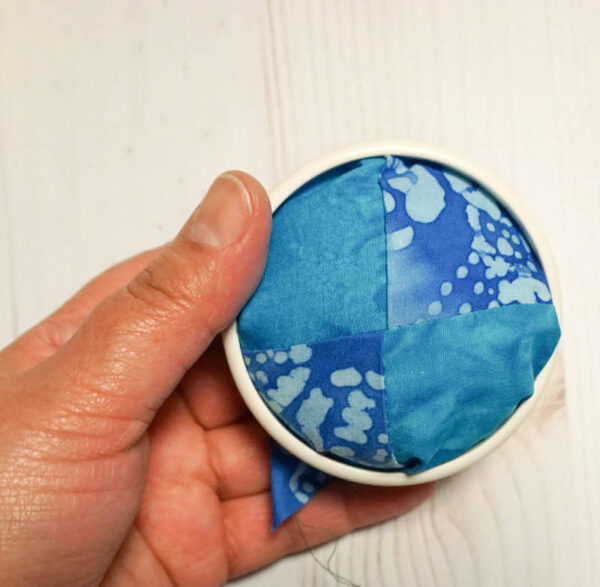
- Position the fabric so that the seams of the 4-patch are in the center.
- When you are satisfied with the positioning, trim the excess fabric from the bottom of the pincushion.
Pattern weights (Make 4)
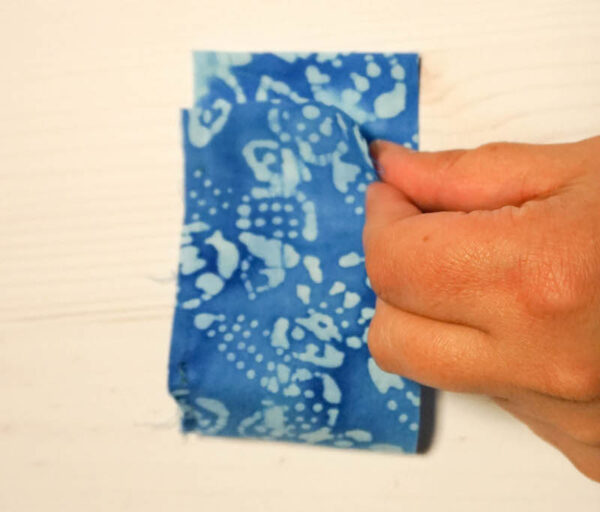
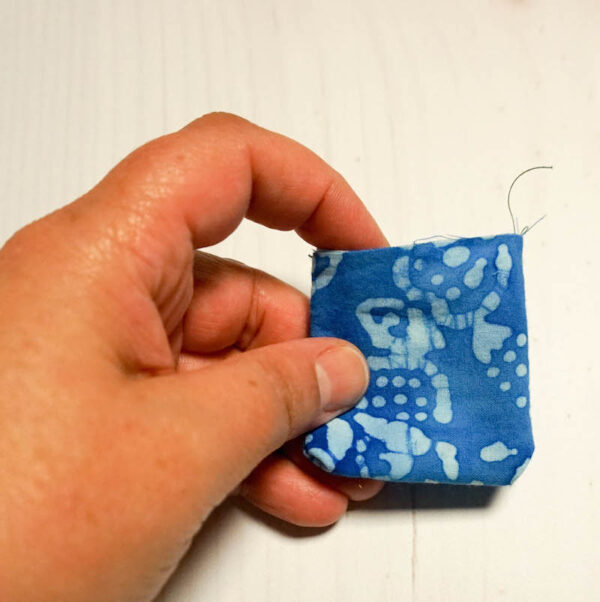
- With the right sides facing, fold a 2.5” (6.5 cm) x 8.5” (21.5 cm) piece of fabric in half so the short edges are touching.
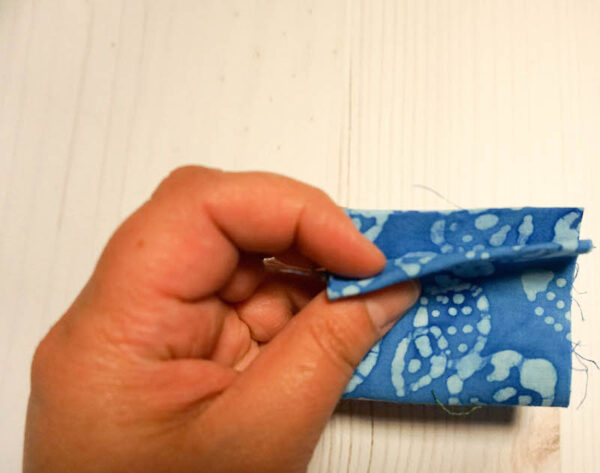
- Fold the folded piece of fabric in half again.
- With cotton thread and using a 1/4″ seam, sew 2 sides closed, keeping the side opposite the folded edge unseamed.
- Turn the fabric right side out.
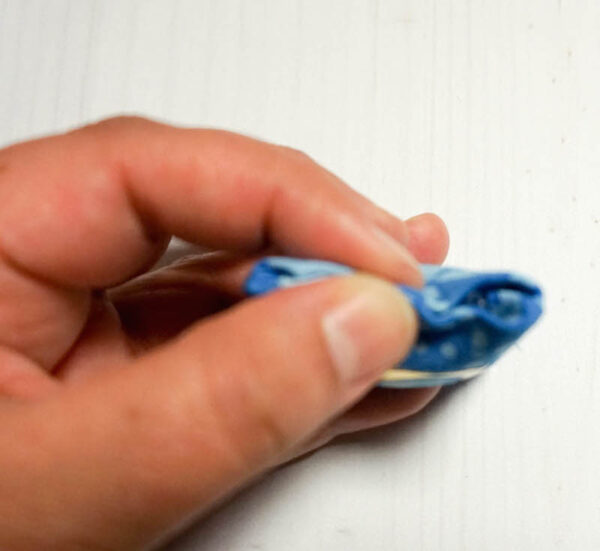
- Fold down the raw edge approximately 1/4″. Use the Cricut EasyPress Mini to press the seam flat.
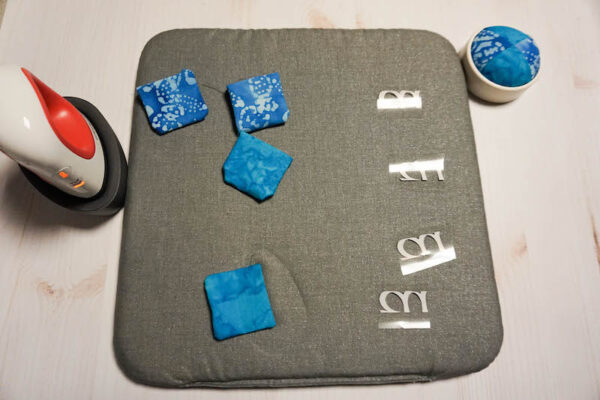
- To personalize the pattern weights, I added the first letter of the recipient’s name.
- If using the Cricut Maker and Cricut Iron-On, create letters in Design Space. I used the “American Uncial Com Regular” font and sized my letters to 1.5” (4 cm) width. Be sure to mirror your letters for iron-on and follow the instructions for cutting. Weed the letters and cut each letter onto an individual piece of iron-on lining.
- If using iron-on letters, cut out your letters.
- Pre-heat the Cricut EasyPress Mini to the temperature indicated in the Follow the instructions on the EasyPress Heat Guide.
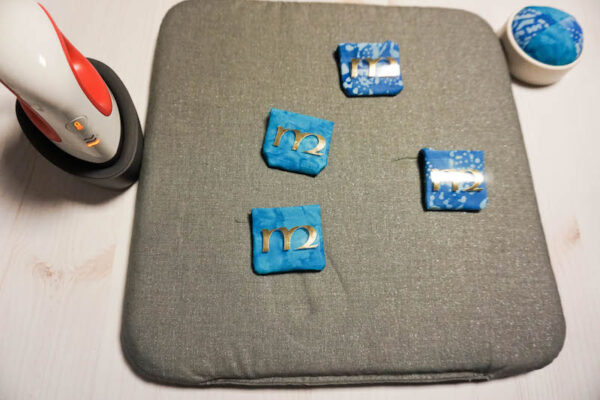
- When the light is green, follow the instructions to press letter to the front of each pattern weight.
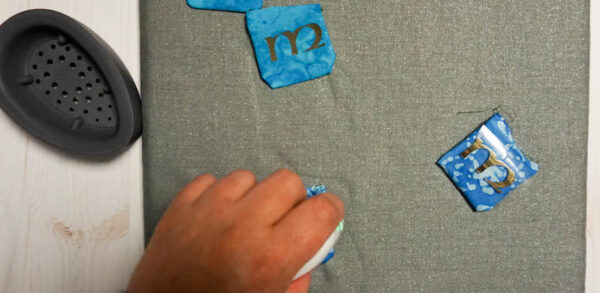
- Peel off the iron-on liner.
- Lightly pour Fairfield Poly-Fil Poly-Pellets Weighted Stuffing Beads into the pattern weight. Do not overstuff or you will regret it when sewing!
- Fold the raw edges towards the inside of the pattern weight.
- Change to monofiliment thread. Top stitch the pattern weight closed, being sure to reinforce your stitches. Tip: You can find a video tutorial by Melly Sews here for adjusting the J Leveling Presser Foot for sewing through thick seams.
- If you’d like, you can add small notions (like a set of pins, a thimble, decorative threads, fabric markers, or thread snips) or a pattern to your gift set.

Thank you for this post