

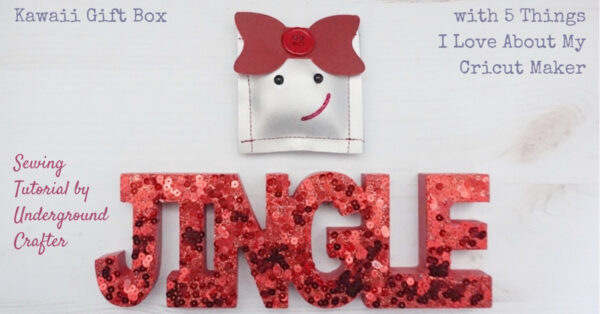
I’m sharing an adorable and quick sewing tutorial to make a cute gift, ornament, or gift wrap embellishment. The Kawaii Gift Box is also a great first project for sewing with leather! This project was made so much easier with my Cricut Maker, and in this post I’ll also be sharing 5 things I love about my Cricut Maker, so read on for more details!
This is a sponsored conversation written by me on behalf of Cricut. The opinions and text are all mine.
This post contains affiliate links. I may receive compensation (at no added cost to you) if you make a purchase using these links. This post is sponsored by Cricut, but all opinions and thoughts are my own. Additional materials for this post were generously provided by Baby Lock, Beacon Adhesives, Clover USA, Fairfield World, Madeira, and Oriental Trading. Camera was generously provided by B&H Photo Video and Pro Audio.
5 Things I Love About My Cricut Maker
Since I received the Cricut Maker last year, I’ve been singing its praises. To be honest, without the Maker I wouldn’t have had the courage to start sewing with leather so it quite literally made the Kawaii Gift Box project possible. If you’re considering whether a Maker is the right cutting machine for you, let me share 5 things I love about my Maker.

- The Cricut Maker is fast. My previous cutting machine was the Cricut Explore Air, and there were times when I had a lot of cutting to do when I felt like it was taking forever. (Ok, some of these times were like at midnight when I had a crafting deadline, but still!) The Cricut Maker has a “fast mode” that lets you cut and write to vinyl, iron-on, and cardstock up to two times faster than its typical speed. If you have a lot of cutting or are pressed for time, this feature is invaluable!
- The Cricut Maker cuts fabric without a stabilizer or extra tools. I’ve mentioned this in several posts because it’s truly my favorite feature of the Maker. Using just the Rotary Blade and FabricGrip Mat included in the box, you can cut fabric easily. Recently I received a review copy of The Quilt Block Cookbook by Amy Gibson from Lucky Spool Media. I would love to make some of the sampler blocks, but as a strip-piecing quilter, the idea of hand cutting 27 pieces for one block makes me want to scream. With the Maker, I can use the quilt patterns in Design Space or easily create my own shapes to cut to precise measurements for sampler quilts. While the Maker is cutting, I can also get other things done, whereas with hand cutting, I would have to be fully involved the entire time. When my back is hurting or when I injured my hand, being able to take a break from fabric cutting makes sewing fun again.

- The Cricut Maker cuts precisely. And, speaking of cutting and precise measurements… if your cuts are messy then it doesn’t actually save you time. The Cricut Maker cuts very cleanly and I’ve been able to cut through a broad range of materials with no problems. This is so important with a material like leather because it is so unforgiving. If you make a mistake with hand cutting, you will always see that mark on your leather. With the Cricut, I don’t have to worry because even cuts with lots of turns will come out perfectly.

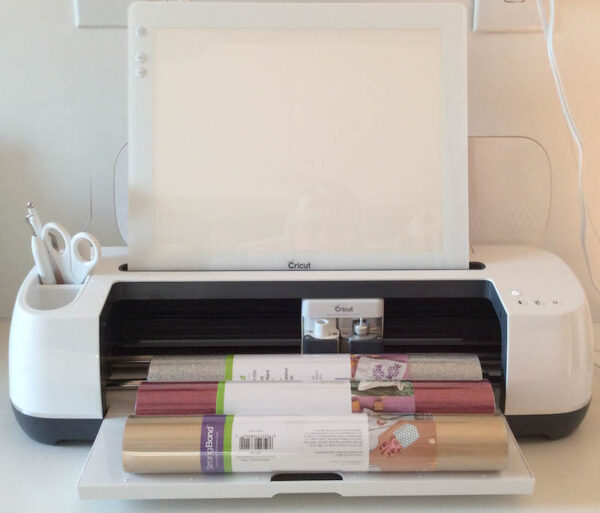
- The Cricut Maker cuts over 300 materials. While the Cricut Maker doesn’t cut every material (and it isn’t food safe, so don’t go cutting your fondant in there), it does cut everything I’d be thinking of cutting, and hundreds of things I’ve never yet thought of cutting. You can find a pretty comprehensive list here that includes the cut pressure and blade type for most materials here. The same document also shares how to test cut a material that isn’t on the list. What I like about this is that I can always find new project inspiration with new-to-me materials.

- A broad range of Cricut Maker projects are available in Design Space. Confession: Sometimes I want to make something and I don’t have an idea already in my head. Or, I have the general concept but I don’t have the graphic design skills to bring it to life. During these moments, I rely heavily on the many projects available in Design Space with my Cricut Access subscription. I can even borrow graphics from multiple project to create my own unique project like I did with today’s Kawaii Gift Box.
Still have questions about the Cricut Maker? These posts may be helpful.
- Cricut Gift Guide for Cutting Machine Newbies + Fabric Lovers
- Answers to Your Top 5 Cricut Maker Questions
- Get To Know Cricut Maker Scoring Wheels Part 1 and Part 2 and Part 3
- Get To Know the Cricut Maker Rotary Blade Part 1 and Part 2
Or, you can ask me your question in the comments or on social media!
Kawaii Gift Box
Cricut Maker Sewing Tutorial by Underground Crafter

Kawaii is a Japanese word describing cuteness. I was first introduced to it through amigurumi (crochet and knit dolls), but you can infuse kawaii into almost any sewing or crafts project! The Kawaii Gift Box is a quick sewing project made with graphics from Cricut Design Space. It can be a small gift (it makes a cute stocking stuffer or pocket pal for a child), an ornament if you add a ribbon loop, or a gift wrap embellishment if you use Fabri-Tac glue to attach it to a wide ribbon. It’s a great introduction to sewing with leather. If you’re new to sewing with leather, please read 13 Tools and Tips for Sewing with Leather for the First Time before starting this project.
Finished Size
- Approximately 3” (7.5 cm) square before stuffing.
Tools
- Cricut Maker with Cricut Design Space and Cricut Access Standard subscription.
- Cricut EasyPress Mini with EasyPress Mat, or mini iron with other heat-safe surface.
- Cricut Fine Point Blade, Cricut Deep Point Blade, and StandardGrip and StrongGrip Mats.
- Cricut Weeder.
- Clover Tapered Tailor’s Awl.
- Cricut Sewing Kit or basic sewing supplies (thread snips and thimble).
- Baby Lock Jubilant sewing machine with Teflon Foot. (Read my review of the Jubilant here.)
- Schmetz Leather Needle.
Materials
- Kawaii Gift Box cut file in Design Space.
- Cricut Metallic Leather in Silver (for box).
- Cricut Leather in Cranberry (for bow).
- Cricut Glitter Iron-On in Lipstick (for smile).
- Beacon Fabri-Tac glue.
- Madeira Aerofil Polyester thread in a color to coordinate with your bow or box.
- Small amount of Fairfield World Poly-Fil fiber filling.
- 6 mm black safety eyes – 1 pair; or Cricut Glitter Iron-On in Black (for eyes).
- Oriental Trading Christmas Bag of Buttons – 1 red button.
Instructions
Cut Your Materials
- Open the Kawaii Gift Box cut file in Design Space.
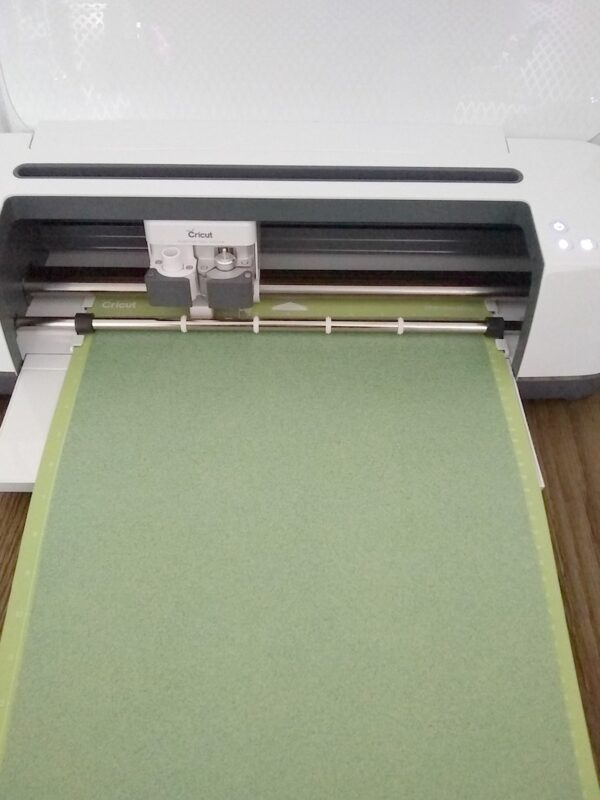
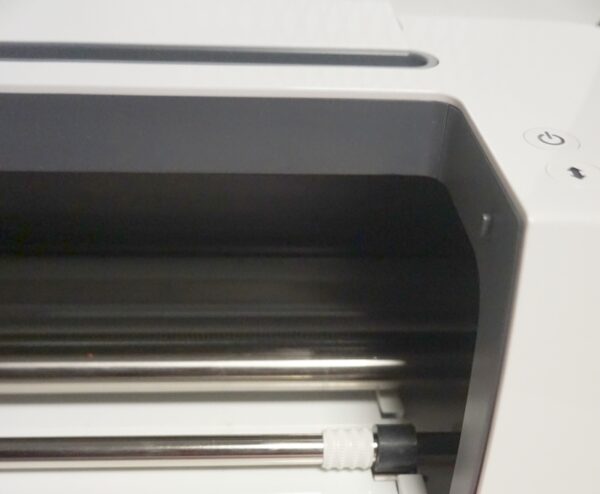
- Push your star rollers to the right following these instructions before cutting your leather so it won’t get track marks.
- With the Deep Point Blade and StrongGrip Mat cut your leather pieces for the box (front and back) and bow (front and back). Return your star rollers to their original positions.
- Cut the smile (and, if necessary, optional eyes) with the Cricut Glitter Iron-On, Fine Point Blade, and StandardGrip Mat. Remember to mirror the image first.
Weed Your Iron-On
- With your Cricut Weeder, weed the excess material from the smile (and from the optional eyes, if necessary).

Embellish the Face
- Designate one of the box pieces as the front. Position the smile on the right side of this piece.

- When you are satisfied with the position, press with the Cricut EasyPress Mini for 15 seconds on low. Turn and press for 15 sections on wrong side of leather. Remove the iron-on liner. If you are using iron-on for the eyes, repeat this process for the eyes.
- If you are using safety eyes, with the Clover Tapered Tailor’s Awl, create two small holes for the plastic safety eyes.

- The video below demonstrates how to use this tool. (If you can’t see the video, click here to watch it on YouTube.)
Assemble the Gift Box
- Insert the first safety eye into the hole. Make sure the leather on the wrong side is so that it doesn’t pucker when you secure the safety eye. When you are satisfied with the position, press the washer into place on the back of the leather until it clicks. Repeat for the second safety eye.

- With your Teflon Foot, Madeira Aerofil Polyester thread, and Leather Needles in your Baby Lock Jubilant sewing machine, assemble the gift box.
- Place the embellished face over the other box piece with the wrong sides facing.
- Slowly sew the squares together on the sides and bottom of the face using a 1/4″ seam. Reinforce the seams at the edges.

- Stuff your box lightly with Poly-Fil.
- Sew the top of the squares together using a 1/4″ seam. This last piece may be difficult to seam, but it will be covered by the bow so don’t worry about it any irregularities in your stitches.
- Use your thread snips to remove any extra thread.
- With the Fabri-Tac glue, glue the button to the center on the right side of one of the bows.
- Glue the bow to the front of the box, covering your top seam. Glue the other bow to the back of the box.
- Let dry.

Variations
- To make an ornament, loop a piece of ribbon and sew it into the top seam of the box after stuffing.
- To make gift wrap embellishment, choose a wide ribbon and wrap your gift. Use Fabri-Tac glue to glue the gift box to the ribbon. Let dry.