


I’m kicking off a series of posts about the Cricut Maker Rotary Blade, an awesome tool that makes combining sewing, quilting, and other fabric crafts with your Cricut very easy. If cutting fabric is one of your least favorite parts of sewing, if you have a tendency to make cutting errors, or if you’d like to try some sewing projects with unusual shapes and intricate cuts, then you’ll love the Cricut Maker Rotary Blade.
This post contains affiliate links. I may receive compensation (at no added cost to you) if you make a purchase using these links. This post is sponsored by Cricut, but all opinions and thoughts are my own.
One of my crafty New Year’s Resolutions is to sew more. I’ve mentioned a few times now that my Cricut Maker is one of my favorite crafty tools and that I’m particularly fond of its amazing ability to cut fabric without a stabilizer using the Rotary Blade and FabricGrip Cutting Mat. In today’s post, I’m going to share some more information about the Rotary Blade, along with a sneak peek of a sewing tutorial that I’ll be sharing on the blog soon. (Update: Here’s the link to the finished project!)

About the Cricut Maker Rotary Blade
When Cricut first announced the release of the Cricut Maker, the feature that instantly drew me in was the ability to cut fabric without a stabilizer. As you may know, I’m not the biggest fan of ironing, and I’m also not the biggest fan of bending over for hours to cut out pieces of fabric. It’s not all that easy to cut pieces of fabric that aren’t square or rectangular, either, especially when you have to cut lots and lots of them, which is why when I was quilting a lot I always made projects using strips or squares.
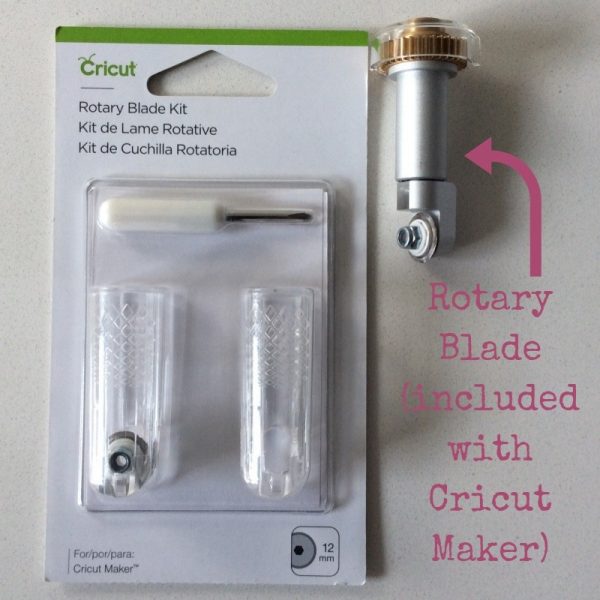
Enter the Rotary Blade. It’s one of many tools that are part of the Cricut Maker Adaptive Tool System. The Rotary Blade fits into Clamp “B,” and it can cut up to three layers of fabric at a time without a stabilizer. Besides cutting out squares and rectangles faster than I can (and certainly with less strain on my back), it can also cut out all the unusual shapes for appliques and curved quilts quickly and accurately.
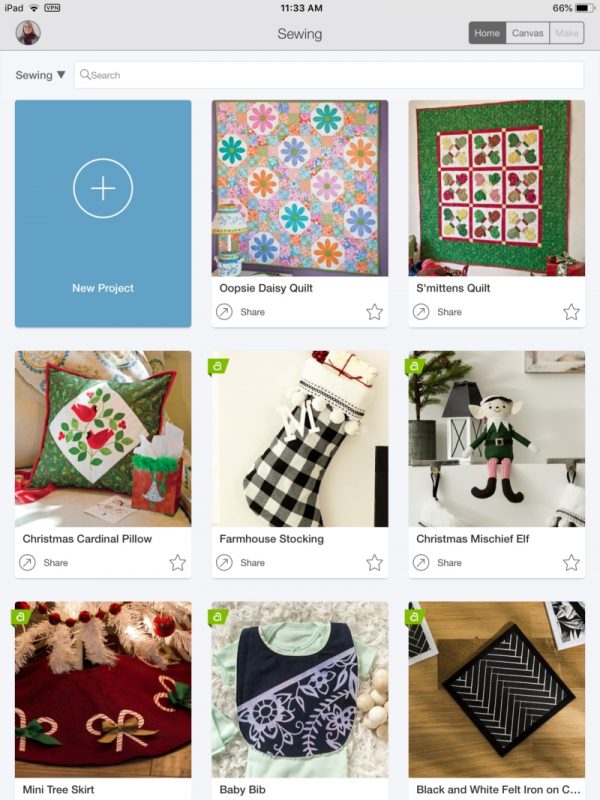
The Rotary Blade, along with a FabricGrip Cutting Mat, are included with your Cricut Maker so there’s no extra expense and you can get started with sewing projects right away! There are quite a few sewing patterns and projects that are available for free with a Cricut Access Standard subscription, and there are over a hundred that you can purchase.
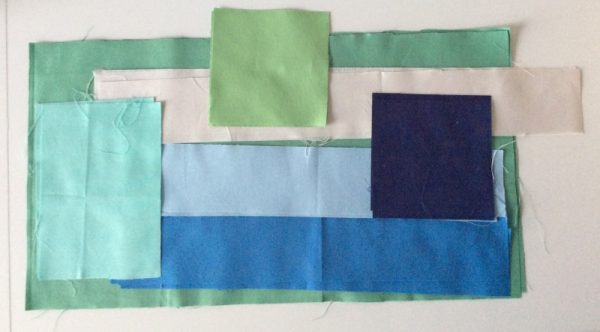
You can also make your own sewing projects, like I did, using the features Cricut Design Space — adding shapes that you’d like to cut and then editing the shapes to fit specific measurements of your existing quilting or sewing patterns. Cricut even sells fabric now, like this Riley Blake Designs Ocean Solids Baby Size kit.
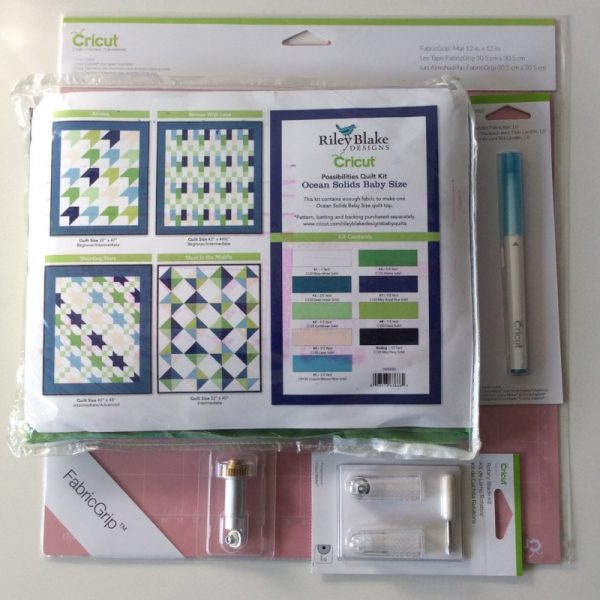
By the way, if you plan to do a lot of fabric cutting with your Maker, you may want to get a Washable Fabric Pen. It doesn’t come with the Maker so you’ll need to purchase it separately. Many of the patterns that are in Design Space include marking lines to help you with placement, and the Washable Fabric Pen (as the name suggests) washes the marks off, so it’s perfect for using with fabric.
If you’ve been using a standard rotary cutter for your fabric, you know that over time, the blade will dull and need replacement. The same is true of the Cricut Rotary Blade, so there is a replacement kit for you to safely replace the blade. You’ll know when it’s time to replace your blade because you’ll start seeing uncut threads when the blade dulls.
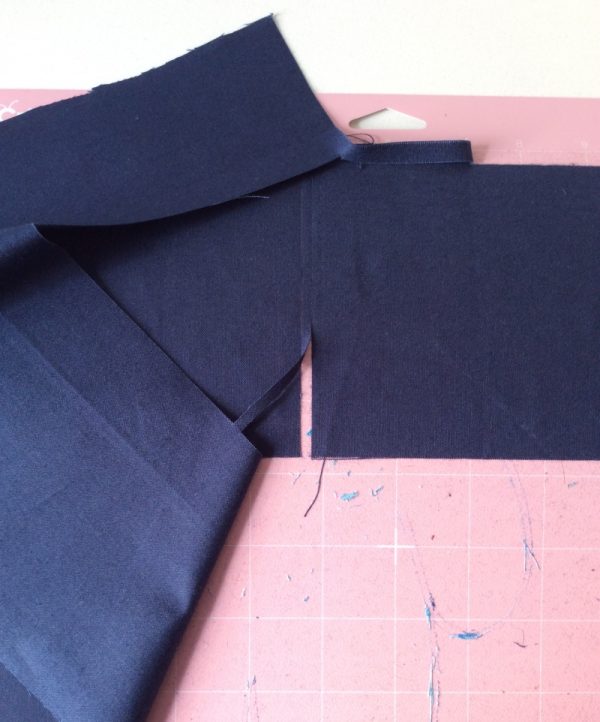
Next week, I’ll be sharing the tutorial for a pillow pattern I designed with all the fabric cut using the Cricut Maker, Rotary Blade, and the FabricGrip Cutting Mat. Here’s a sneak peek! (Update: The Modern Quilt Pillow tutorial and cut files are now available here.)
Do you have any questions about the Cricut Maker or the Rotary Blade that I can answer in an upcoming post? Leave me a comment and let me know!
This is a sponsored conversation written by me on behalf of Cricut. The opinions and text are all mine.
1 thought on “Cricut Basics: Get To Know the Cricut Maker Rotary Blade (Part 1)”