


Do you love all things “ugly sweater?” I’m showing you how to make your very own ugly sweater holiday cards using fabric and iron-on scraps and your Cricut Maker!
This post contains affiliate links. I may receive compensation (at no added cost to you) if you make a purchase using these links. This post is sponsored by Cricut, but all opinions and thoughts are my own.
As my regular readers know, I’ve been in love with my Cricut Maker since I received one back in May.

It has a ton of features, but my absolute favorites are its ability to cut fabric without a stabilizer using the Rotary Blade and FabricGrip Cutting Mat (both of which are included in the box)…

…and the amazing score lines you can make with ease using the Scoring Wheel and Double Scoring Wheel (which you can learn more about in this post). The fabric cutting I love because it makes it fun to sew more since I don’t have to worry about “messing up” intricate cuts. And, the score lines I love because I can finally make cards that actually look good! Both of these features highlight the Adaptive Tool System that the Maker has, which tells you when to load different tools based on your materials and your project. My third most favoritest (is that a word?) feature is the lack of a Smart Dial. I just tell Design Space what I’m making, choose my materials from the drop down menu, and bam!, all the settings are optimized.
I used to be one of those people that always sent out holiday cards (and on time) but the past few Decembers have been really busy and I haven’t quite made it happen. This year, I wanted to do something different and I was inspired to put together a project that I could make quickly on my Cricut Maker to get me back into the swing of the holiday spirit: ugly sweater cards.

As a crocheter and knitter, I’ve always found the act of creating an ugly sweater to be totally pointless – I mean the amount of work required and then to make it ugly? Explain! But mini ugly sweaters – where you can make several cards in one day – I am totally down for. I hope you enjoy this project and I can’t wait to see your version!
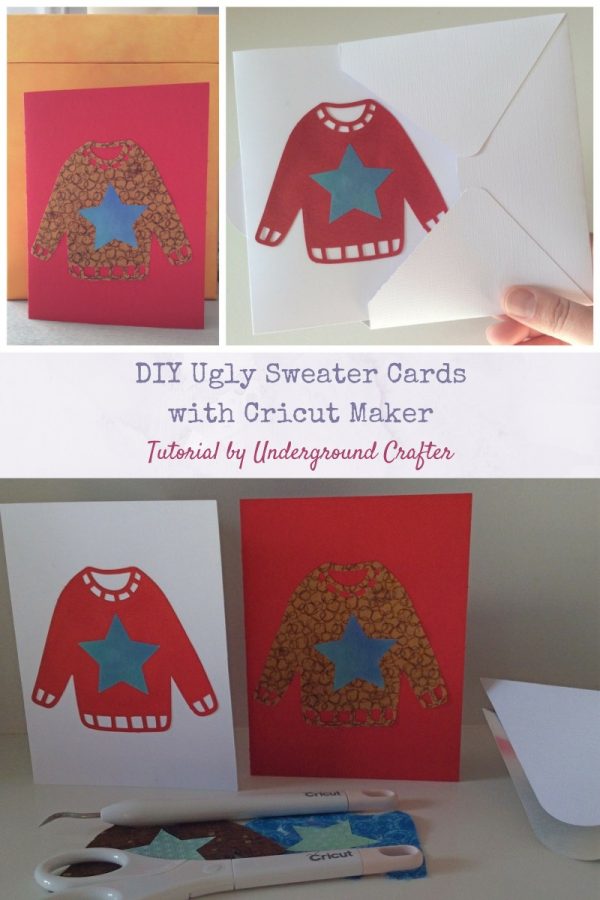
DIY Ugly Sweater Cards with Cricut Maker
Tutorial by Underground Crafter
I gathered up some pieces of “what was I doing when I bought this” fabric along with fabric, paper, and iron-on scraps to put together my very own ugly sweater cards. You can customize your version by adding more embellishments using fabric paints, beads, and other findings.
Tools
- Cricut Maker with Cricut Design Space and Cricut Access Standard subscription,
- Rotary Blade and FabricGrip Cutting Mat,
- Premium Fine Point Blade and StandardGrip Cutting Mat,
- EasyPress 2 with EasyPress Mat, or iron with other heat-safe surface,
- Scoring Wheel or Double Scoring Wheel for scoring cards and envelopes, and
- Weeder and scissors from Cricut Essential Tool Set.
Materials
- Smallish pieces (about 5”/13 cm square) of cotton fabric and cardstock for sweaters,
- Cardstock for cards and envelopes,
- Iron-on or patterned iron-on scraps for embellishment (Hint: choose something that clashes with your fabric and paper for the sweaters),
- Foil poster board and cardstock for envelopes,
- Your favorite adhesives (such as Scrapbook Adhesives E-Z Runner or Beacon Zip Dry) to seal envelopes and attach sweaters to cards.

Instructions
Score and Cut Your Cards and Envelopes
I searched the Ready-to-Make projects until I found a matching card and envelope set that I liked. Then, I customized the project by removing all of the card decorations so that I was just scoring and cutting blank cards and envelopes. I made several, using a mix of colors of cardstock for the cards and foil poster board and cardstock for envelopes. Be sure to change your materials in Design Space so that you will be using the correct blade and scoring wheel!
Remove your cards and envelopes from the cutting mats. Fold your cards and envelopes along the score lines. Use your adhesive to seal the envelopes (and set aside to dry, if necessary).
Cut Your Sweaters and Embellishments
I searched for sweater in the image menu in Design Space and choose one that is included with a Cricut Access Standard subscription.

Once I had the sweater image on my canvas, I resized it so that it would fit on my folded card. I added a star shape and resized it to fit on the sweater. (You could also search for another image, like a Christmas tree, instead.) Then I duplicated the resized sweater and star. I edited these images in 4 different colors (one for cardstock, one for fabric, and one for each type of iron-on) so that Design Space would know which to put on a mat together and I could select the appropriate tools before cutting.
Choose the right material in Design Space for each mat and it will let you know which tool to use. Remember to use the Fabric Mat when cutting fabric! Also, even though you are using iron-on, it isn’t necessary to mirror your mats because the star shape is the same on front and back.
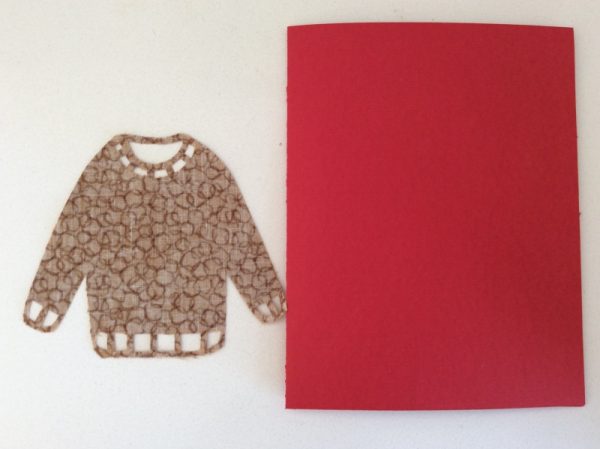
After your pieces are cut, remove them gently from the mats. Use your weeder to peel off the excess iron-on around your stars or to “poke out” the little cuts in your sweaters.

Assemble Your Ugly Sweaters
Preheat your EasyPress 2 to the temperature required for your materials and prepare your pressing surface. (If you’re new to the EasyPress 2, you can find out more about it in this blog post.)
Press the stars or other iron-on embellishments onto your sweaters.

Once your sweaters are embellished, use an appropriate adhesive to attach the sweaters to your cards.
Wait for the adhesive to dry if necessary, and then you’re cards are ready!
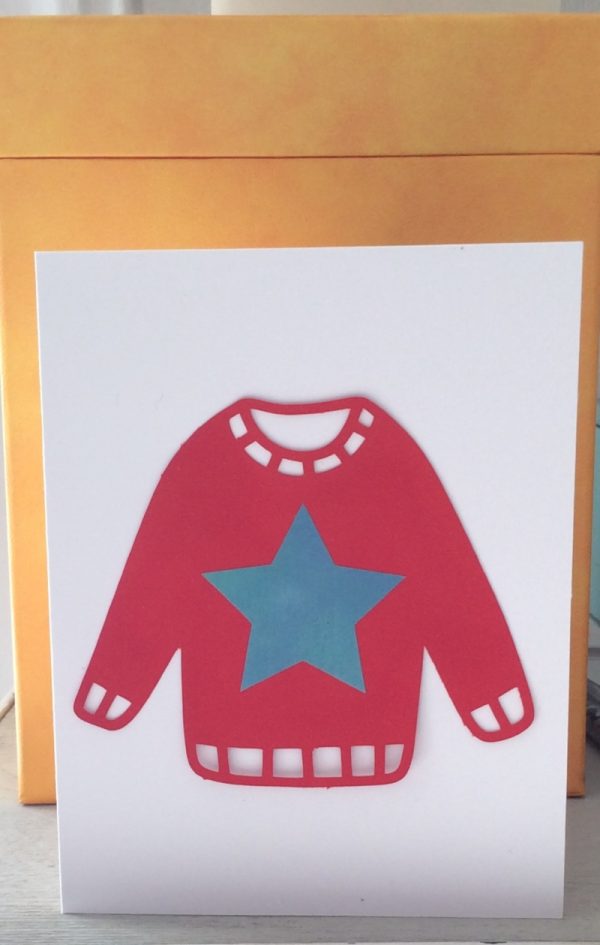
Write out your notes on the inside and you are ready to include your ugly sweater cards with a gift or send them off to a new home.

This is a sponsored conversation written by me on behalf of Cricut. The opinions and text are all mine.
From your post title, I had to come to see what you had going on! These would make fun invites to an ugly sweater party!
They would be!