
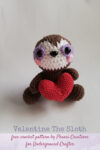
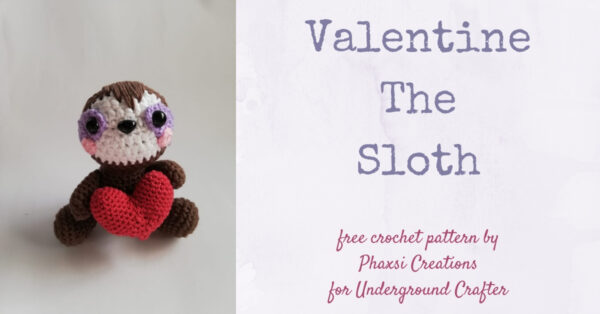
I’m so excited to introduce you to a new guest contributor for Underground Crafter, Aymará López from Phaxsi Creations. Aymará is sharing an adorable amigurumi crochet sloth pattern named Valentine! This cute little critter has a special heart to share and makes a sweet gift year round. Aymará has shared plenty of progress pictures and I’ve included links to helpful tutorials to guide you through making your own Valentine the Sloth.
This post contains affiliate links. I may receive compensation (at no added cost to you) if you make a purchase using these links. Photos in this post are © Aymará López/Phaxsi Creations and are used with permission. Yarn was generously provided by Paintbox Yarns.
About Phaxsi Creations
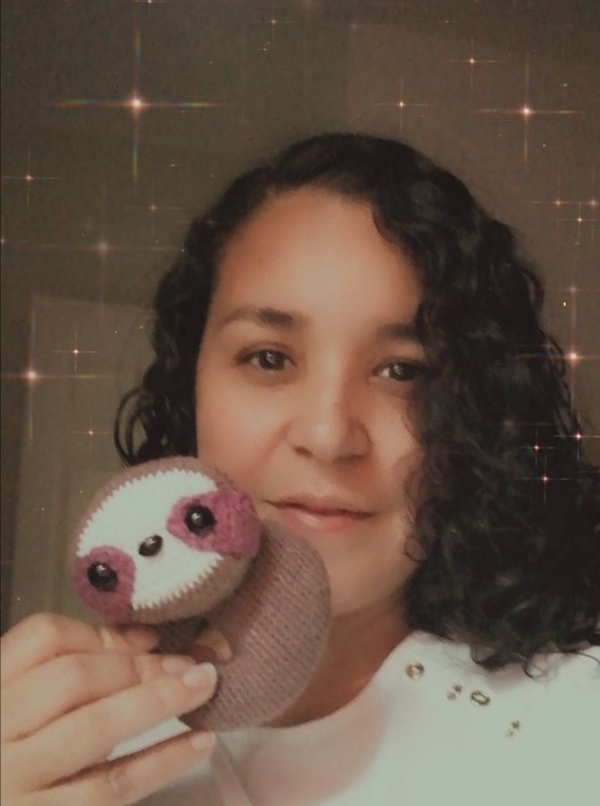
Aymará López is a self-taught crochet enthusiast from Costa Rica. She discovered the art of amigurumi by chance, looking for a way to create something useful and cute for her daughters. She fell in love with it along the way. Her designs are mostly inspired by her daughters and her beautiful country. She is always trying to create easy and quick projects that can be done by everybody, from a beginner to a crochet professional. She hopes to continue designing and creating for as long as she can, and for everyone to enjoy.
Show your support by following Aymará on Phaxsi Creations | Facebook | Instagram | Ravelry
Valentine The Sloth
Crochet Sloth Pattern by Phaxsi Creations

Materials
- Paintbox Yarns Cotton DK yarn, Coffee Bean (411), Light Champagne (403), Pillar Red (415), Pale Lilac (446), and Candyfloss Pink (450)
- 3mm crochet hook
- 10 mm safety eyes
- 10 mm safety nose
- Stuffing
- Embroidery or sewing needle
Abbreviations
- blo: back loop only
- dec: decrease
- hdc: half double crochet
- inc: increase
- R: row or round
- sc: single crochet
- slp st: slip stitch
- st/sts: stitch/stitches
- (…)*X: repeat the instructions X times between (…)
- (…): amount of stitches
Notes from Underground Crafter
- This pattern uses US crochet abbreviations.
- Fiber Flux has a helpful video tutorial for identifying the back loop here.
- My favorite decrease for amigurumi is the invisible decrease (invdec). A helpful video tutorial is available below.
- If you can’t see the invdec video above, watch it on YouTube.
- Oombawka Design has helpful tutorials for creating the magic ring here.
- Unless otherwise noted, work each increase as 2 sc into same stitch or space.
- Ami Amour has a helpful video tutorial showing 2 methods for sewing pieces of amigurumi together.
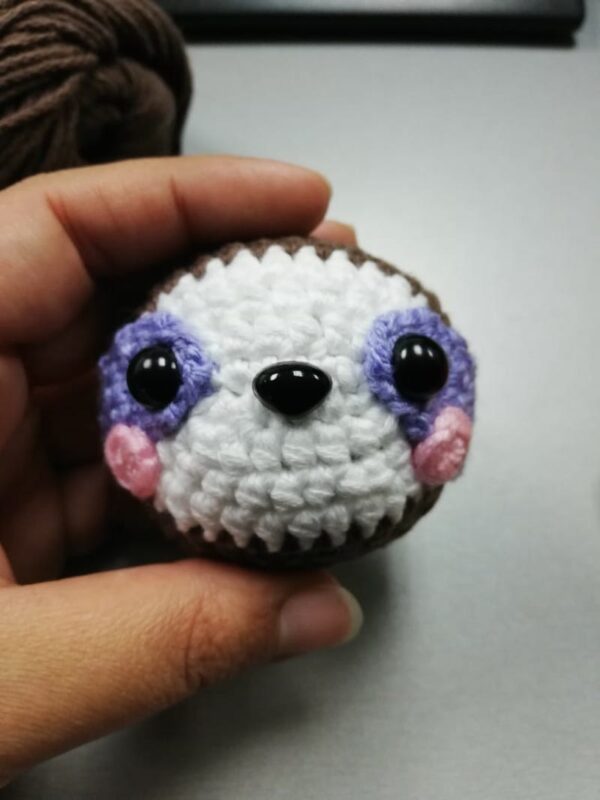
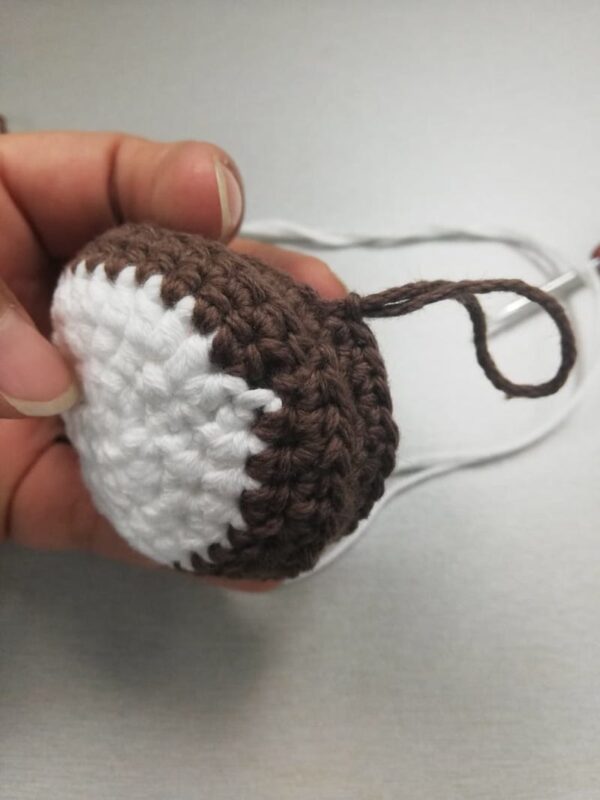
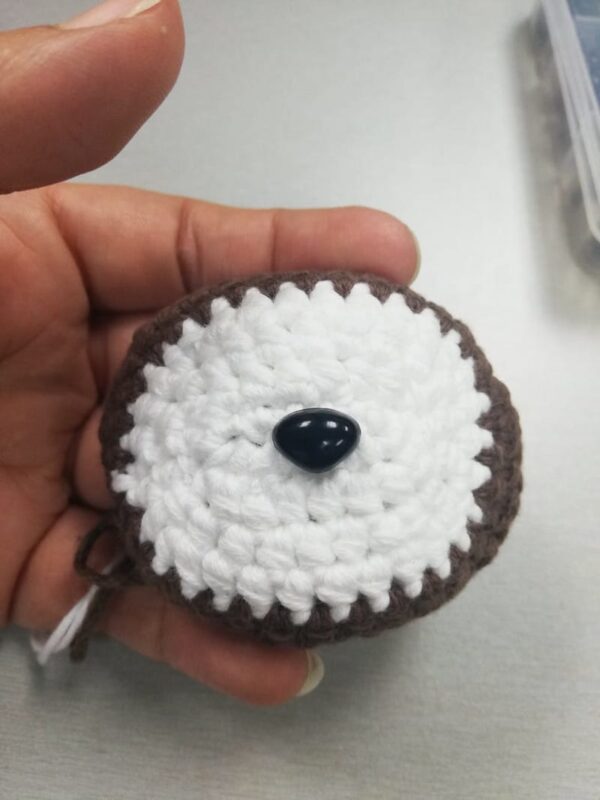
Head
Start with Light Champagne
- Chain 7 (Start from second loop from hook)
- R1 sc 5, sc 3 on same loop, continue on the other side of the chain, sc 4, inc, slp st. (14)
- R2 chain 1 (does not count as st), hdc inc, hdc 4, hdc inc, hdc 1, hdc inc, hdc 4, hdc inc, hdc, slp st. (18)
- R3 chain 1 (does not count as st), hdc inc, hdc 5, hdc inc, hdc 2, hdc inc, hdc 5, hdc inc, hdc 2, slp st. (22)
- R4 chain 1 (does not count as st), hdc inc 2, hdc 6, hdc inc 2, hdc 1, hdc inc 2, hdc 6, hdc inc 2, hdc 1, slp st. (30)
Change color to Coffee Bean
- R5 chain 1 (does not count as st), hdc inc, hdc 11, hdc, inc, hdc 2, hdc inc, hdc 11, hdc inc, hdc 2, slp st (34)
- R6 chain 1, hdc 12, chain 1, hdc 1, hdc inc, hdc 1, hdc inc, hdc 1, chain 1, hdc 12, chain 1, hdc 1, hdc inc, hdc 1, hdc inc, hdc 1, slp st. (42)
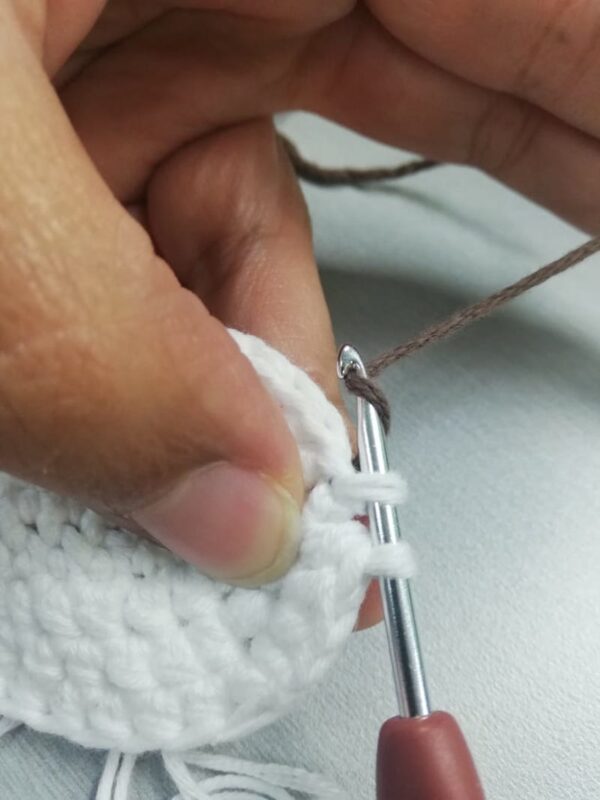
- R7 chain 1, blo sc 42, slp st. (42)
- R8 sc 42, slp st. (42)
- R9 chain 1, Blo sc 42. (42)
*Stop here and start the assembly of the face*
Continue after the assembly of the parts
- R10 (sc 4, dec)*7. (35)
- R11 (sc 3, dec)*7. (28)
- R12 sc 28. (28)
- R13 (sc 2, dec)*7. (21)
- R14 (sc, dec)*7. (14)
- R15 dec 7, fasten off (7)
- Stuff the head and use the rest of the thread to close the gap by passing the thread
through the 7 front loops and pull.
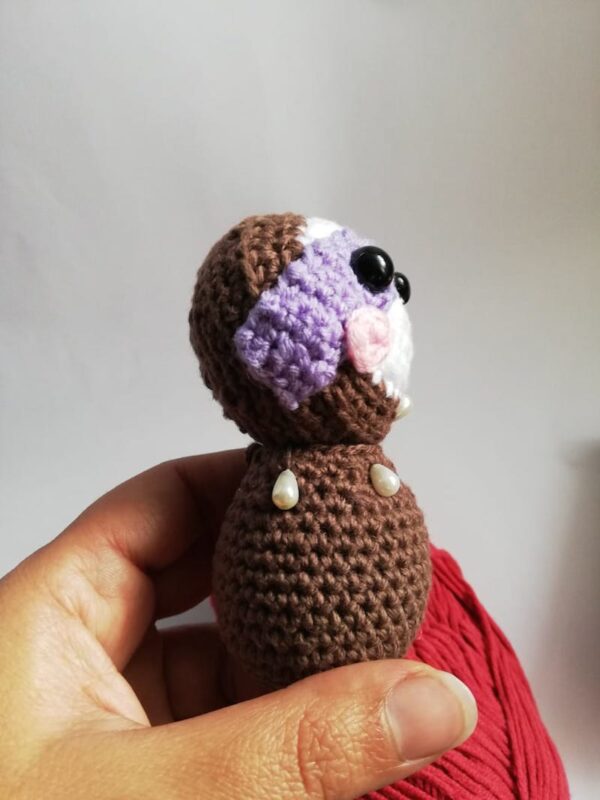
Eye Patch (make 2)
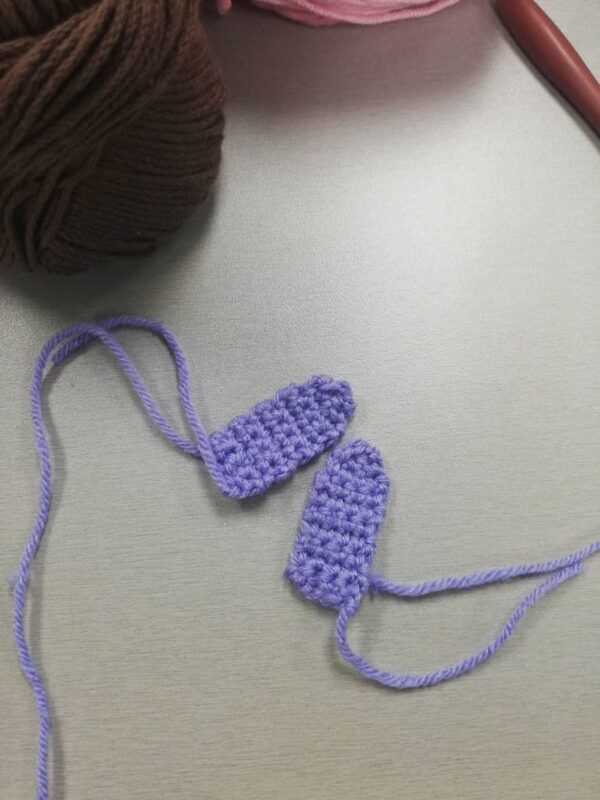
With Pale Lilac
- Chain 5 (Start on second loop from hook)
- R1- R8 sc 4, chain 1, turn work. (4)
- Chain 1, dec 2. (2)
- Chain 1, dec and fasten off (1)
Cheeks (make 2)
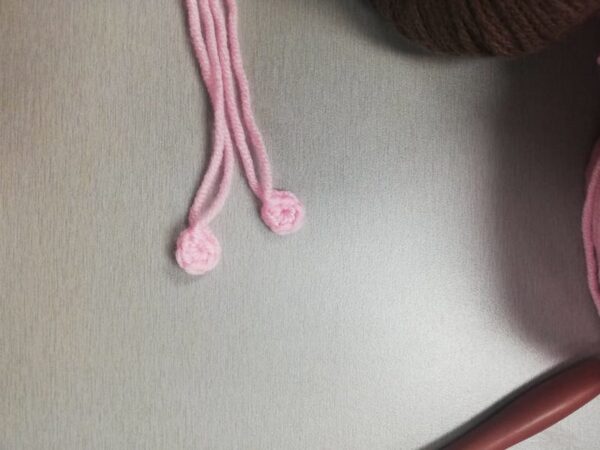
With Candyfloss Pink
- sc 5 on magic ring, slp st, fasten off. (5)
Assembly of the Face
Nose
- Position the nose right in the middle of the first round.
Eyes
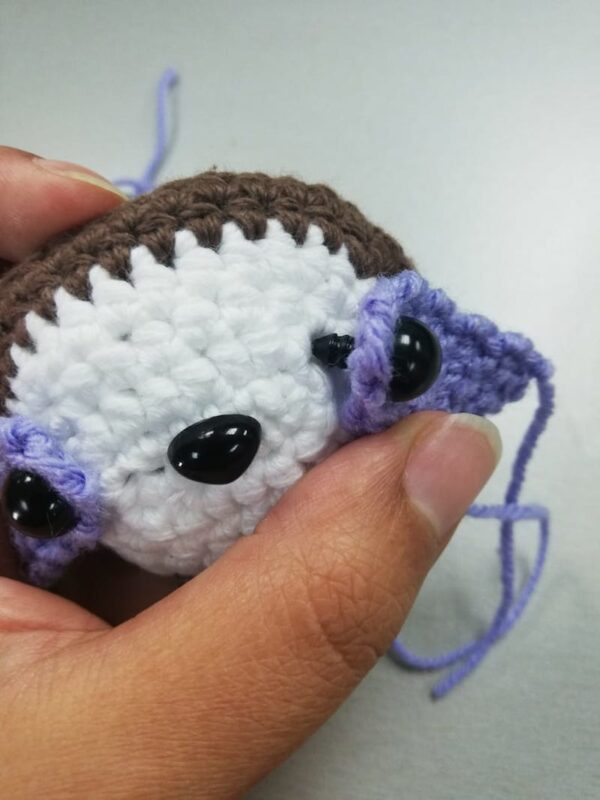
- First introduce the eye in the middle of row 9 of the eye patch. Then introduce the
eye on round 3 of the face slightly over the nose.
Cheeks

- Attach the cheeks half over the eye patch and half over the face, at least 1 row below
the eye.
Body
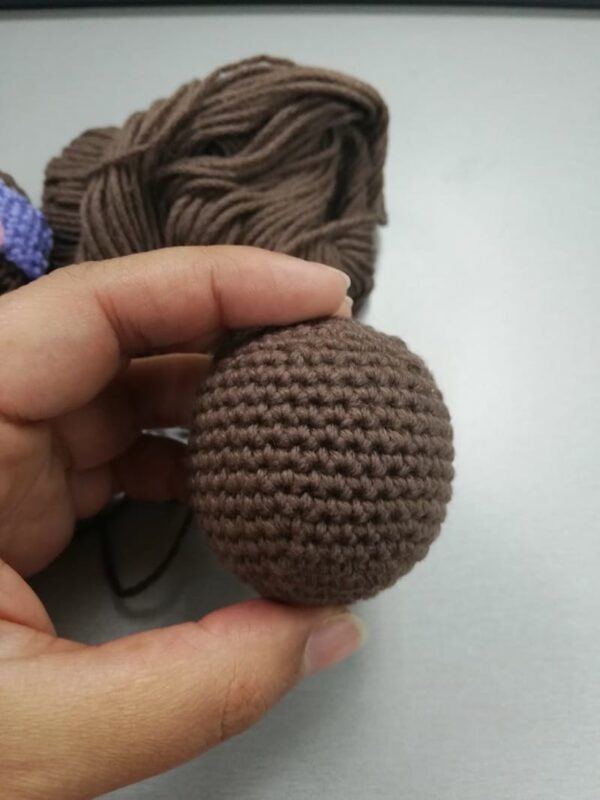
With Coffee Bean
- R1 sc 6 in magic ring
- R2 inc 6. (12)
- R3 (sc, inc)*6. (18)
- R4 (sc 2, inc)*6. (24)
- R5 (sc 3, inc)*6. (30)
- R6 – R14 sc 30 (30)
- R15 (sc 3, dec)*6. (24)
- R16 sc 30 (30)
- R17 (sc 2, dec)*6. (18)
- R18 sc 18, slp st and fasten off (18)
Arms (make 2)
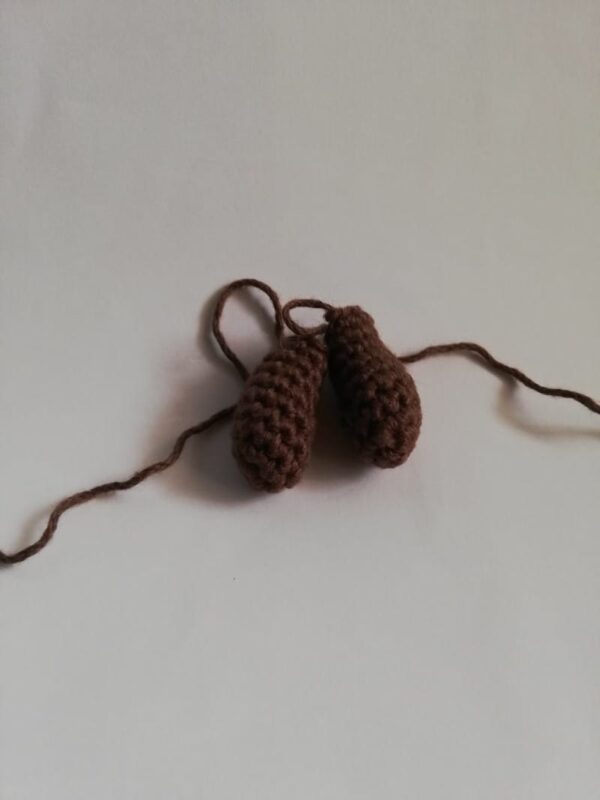
With Coffee Bean
- R1 sc 6 in magic ring (6)
- R2 inc 6. (12)
- R3 -R4 sc 12. (12)
- R5 dec 2, sc8. (10)
- R6 sc 10 (10)
- R7 dec, sc8 (9)
- R8 – R9 sc 9 (9)
Legs (make 2)
With Coffee Bean
- R1 sc 8 in magic ring (8)
- R2 inc 8 (16)
- R3 (sc, inc) *8 (24)
- R4 – R5 sc 24 (24)
- R6 dec 3, sc 16, dec 1 (20)
- R7 sc 20 (20)
- R8 dec 2, sc 16 (18)
- R9 dec 9 (9)
- R10 – R11 sc 9 (9)
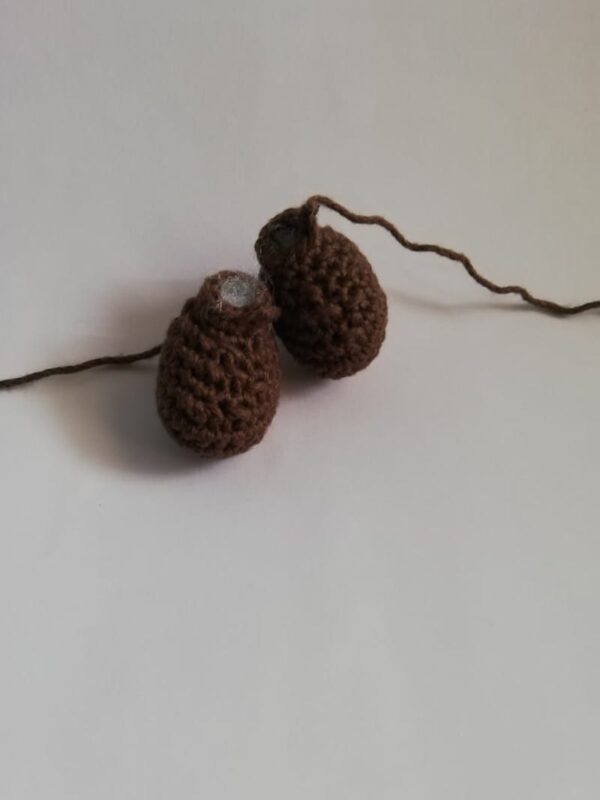
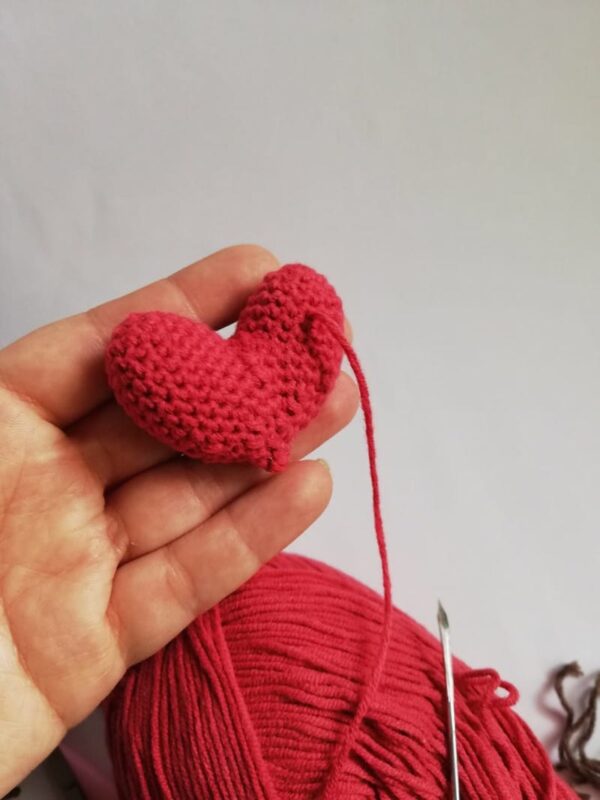
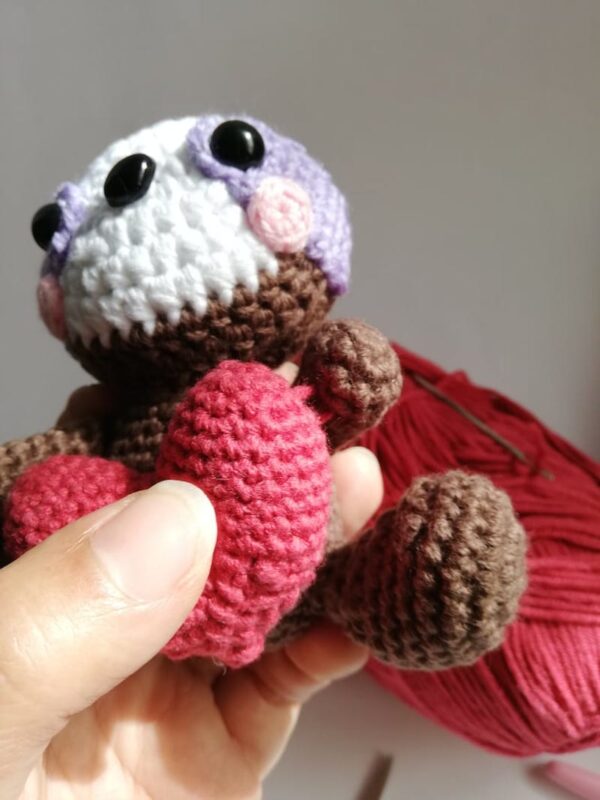
3D Heart
With Pillar Red
- R1 sc 6 in magic ring (6)
- R2 inc 6. (12)
- R3 sc 12. (12)
- R4 (sc, inc)*6. (18)
- R5 – R6 sc 18, slp st and fasten off.
- Repeat R1 to R6 for the second piece but don’t slp st or fasten off.
Continue joining both pieces
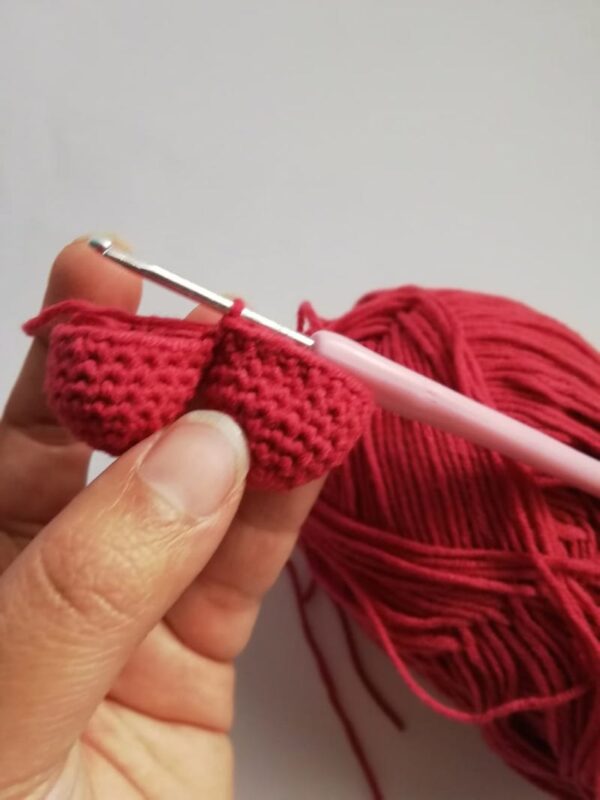
- R7 Slp st on last st from first piece, sc 18 around, slp st on last st from second piece to close the gap, sc 18 around. Make sure you have only 36 st in total. (36)
- R8 – R9 sc 36. (36)
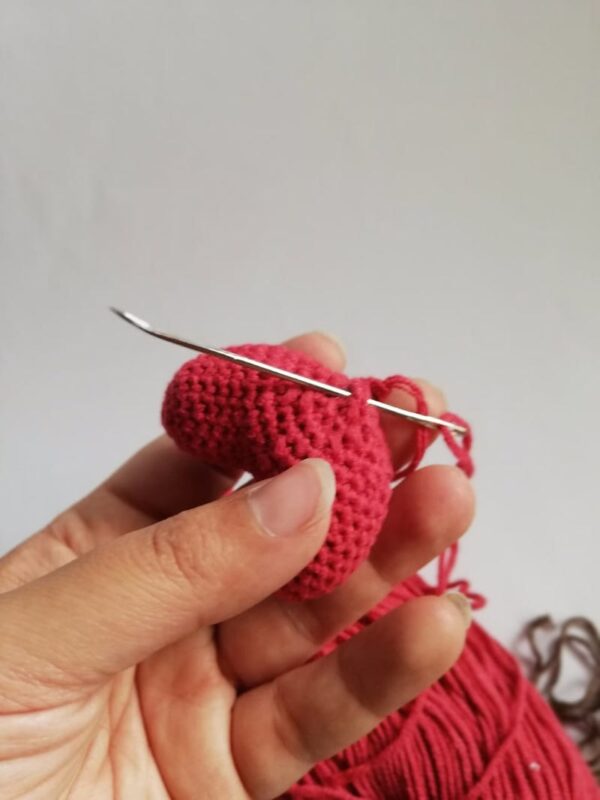
- R10 (dec, sc 4)*6. (30)
- R11 (sc 3, dec)*6. (24)
- R12 (sc 2, dec)*6. (18)
- R13 (sc, dec)*6. (12)
- R14 dec 6. ( 6)
- R15 dec 3. (3)
- Fasten off, leaving a long thread, use the embroidery needle to close the gap and give
the heart the correct shape.
Joining the parts and details
Head
- Attach the head a little thrown to the side and to the back.
Right Arm
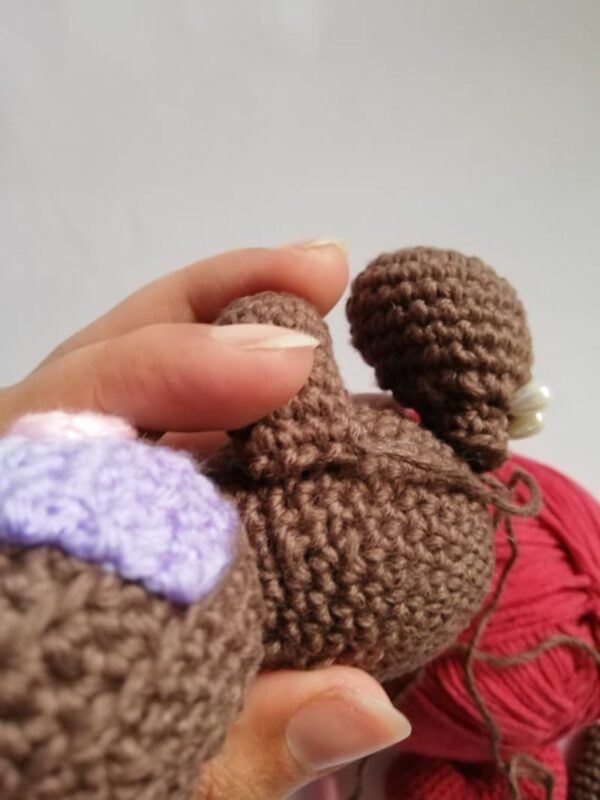
- Attach the right arm from R17 of the body going down in diagonal. Arm should stay
down.
Left Arm
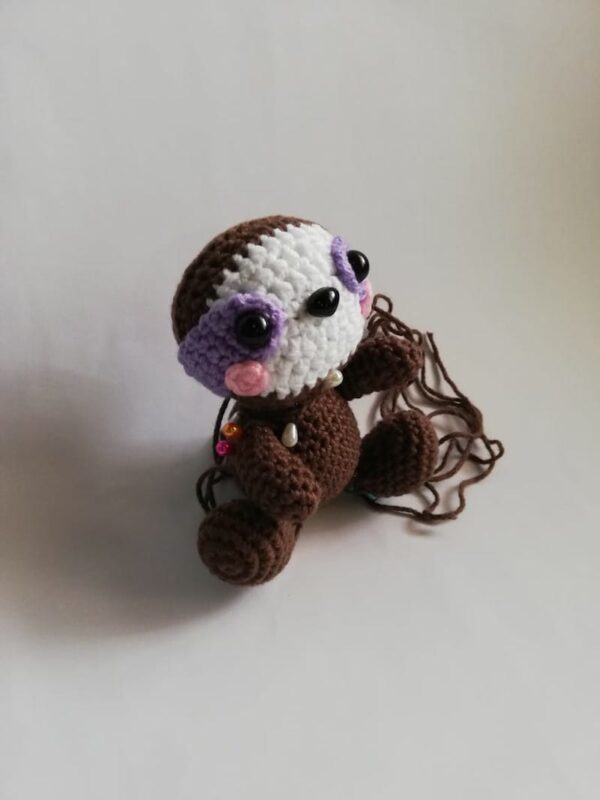
- Attach the left arm from R17 of the body going down in a straight line, Arm should
stay Up.
Legs
- Attach both legs between R5 and R9 of the body. You can tip them a little to the inside.
The Heart
- Attach it right in to the center of the body, making sure to sew the arms to the heart
with a couple of stitches
Hair Bangs
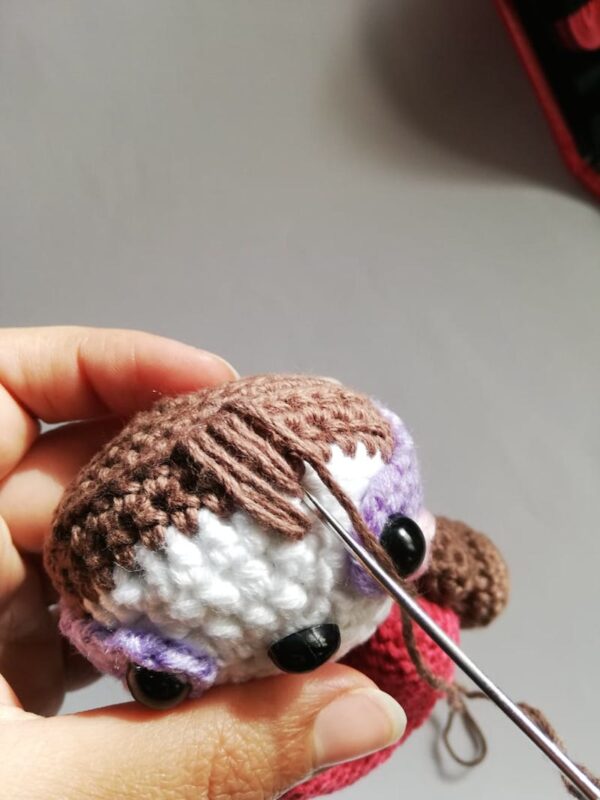
- Start from the back of the head, pass the yarn over to the front and insert the needle, do it 3 times on the same stitch to create 1 bang.
