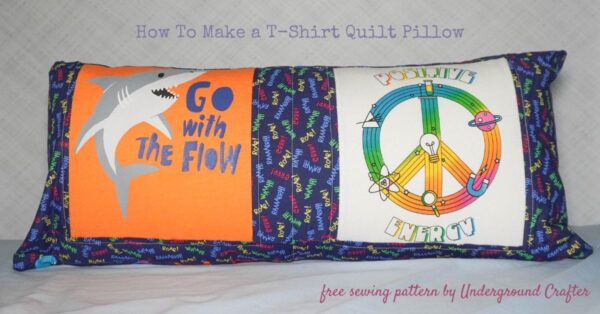
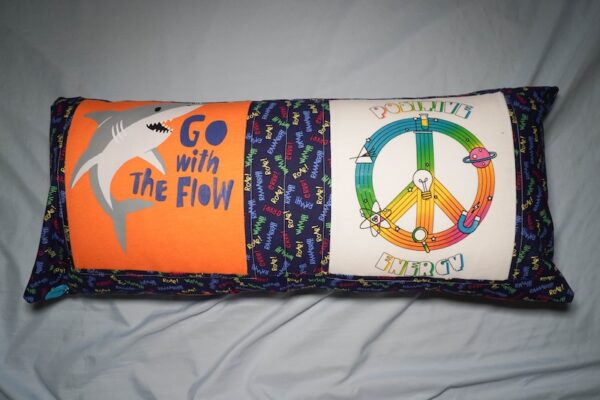
In today’s Sewing Basics post, I’m sharing how to make a t-shirt quilt pillow. Many of us have a ton of old t-shirts and aspire to make a t-shirt quilt *one day.* This beginner-friendly sewing project is a great introduction to the basics of t-shirt quilting, but you’ll finish it in a fraction of the time. T-shirt quilt pillows also make great gifts or custom bedroom decor!
This post contains affiliate links. I may receive compensation (at no added cost to you) if you make a purchase using these links. Materials for this project were generously provided by Baby Lock, Clover USA, Oliso, and Sewing by Sarah.
If you’re like most folks, you or someone in your household has a collection of t-shirts. Some or most of them may have sentimental value above and beyond their value in your wardrobe. In this post, you’ll find detailed instructions for how to make a t-shirt quilt pillow, including my tips for preparing t-shirts for quilting. You only need basic sewing skills to make this beginner-friendly pattern. If you’re a more advanced sewist, take it to the next level by doing patchwork blocks or decorative quilting. Scroll down for the sewing pattern for how to make a t-shirt quilt pillow.

Before You Get Started: Three Tips for T-Shirt Quilting
I learned about t-shirt quilting in a kind of “trial by fire” years ago. I’m sharing three important tips today that will help make your t-shirt quilting experience much smoother!
Tip 1: Choose the Right T-Shirt
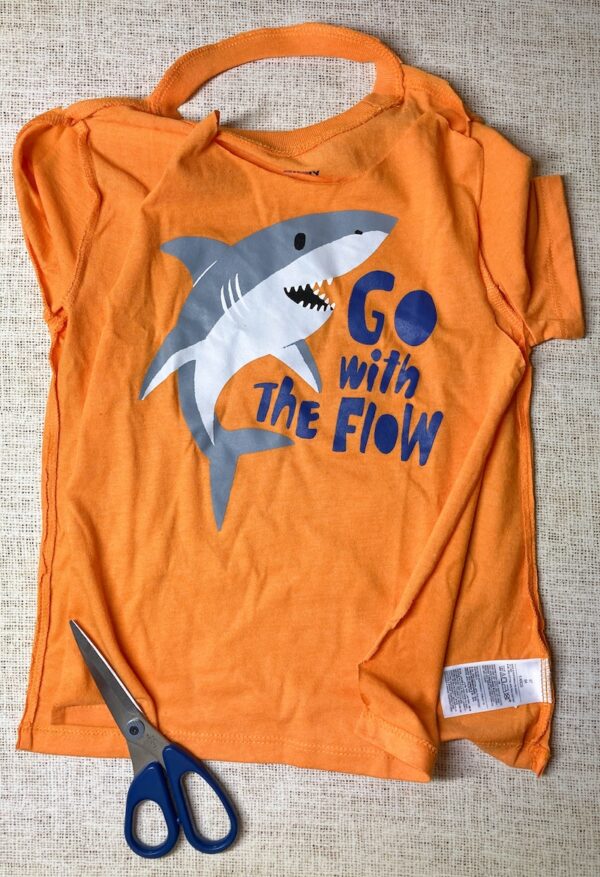
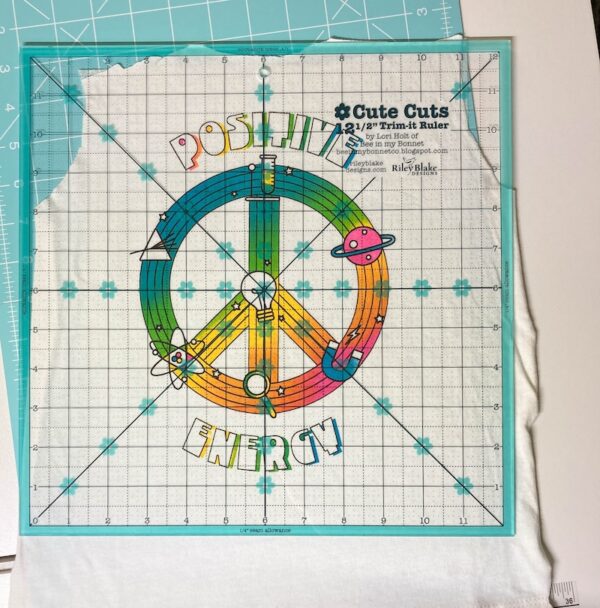
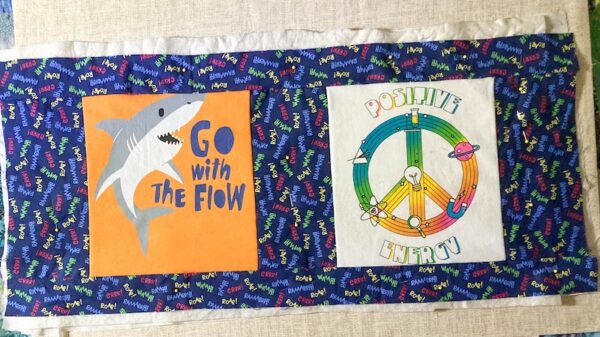
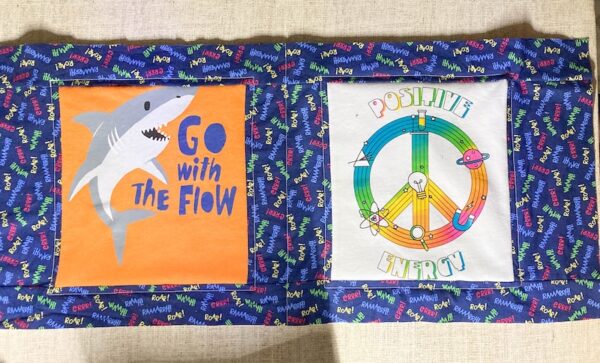
For each t-shirt quilt project, choose shirts that aren’t torn or stained in the main image area that will form the center of your quilt block. Measure the width and height of the main image to make sure it fits within the size you’re planning for each block. For this project, we’re looking for t-shirts with images smaller than about 9” wide x 10.5” long.

Tip 2: Don’t Cut Apart T-Shirts Until You’re Ready to Get Started
As soon as you cut into the t-shirt, the sides will start rolling up and it will begin the process of unraveling. It’s really best to wait until you’re ready to start your t-shirt quilt before you start cutting. If you have to cut in advance for some reason, use pinking shears and cut the front panel around the side seams, collar, and hem, leaving the entire front (or back) intact, or follow the instructions in the pattern below for fusing the t-shirt piece with interfacing to keep it from rolling and unraveling.
Tip 3: Make a Test Swatch
Cut a small scrap (without an image or seams) from a t-shirt and fuse it to your interfacing. Use this scrap when you change your top or bottom thread, presser foot, needle, or stitch pattern to test that all your settings will work for the t-shirt quilt (and thereby avoid pulling back stitches!).
If you make your own T-Shirt Quilt Pillow, I’d love to see it! Share your progress and questions by tagging me on Bluesky as @UndergroundCrafter, Facebook as @UndergroundCrafter, or on Instagram as @ucrafter. You can also share a picture in the Underground Crafters Facebook group. Sign up for my weekly newsletter and get a coupon code for your choice of one of my premium patterns and private access to my vault of subscriber goodies. Plus, you’ll never miss one of my free patterns again!
How To Make a T-Shirt Quilt Pillow
Sewing Tutorial by Underground Crafter

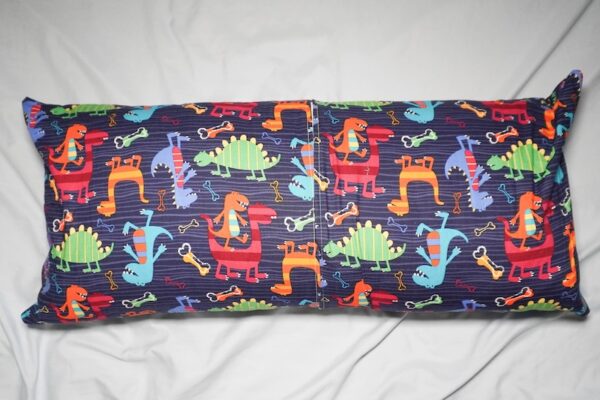
This project is a great introduction to t-shirt quilting that you can finish in an afternoon while learning all the basic elements. T-shirt quilt pillows make great mementos for children or adults. The pillow used in this pattern fits across a twin, twin XL, or single bed. Once you finish this project, you’ll be ready to tackle a t-shirt quilt!
Finished Size
- 13” x 29” to fit a 14” x 28” pillow form.
Tools
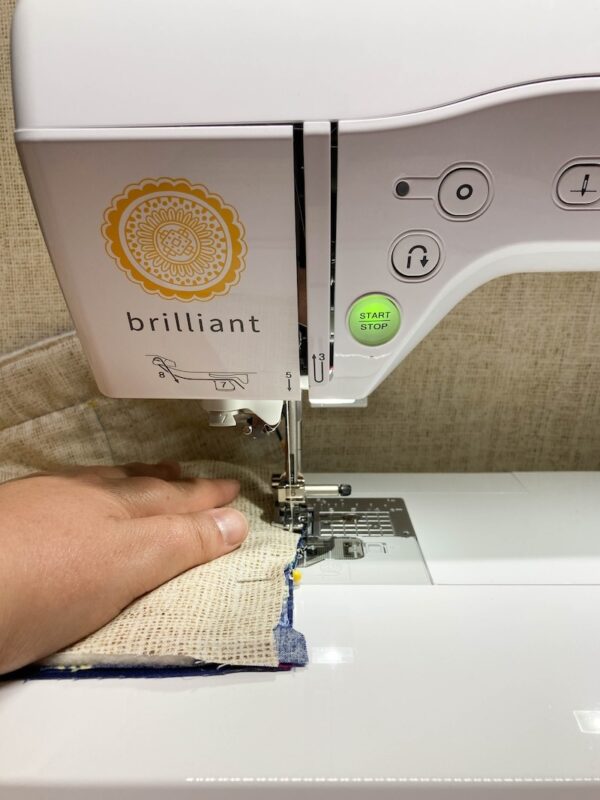
- Sewing machine with straight stitch, such as the Baby Lock Brilliant. Check out my unboxing of the Brilliant below.
- If you can’t see the Brilliant unboxing above, click HERE to watch it on YouTube.
- Use my coupon code SAVE10-A424 to get 10% off all machines, accessories and software at Baby Lock.
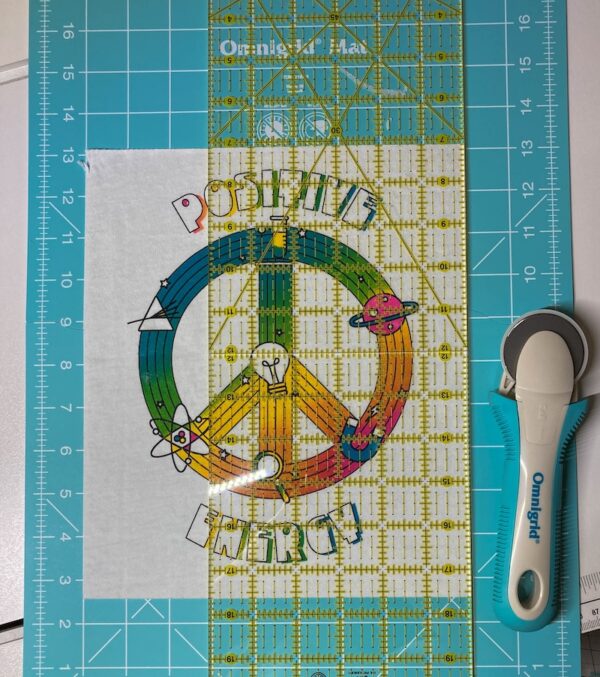
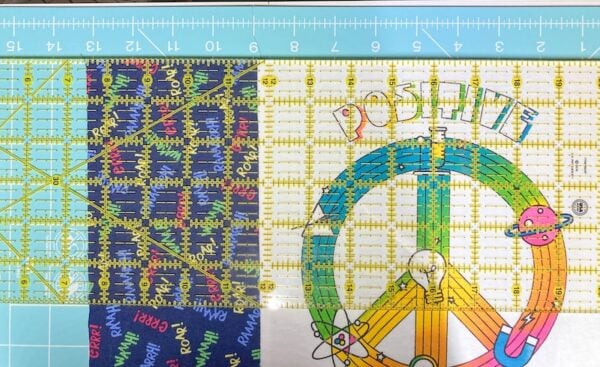
- 45 mm rotary cutter, cutting mat, and acrylic ruler. If you’re new to working with a rotary cutter, the video below demonstrates how to use one safely.
- If you can’t see the video above showing how to use a rotary cutter safely, click HERE to watch it on YouTube.
- Clover Patchwork Scissors.
- Clover Hera marker.
- Sewing by Sarah Wool Press ‘n Lock Tiles™.
- Oliso Mini Iron.
- Non-stick pressing sheet.
- Quilting pins or fabric clips.
- Basic sewing supplies (seam ripper, etc.).
- Optional: 1/4″ quilting presser foot with guide (for accurate piecing) and/or walking foot (for machine quilting).
Materials
- Fusible interfacing – 1/2 yard.
- Universal sewing needle.
- 100% cotton thread for top spool and bobbin.
- 14” x 28” pillow form.
- Cotton batting – 1 yard or crib size.
- 100% cotton quilting fabric for sashing – 1/3 yard.
- 2 children’s t-shirts (size 5T used in sample).
- 100% cotton quilting fabric for inside – 1/2 yard.
- 100% cotton quilting fabric for pillow backing – 1/2 yard.
- Optional: Embroidery floss and hand embroidery needle (for hand tie quilting).
Instructions
Prepare the Fabric, T-Shirt Fabric, and Batting
- Press the fabric and batting to remove wrinkles
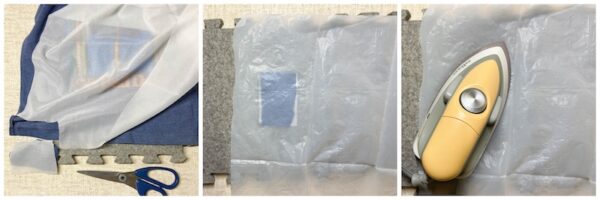
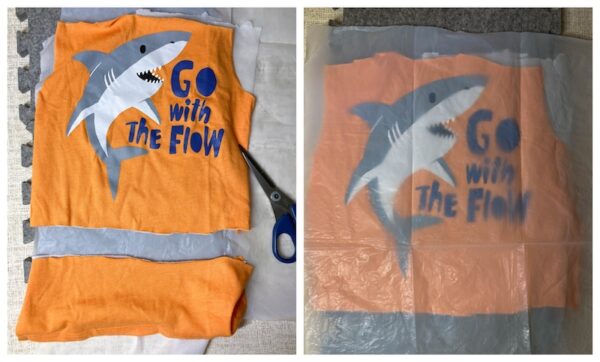
- With fabric shears, cut around side seams, collar, and hem of t-shirt, leaving as much space around t-shirt image as possible.
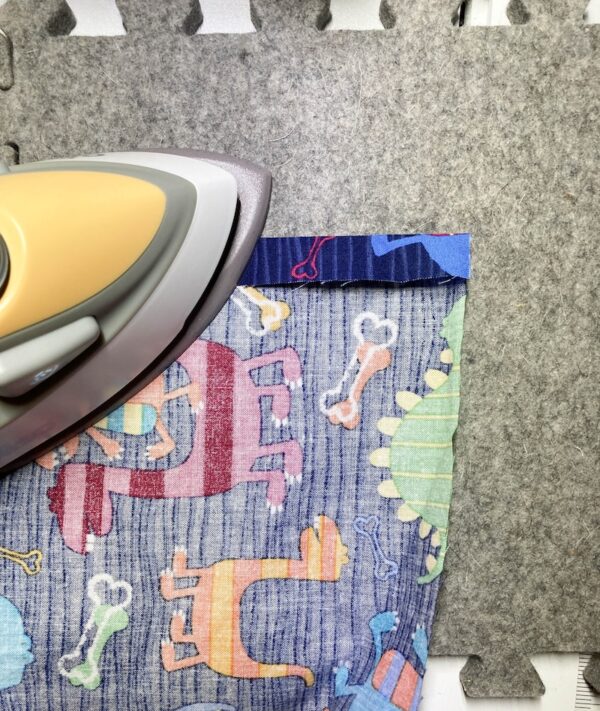
- Position interfacing on iron-safe surface with fusible side up. Position t-shirt over interfacing with image side up. Cover with non-stick pressing sheet. Press with iron following instructions on the fusible interfacing to adhere to back of t-shirt. Repeat for second t-shirt.
- With rotary cutter, acrylic ruler, and mat, cut t-shirt fabric to 9” wide x 10.5” long around t-shirt image, leaving 1/2″ to 1” around all sides of image.
- Repeat for second t-shirt.
- With rotary cutter, acrylic ruler, and mat, cut sashing fabric into one 4.5” strip and two 2.25” strips across width of fabric.
- Cut batting and inside fabric to 15” x 29” (one piece each).
- Cut backing fabric into two 15” wide x 16” long pieces.
Assemble Front of Pillow
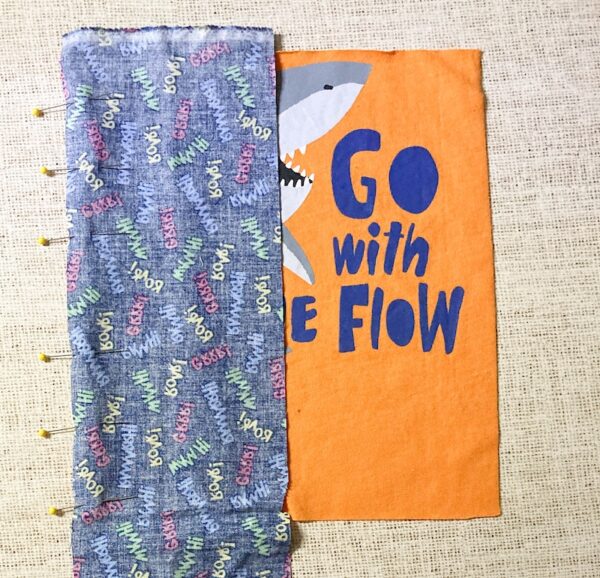
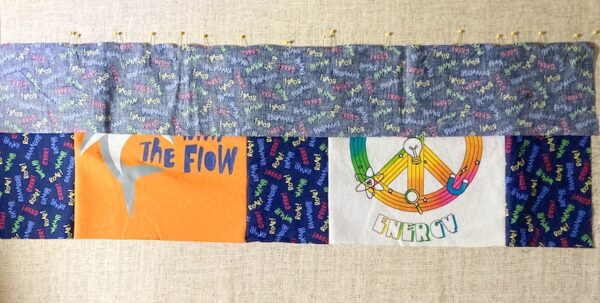
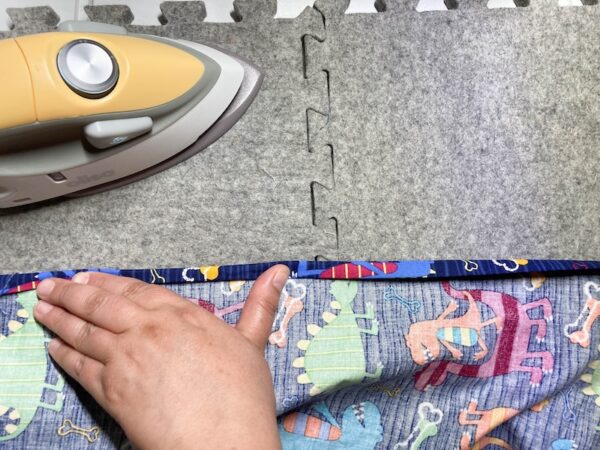
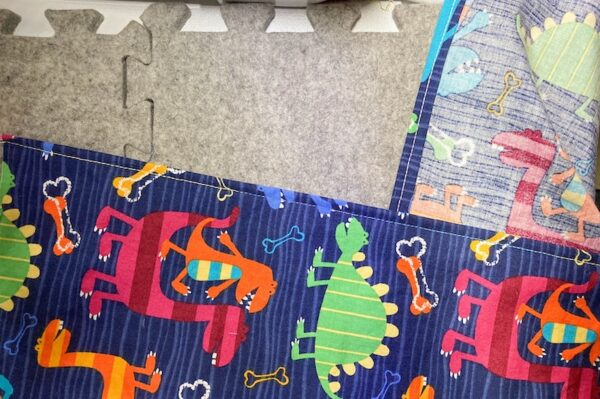
- Pin 4.5” strip of sashing fabric to first t-shirt with right sides facing. If using 1/4″ quilting presser foot with guide, change to this presser foot. Sew pieces together with 1/4″ seam.
- Using non-stick pressing sheet to avoid damaging t-shirts, press seams flat on the back.
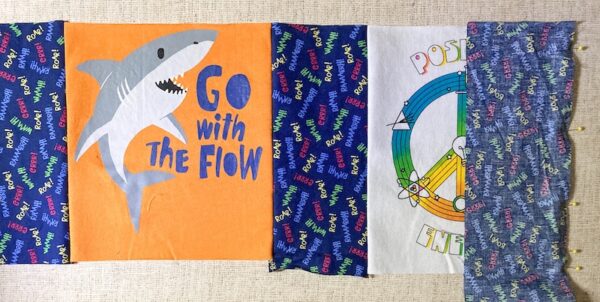
- Repeat with second t-shirt. Trim top and bottom edges of each t-shirt panel to straighten.
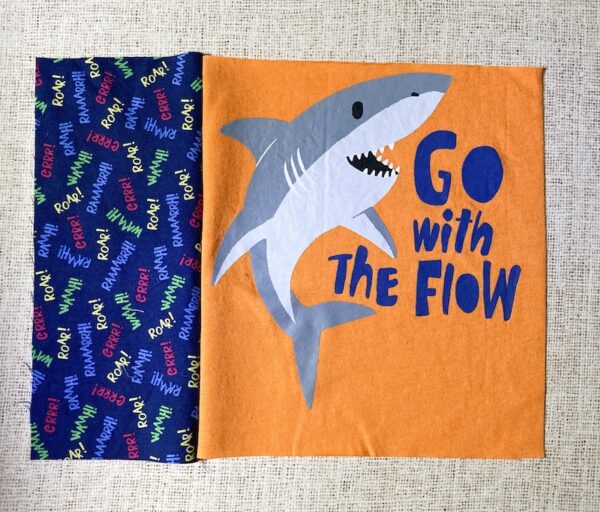
- Pin first and second t-shirt panels with sashing together and sew with 1/4″ seam. Using non-stick pressing sheet to avoid damaging t-shirts, press seams flat on the back.
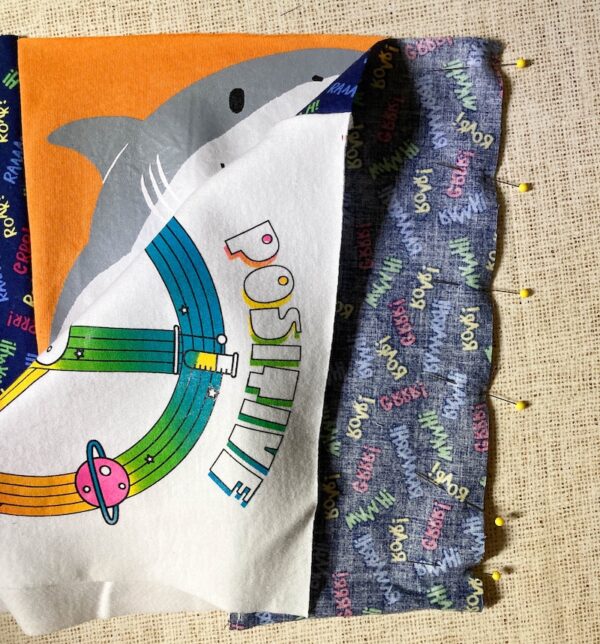
- Pin final sashing piece to t-shirt panel and sew together with 1/4″ seam.
- Using non-stick pressing sheet to avoid damaging t-shirts, press seams flat on the back.

- Trim top and bottom edges to straighten.
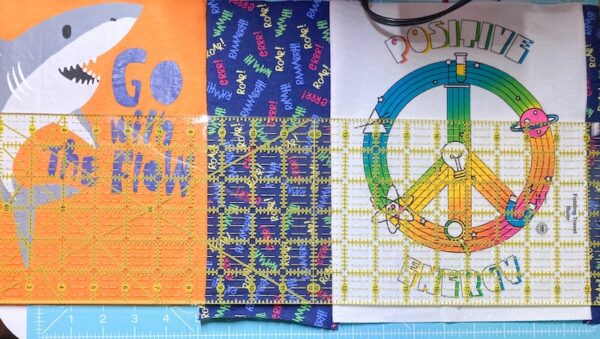
- Pin first 2.25” strip of sashing fabric to top of t-shirt panel. Sew pieces together with 1/4” seam.
- Using non-stick pressing sheet to avoid damaging t-shirts, press seams flat on the back of t-shirt panel.
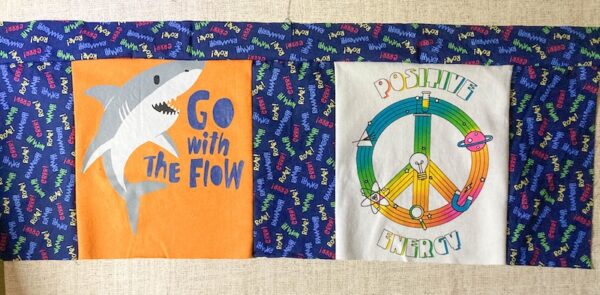
- Repeat with second 2.25” strip of sashing fabric at bottom of t-shirt panel.
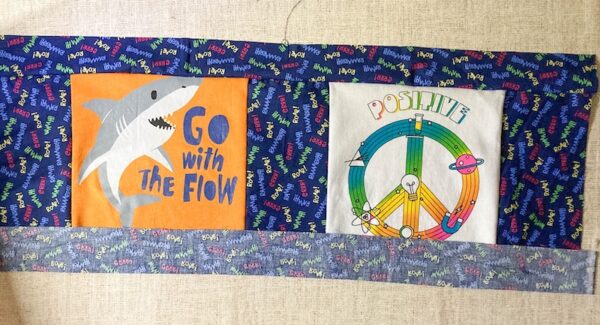
Prepare “Quilt Sandwich”
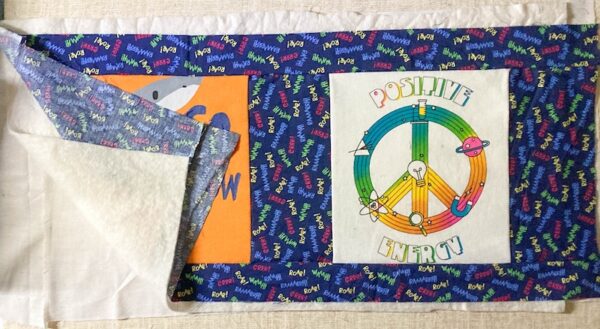
- Make a “quilt sandwich” for the front piece as follows. Position inside fabric wrong side up on bottom, position batting in middle, and position front piece (t-shirt panel with sashing) on top with right side facing up.
- Note: If you aren’t confident in your sewing machine quilting skills, consider quilting straight lines around the t-shirts (on the sashing), following the instructions on your batting for the amount of inches between quilt lines. You can use ties to quilt the t-shirt sections. Read on for instructions for both options.
- Pin or clip layers together.
Quilt Front of Pillow
- Quilt as desired or follow instructions below.
- For machine quilting: Use Hera marker to mark quilting lines on right side of t-shirt panel for straight quilting. Change to standard presser foot or walking foot. Sew straight lines on Hera marked lines to quilt all three layers together.
- For tie quilting: Use Hera marker to mark quilting spots on right side of t-shirt panel. With embroidery floss and needle, use the straight stitch to embroider an “x” on each marked position. Secure with a second “x” over same position, and tie in back (which will be inside pillow case). Knot and fasten off, leaving end of floss on inside. Continue to tie on each Hera marked spot to quilt all three layers together.
- Trim all 3 layers to size of front piece (t-shirt panel with sashing) to straighten and remove bulk of excess batting.
Prepare Back of Pillow
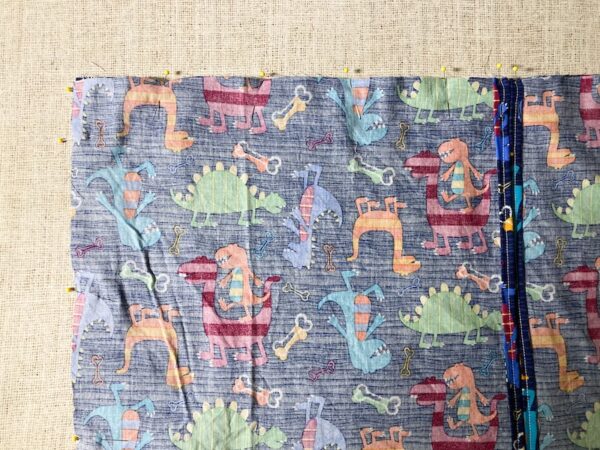
- With first backing fabric piece, fold over longest edge approximately 1/4″ and iron flat.
- Fold over again and iron flat to enclose raw edge of fabric.
- Repeat for second backing fabric piece.
- Return 1/4″ quilting presser foot to sewing machine. Topstitch a 1/4″ seam across folded edge on each backing fabric piece.
Assemble Pillow
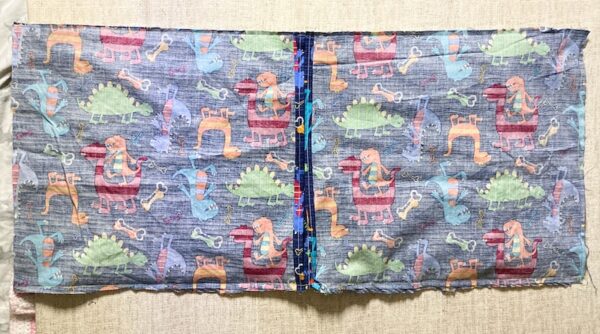
- Position t-shirt panel on bottom with right side up.
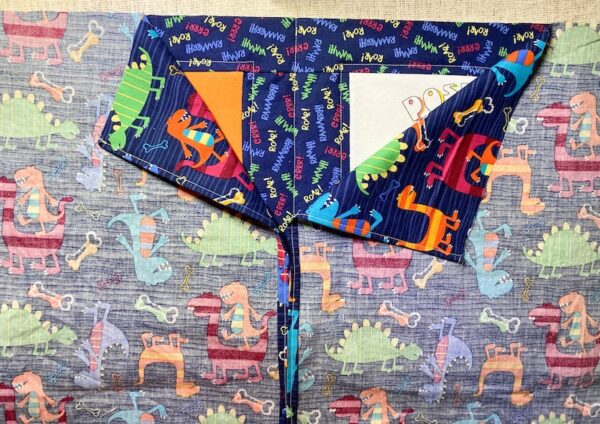
- Position backing pieces on top with wrong sides up. Covered seams should be at center as in photo below. If you are using a directional print, be sure that top sides match on front and both back pieces.
- Pin securely around edges.
- Sew along outer edges with a 1/4″ seam around, being sure to reinforce start and end stitches.
- If desired, trim excess batting and clip corners.
- Turn pillowcase right side out. Point out corners and press if necessary (being sure to cover t-shirt sections with non-stick pressing sheet to avoid damage).

- Insert pillow form into pillow case.

- Enjoy your t-shirt quilt pillow!