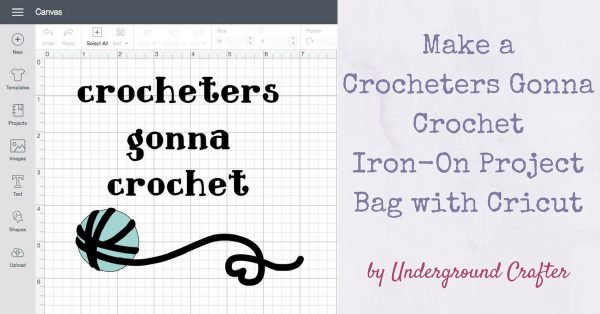
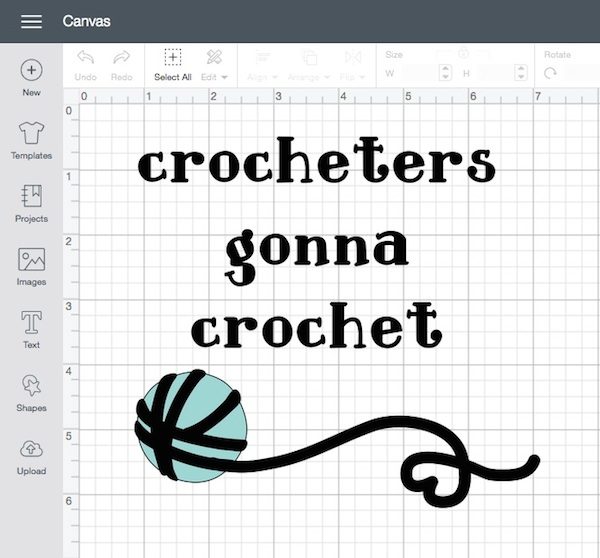
Are you looking for a fun way to tell the world you love to crochet, or a great gift for your favorite crocheter? I’m sharing a quick and easy project for a Crocheters Gonna Crochet project bag that you can make in (much) less than an hour!
This post contains affiliate links. I may receive compensation (at no added cost to you) if you make a purchase using these links. Materials for this post were generously provided by Cricut, Oriental Trading, Lion Brand, and Clover USA.
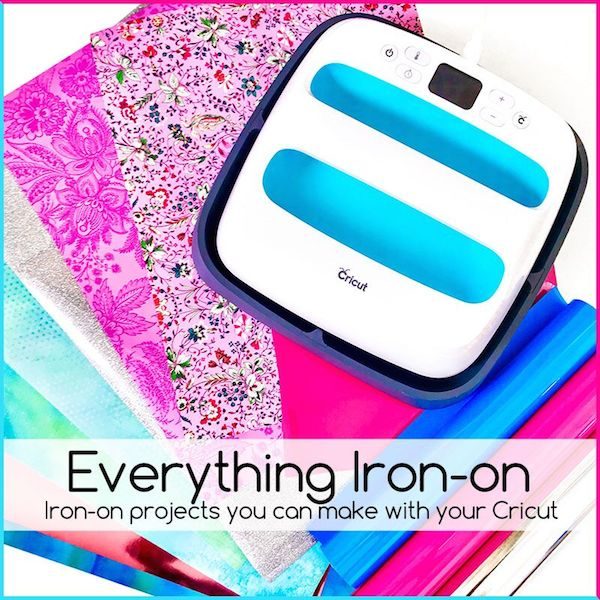
I’m so excited to be part of Everything Iron-On with with Angie from The Country Chic Cottage, Carolina from 30 Minute Crafts, Jen from 100 Directions, and Jessica from Mad in Crafts. You will find dozens of great iron-on projects you can make with your Cricut in this online event, and there’s even a great giveaway going on (enter at the end of this post), so read on for details.
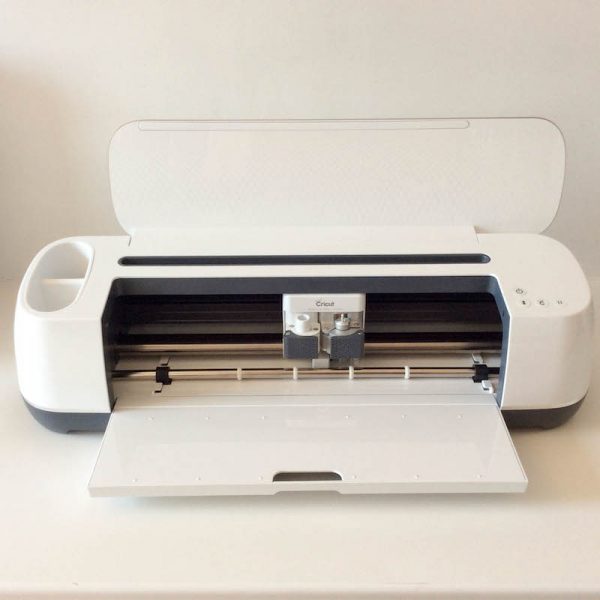
Although I used my brand new Cricut Maker (I cannot get tired of saying that!) for my project, you can also use any of the Cricut Explore family machines to make your version.
Iron-On in two colors (I used the pink and purple from the Cricut Foil Iron-On Spring Meadow Sampler, but if you’re an iron-on newbie, use Everyday Iron-On for the bottom layer because it is much easier to lay flat without bubbling),
Weeder and scissors or trimmer (I used the ones in my Essential Tool Set),
Set your pressure setting dial to “Custom” on the Explore machines. For Maker and Explore, in Design Space set material to Foil Iron-On.
Select “mirror on” so your images will cut correctly.
Place the Foil Iron-On on the cutting mat with the liner (shiny) side down.
Follow instructions in Design Space to cut your iron-on pieces, being sure to mirror the second piece, too.
Weed the Iron-On
Use your weeder to remove the excess iron-on from each piece of your project.
Tip: Cut excess pieces away before weeding so you can use the iron-on for another project.
Apply the Iron-On
Use your iron or EasyPress to press your Canvas Tote Bag so it’s relatively wrinkle-free before you start.
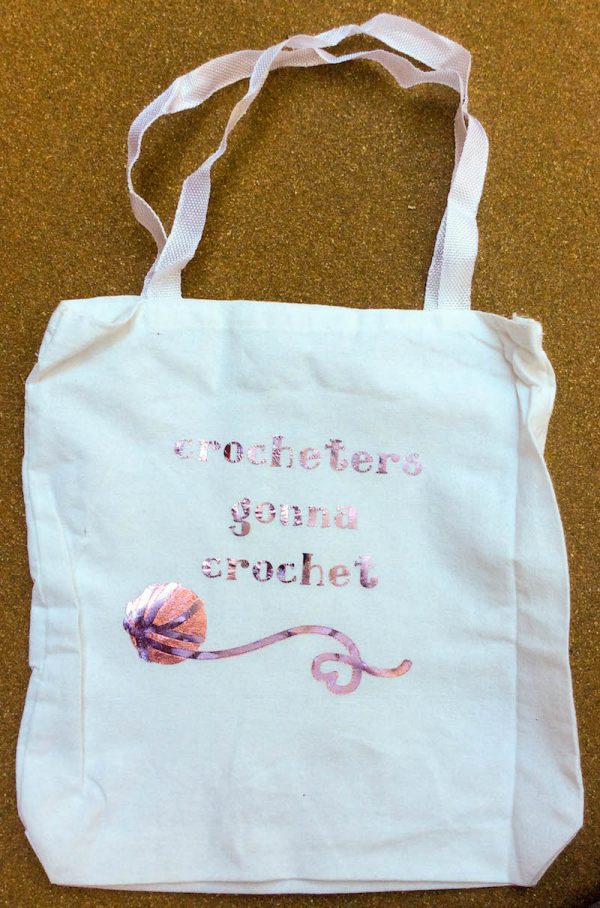
Position the bottom piece of Cricut Foil Iron-On (the yarn ball alone) as desired so that the iron will be touching the clear backing side and the back of the iron-on is touching the tote. Press the iron down firmly following the iron-on instructions until your yarn ball is firmly attached. Allow to cool completely before removing the clear backing sheet.
Position the larger piece of Cricut Foil Iron-On (with the phrase and yarn ball) so that both layers of yarn are aligned. Make sure the words are right side up so that the iron will be touching the clear backing side and the back of the iron-on is touching the first layer of iron-on and the tote. Follow the instructions above to adhere the iron-on.
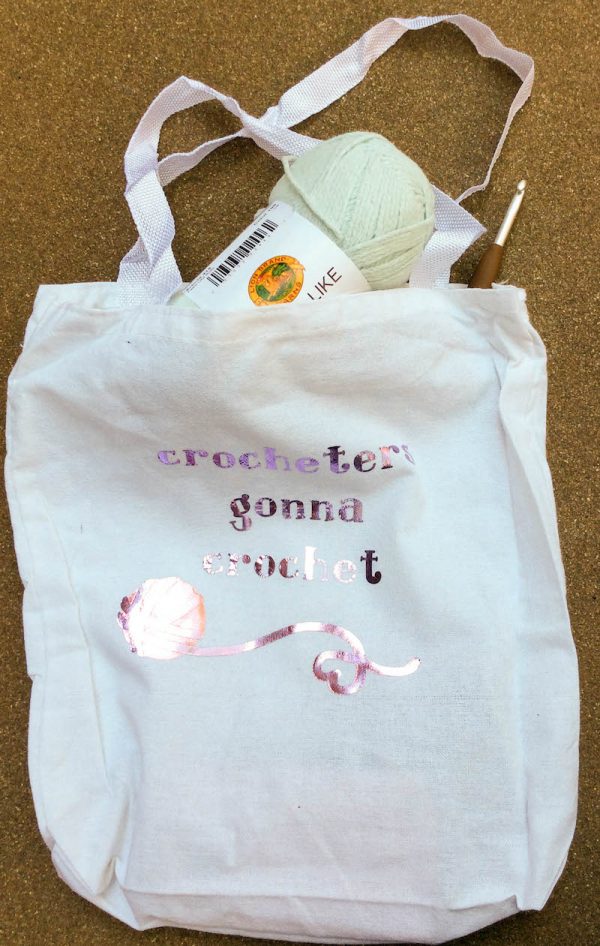
Now that your bag is finished, stuff it with your favorite crochet goodies! Mine includes a skein of Lion Brand Feels Like Butta and a Clover Amour crochet hook.
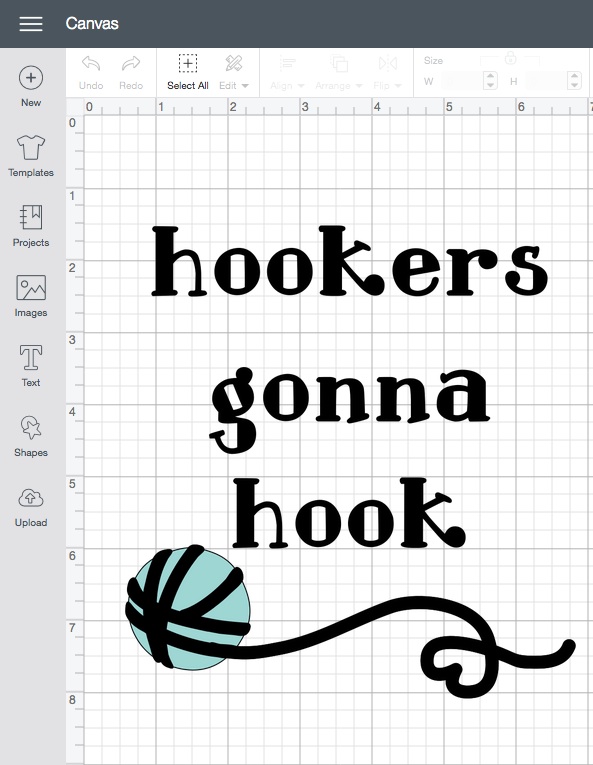
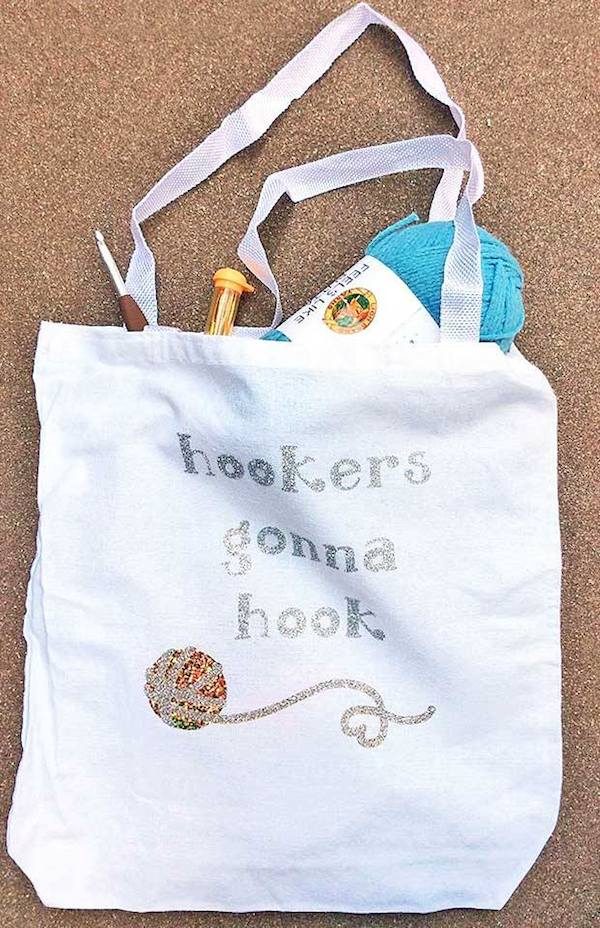
P.S.: If you like to live on the edge, I also made a Hookers Gonna Hook cut file in Design Space.
I made a practice version, but alas, it turns out you are NOT supposed to layer glitter iron-on because it will loose its stick over time. It was still a fun practice project!
Find more great Cricut Iron-On projects from other bloggers participating in Everything Iron-On here!
Enter to win a Cricut EasyPress, EasyPress Mat, and Iron-on Prize Pack using the Rafflecopter giveaway widget. By entering this giveaway, you are voluntarily submitting information to Rafflecopter. You can read their privacy policy here for more details about how that information is used. Good luck!
2 thoughts on “Cricut Basics: Make a Crocheters Gonna Crochet Iron-On Project Bag”
Pingback: What's in Your Knit and Crochet Project Bag - Marly Bird™
Pingback: Fox in the Garden Iron-On T-Shirt with Cricut BrightPad | Underground Crafter


2 thoughts on “Cricut Basics: Make a Crocheters Gonna Crochet Iron-On Project Bag”