

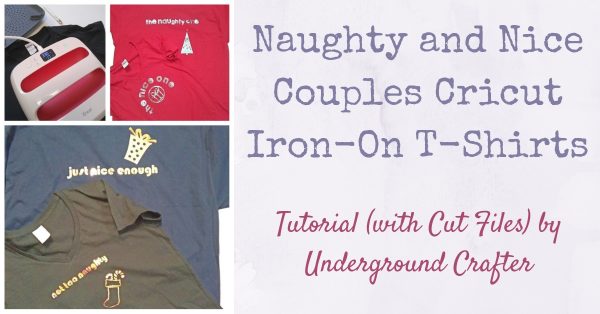
Are you looking for quick Cricut gifts to make for your favorite couples for the holidays? Then you’ll love my naughty and nice iron-on t-shirts! In this post, I’ll share the cut files for two naughty and nice couples t-shirt sets. You can make them as-is or further customize each project in Design Space.
This post contains affiliate links. I may receive compensation (at no added cost to you) if you make a purchase using these links. Materials for this project were generously provided by Cricut.
Since I got the Cricut EasyPress 2 this summer, I have been a crazy iron-on fool! I have been ironing-on (or is it iron-oning?) projects left and right. In September, I even had the wacky idea to iron-on thirty Oriental Trading Mini Canvas Tote Bags with the logos of my blog and Jessie At Home’s blog for a shawl styling demo we did at In the MKNG.
I was so delirious afterwards that I forgot to take pictures of the completed bags. Even with an EasyPress 2, ironing-on 60 logos in one sitting is no small feat. But trust me, the finished bags were awesome! The point of this little story is that without the stress of ironing (and the stress of pulling out an ironing board in my one bedroom apartment), I am totally free to make as many iron-on projects as I want. When Angie from The Country Chic Cottage, Carolina from 30 Minute Crafts, Jen from 100 Directions, and Jessica from Mad in Crafts invited me to participate in their Cricut Holiday Event, I knew I would be having some iron-on fun.
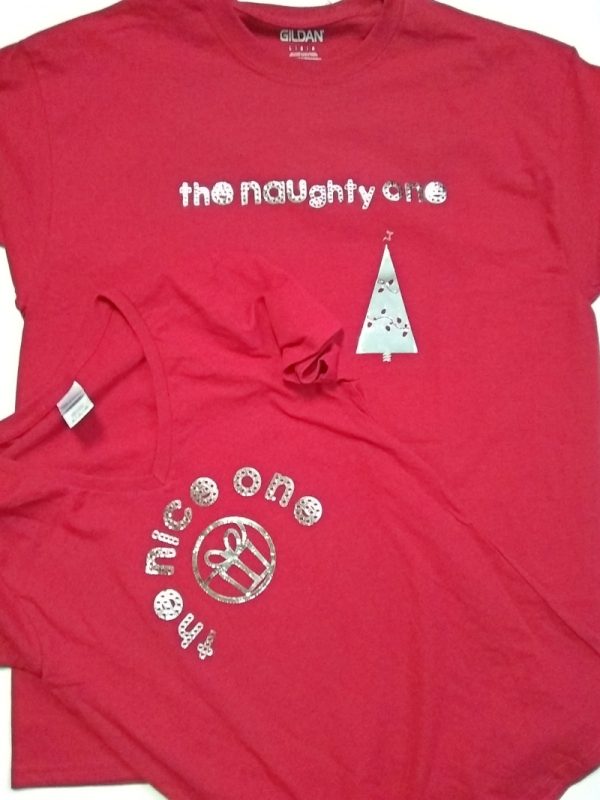
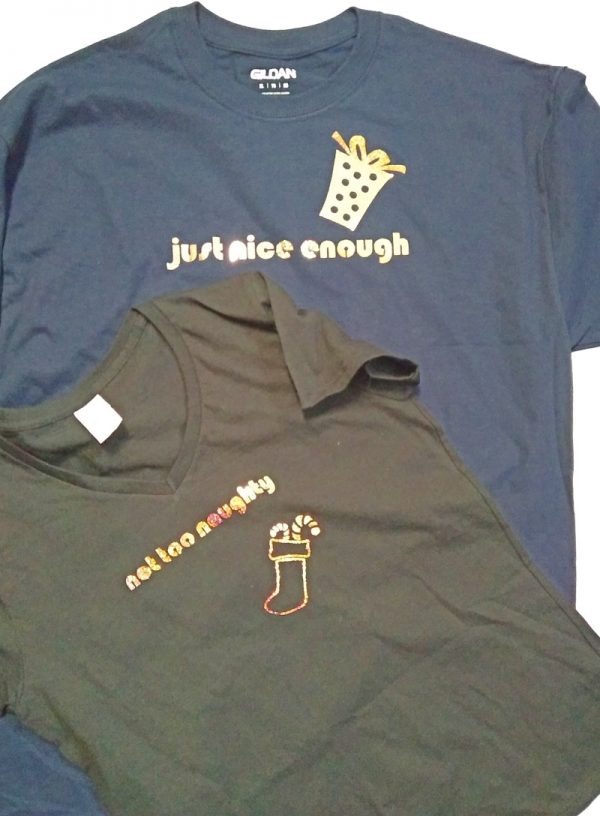
Christmas is much more fun for the kiddos than the adults, so I wanted to make some t-shirts for some of my favorite couples for the holidays. I mean, why shouldn’t the grown ups get to have fun, too? I decided to do a play on the theme of naughty and nice and make two different sets of shirts. Each one includes a “naughty” cut file and a “nice” cut file. You’ll need to decide who in each couple is deserving of which project!
Naughty and Nice Couples Iron-On T-Shirts with Cricut
Tutorial by Underground Crafter
This is an easy peasy iron-on project that is perfect for Cricut newbies or pros. Newbies can make the shirts as-is, and Cricut pros can customize the cut files to include additional images or different fonts.
Materials
- Cricut Maker with Cricut Design Space and Cricut Access Standard subscription,
- Your choice of cut files in Design Space,
- Premium Fine Point Blade,
- StandardGrip Cutting Mat,
- EasyPress 2 or iron,
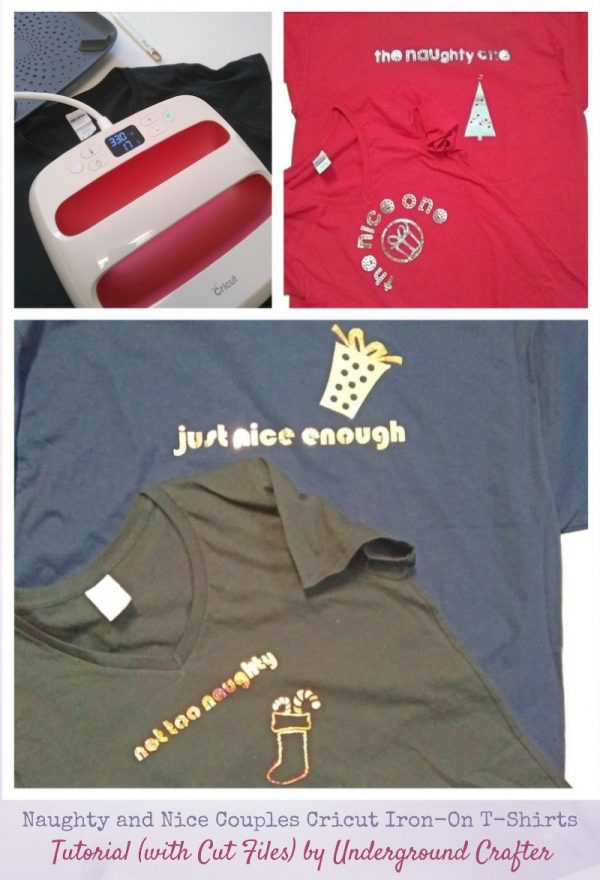
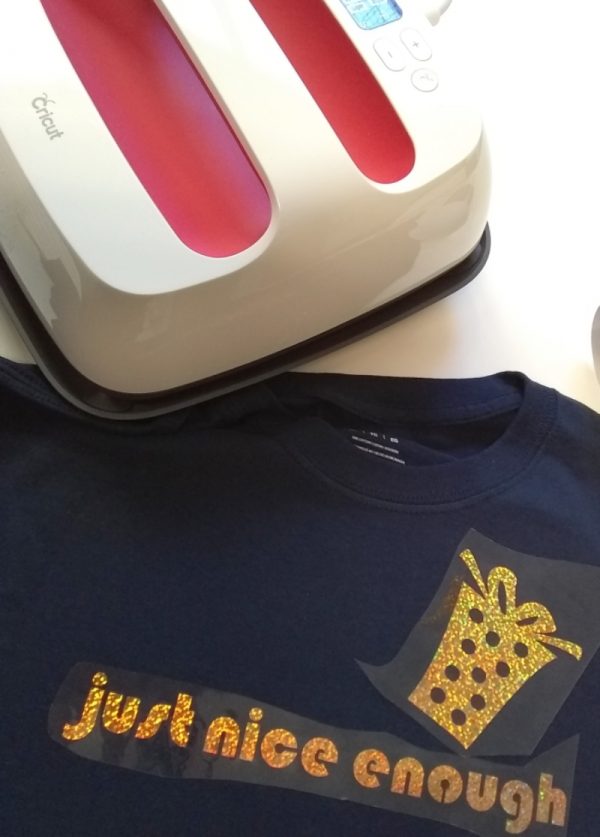
- Iron-on in at your choice of colors and styles — I used Holographic Sparkle Iron-On for the Not Too Naughty and Just Nice Enough shirts and Foil Iron-On for the Naughty and Nice Ones shirts,
- 12” x 12” Easy Press Mat, or other heat-safe surface,
- Weeder and scissors (so you can save any excess materials for your next project) — I used the ones in my Essential Tool Set, and
- Gildan Women’s V-Neck T-Shirts and Gildan Adult Short Sleeve T-Shirts in your choice of sizes and colors.
Instructions
Customize Your Cut Files in Design Space
- Use my cut files in Design Space “as is” by clicking on Make It, or customize by looking for images (my search terms were “Christmas tree,” “gift,” and “Christmas stockings”), changing the fonts, or adjusting the sizes to better fit on your shirts.
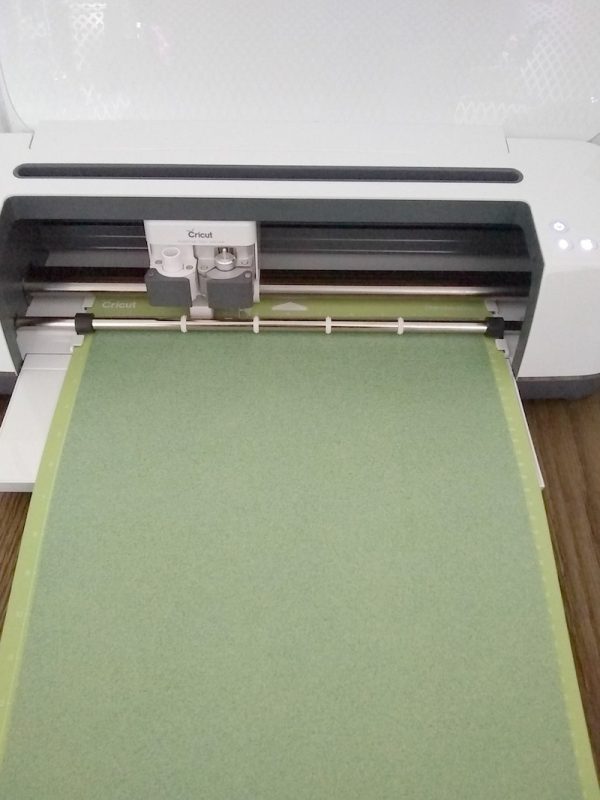
Cut Your Iron-On
- Make sure you “mirror” each mat before cutting and place the iron-on shiny side down on the mat. Choose your cutting materials in Design Space and it will let you know what to do next!
Weed Your Iron-On
- Once all your pieces are cut, trim away excess unused iron-on with your scissors to save for your next project. Use your weeder to remove iron-on from around your cuts.
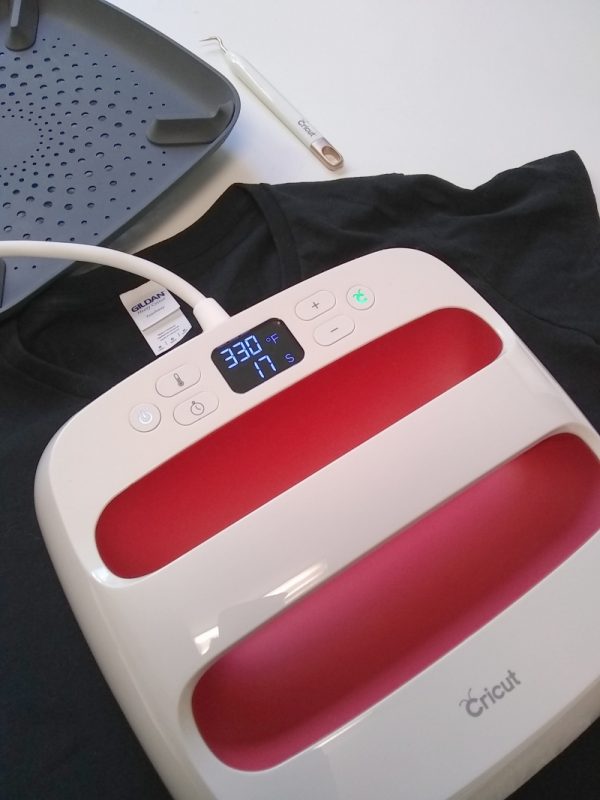
Pre-Heat Your EasyPress 2
- Be sure to check this detailed chart of recommended EasyPress settings so you know what temperature to set your EasyPress 2 to, how long to set the timer for, and whether you’ll need to do a “cold peel” or a “warm peel.”
- While it’s pre-heating, set your first shirt on the 12” x 12” Easy Press Mat.
Start Pressing!
- Use the EasyPress 2 to press out any wrinkles on the center of the t-shirts before you get started.
- Position the iron-on on your first t-shirt with the clear liner on top so that the text is facing you and readable. You can center your iron-on, set it at a diagonal, or position it another way. Make it your own!
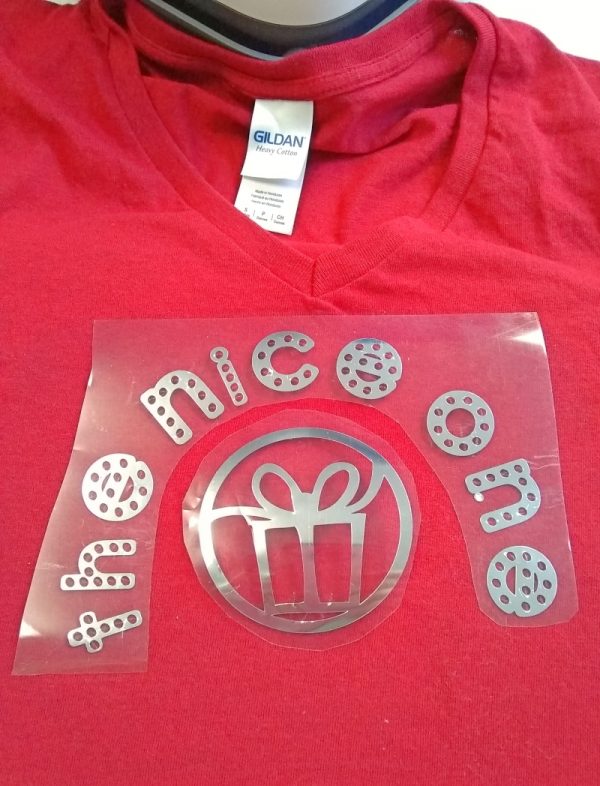
- Press the iron-on on the shirt using the heat setting and time recommended for your type of iron-on and 100% cotton.
- Once you have pressed the iron-on, peel off the clear liner carefully following the instructions for “cold peel” or “warm peel” based on the material you used.
- Repeat for each shirt.
- Don’t forget to adjust the temperature and time settings on your EasyPress 2 if you switch to a different type of iron-on between shirts, like I did!
Check out the rest of the projects in the Cricut Holiday Event below!
These would be hilarious for my two kids too!
Good point!