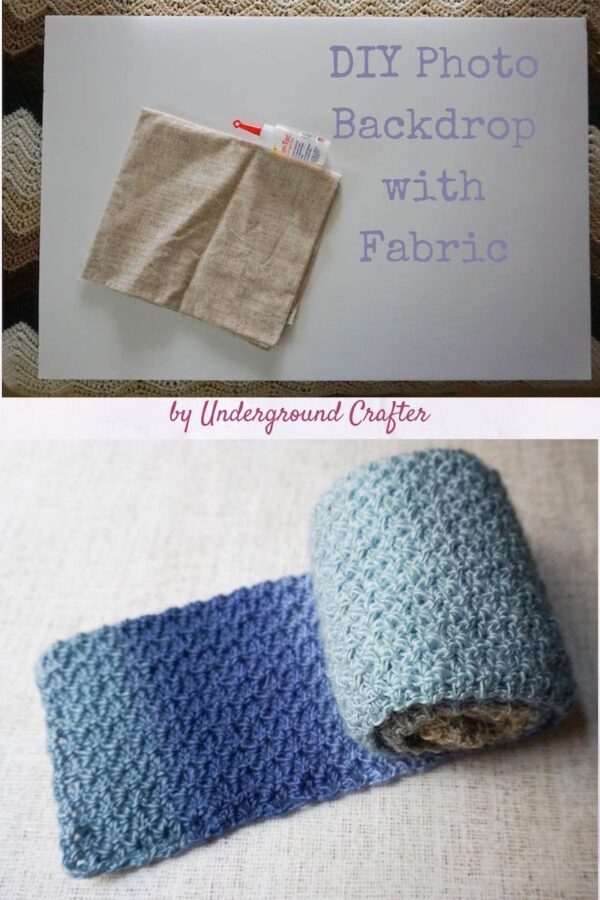
Photo backdrops can be expensive and some of the best ones are rolls without a stiff background, which can make things challenging if your home photography studio has uneven surfaces. In today’s tutorial, I’m sharing how to make a DIY photo backdrop using simple materials and less than a yard of fabric.
This post contains affiliate links. I may receive compensation (at no added cost to you) if you make a purchase using these links. I am a 2020 Brand Ambassador for Michael Miller Fabric and this post is part of our ongoing collaboration. All opinions and thoughts are my own. Additional supplies for this tutorial were generously provided by Beacon Adhesives and Cricut. Camera generously provided by B&H Photo Video Pro Audio.
Since joining the B&H Creator Community last year, I’ve been trying to take my photography up several thousand notches. If you’ve been reading my blog for a while, you may recognize my mother’s couch (as seen in my Gentle Gradient Ripple pattern), my self portraits in Riverside Park (as seen in my Peacock Shell Triangular Scarf pattern), or the Savage White Brick Printed Vinyl Backdrop (as seen in my Fro Yo Triangle Scarf pattern). When I started working from home in March, I stopped taking photos in the park and also at my mother’s apartment. And, that meant I had to think differently about photography since I have limited space and limited natural lighting at home. I transitioned to using several different portable, rolled vinyl backdrops and even some artificial lighting for my photography.
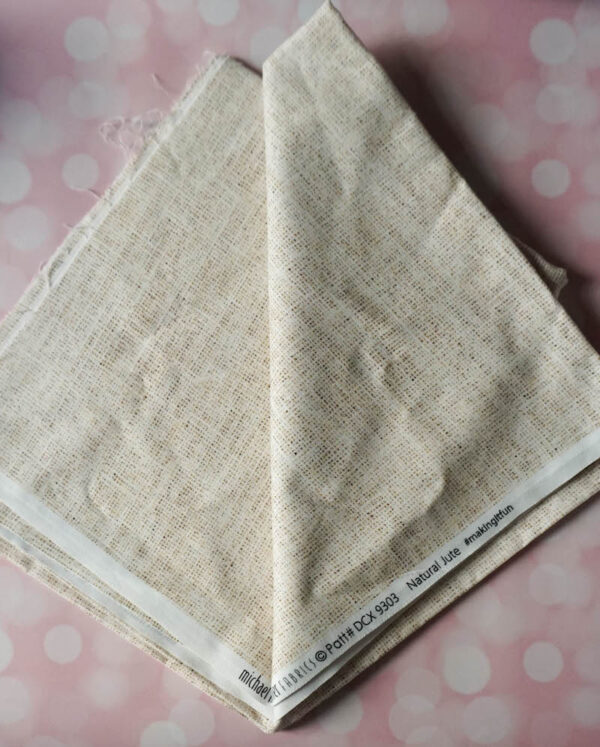
I love using fabric for photo backdrops because fabric doesn’t shine or create a glare against natural or artificial lighting, but fabric can show wrinkles or distort its shape when it’s not on a flat background (such as my bed, or my table with stacks of books on it) and all of that can be pretty distracting. When Michael Miller Fabrics released their Wild Thing collection, my eye was drawn immediately to the Natural Jute in Beige.
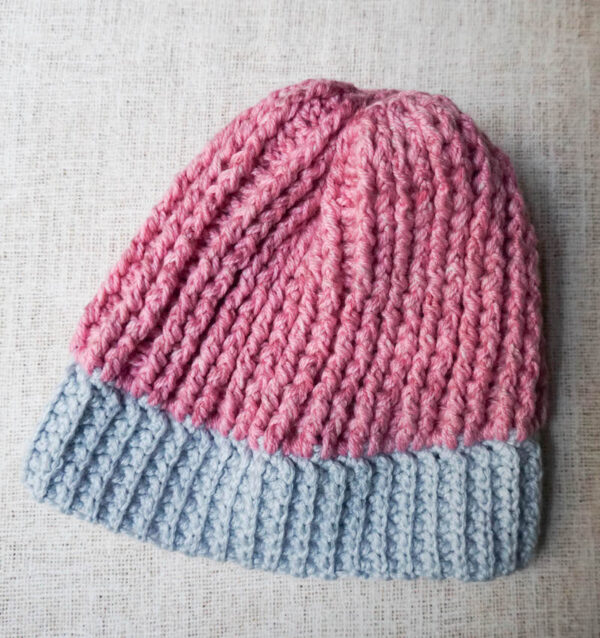
I knew this fabric would make a great photo backdrop, especially for some of the more gender-neutral projects that don’t always look fabulous against my pink vinyl backdrops.
The Natural Jute in Beige has a really organic look to it, and it’s neutral, so it lets the color in the project you’re photographing take center stage.
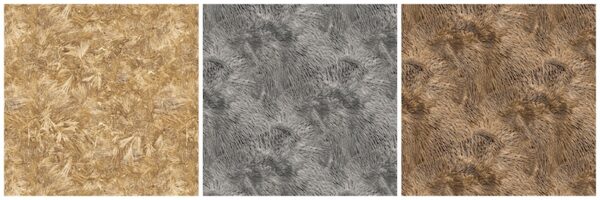
By the way, I think the Falling Pines in Gold, or Furry Texture in either Gray or Tan from the Wild Thing collection (shown left to right) would also work really well for backdrops.
Have I convinced you yet that you need a DIY photo backdrop made with fabric? Great, let’s get on to the tutorial then!
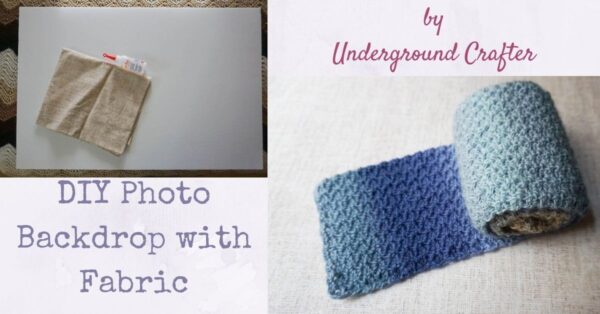
DIY Photo Backdrop with Michael Miller Fabrics
Tutorial by Underground Crafter
To make your own DIY photo backdrop with fabric, you’ll need a few supplies, about ten minutes of prep, and (for best results) 24 hours of drying time.
Finished Size
- 30″ (76 cm) x 20″ (51 cm).
Materials and Tools
- Michael Miller Fabrics Natural Jute in Beige from Wild Thing Collection – 1 yard. Ask for this fabric at your local quilt shop or shop online at Fat Quarter Shop or Amazon. NOTE: 1 yard is enough to cover 2 foam presentation boards. Make 2 backdrops or use the rest of the fabric for a sewing project.
- Cricut 8″ Fabric Shears.
- Beacon Adhesives Fabri-Tac.
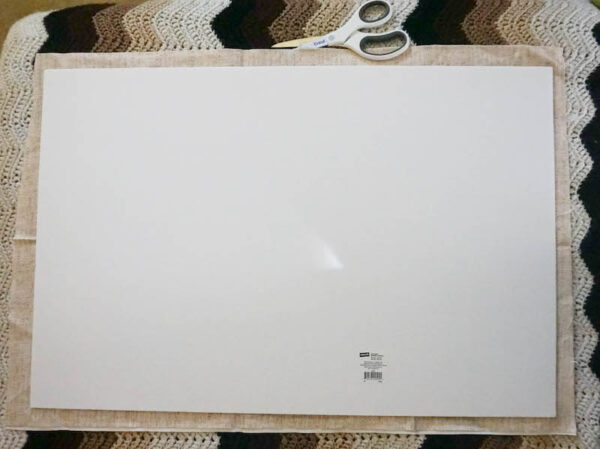
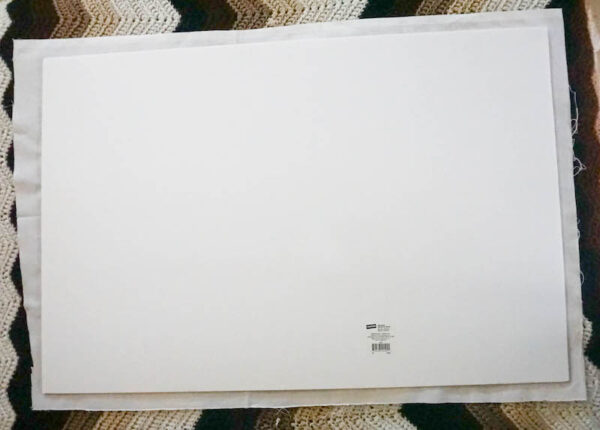
- 30″ (76 cm) x 20″ (51 cm) foam presentation board.
- Iron and ironing surface.

Instructions
Prepare Fabric
- Fold the fabric from selvage to selvage. Position your fabric behind the foam presentation board. With fabric shears, cut the fabric so that you have about half inch to a full inch overhang around each side.
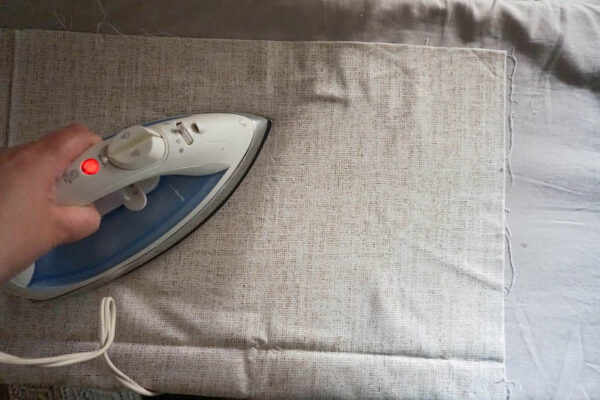
- Iron your fabric. You may need to use steam to remove any creases or folds.
Make the DIY Photo Backdrop
- Position the fabric right side down with the foam presentation board on top of it, with the wrong side of the fabric touch the foam presentation board.
- Starting on the long edge, apply Fabri-Tac to the fabric along the entire edge.
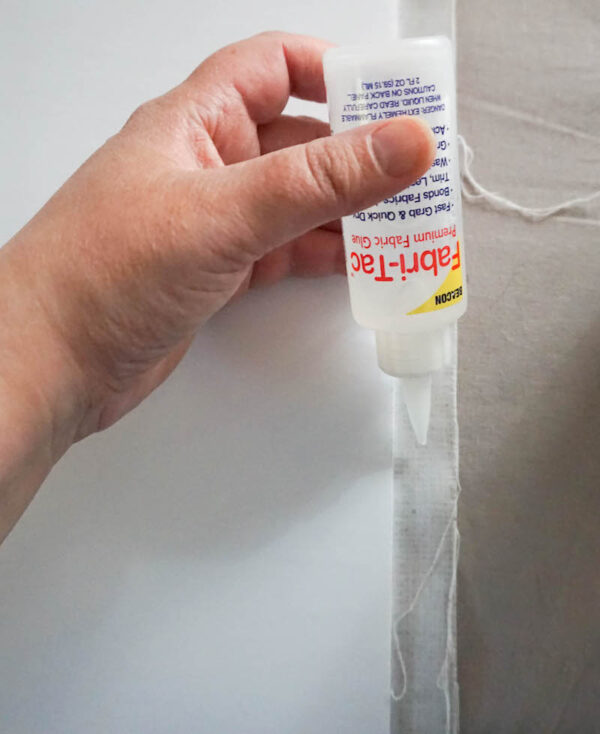
- Starting at the center, fold over the glued fabric and press down to adhere it to the foam presentation board.
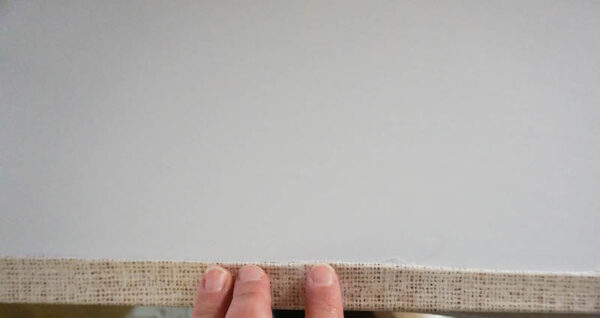
- Repeat glue application along other long edge, pulling the fabric tautly before adhering to make sure surface of fabric is flat.
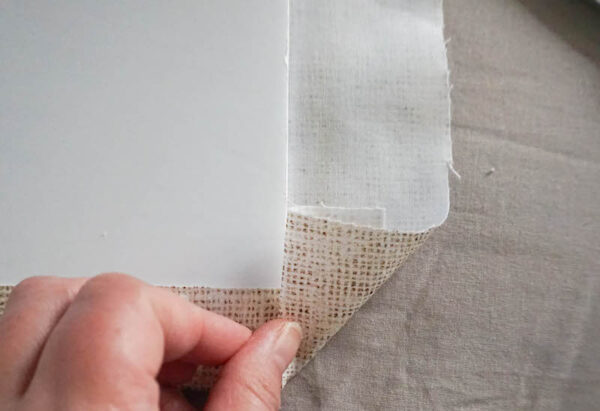
- Prepare the corners before working on the short edges.
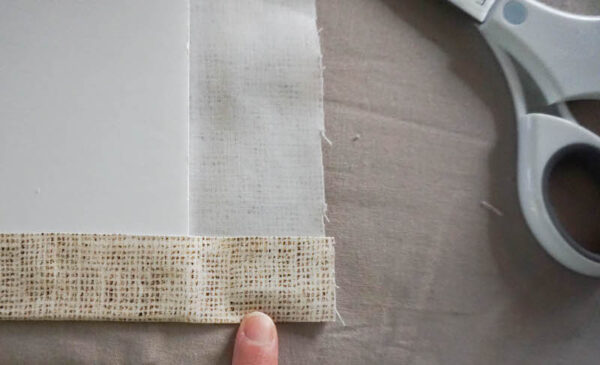
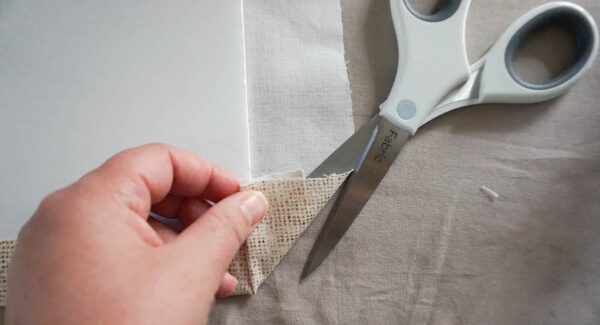
- Fold the corner over…
- …and trim off with fabric shears.
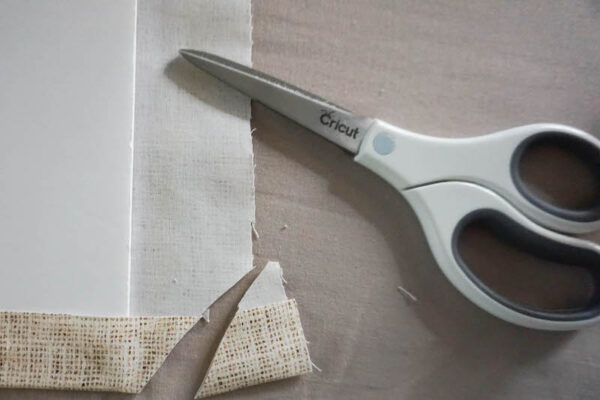
- Repeat the glue application along each short edge, pulling tautly before folding over the fabric to make sure you haven’t created any pockets of air or wrinkles in the fabric.
- For best results, allow your project to dry for 24 hours so the glue can adhere permanently.
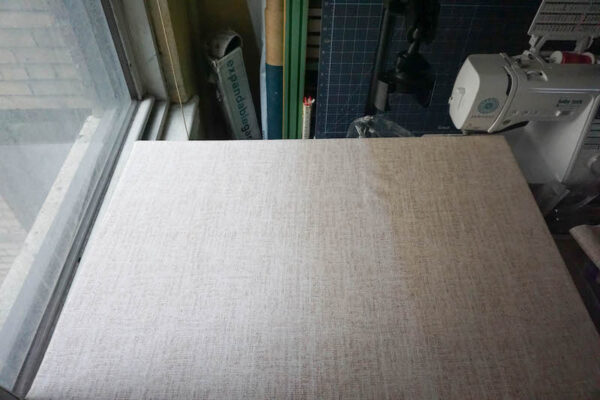
- Now you have a photo backdrop that you can use on top of an uneven surface… like my messy desk corner.