

I’m excited to share a book review along with your chance to win my review copy of the book! The excerpted Barn Owl crochet pattern was available through September 30, 2025.

This post contains affiliate links. I may receive compensation (at no added cost to you) if you make a purchase using these links. GMC Publications Ltd provided me with a free review copy of Crocheted Birds: A flock of feathered friends to make (available through independent booksellers or here on Amazon) by Vanessa Mooncie. Although I accept free products for review, I do not accept additional compensation, nor do I guarantee a positive review. My reviews are based entirely on my honest opinions.
Book Review: Crocheted Birds
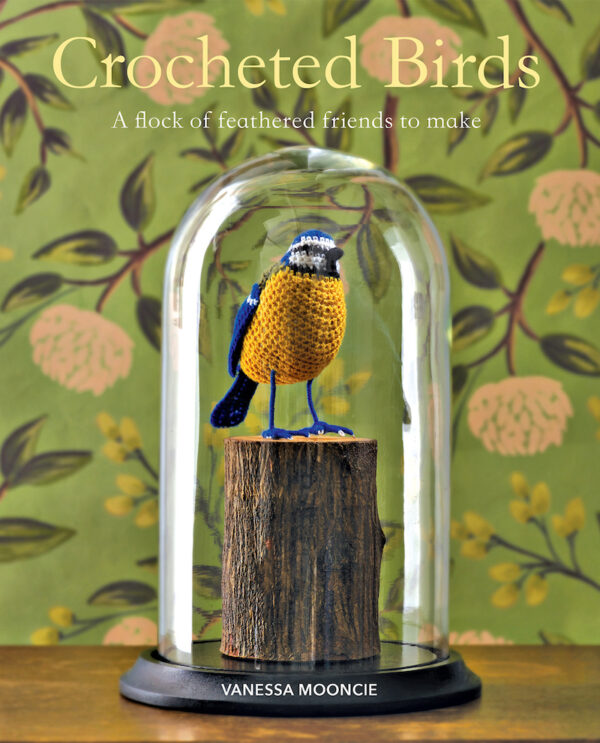
Crocheted Birds: A flock of feathered friends to make (available through independent booksellers or here on Amazon) by Vanessa Mooncie is a crochet pattern book that includes ten softie amigurumi patterns for birds. I’ve previously reviewed four other books by Vanessa (Crocheted Animal Rugs, Animal Heads: Trophies to Crochet, Crocheted Dogs, and Monster Hats: 15 Scary Head Warmers to Knit) and I love her creative approach to crochet.
In the Introduction, Vanessa explains that she gets to see many birds from her window and that the birds in the book, especially the larger ones like the Swan, are much smaller than their real-life counterparts and thus, can be worked up quickly. The book then includes a photo gallery with full-page color portraits of each bird against a stylized background. The next section is the patterns, which includes ten different types of birds: Blackbird, Robin, Blue tit, Wren, Budgerigaur (Parakeet), Dove, Cardinal, Swan, Barn Owl (shared as a pattern below this review), and Bald Eagle. Each pattern includes a short introduction, a list of materials, size of the finished project and tension (gauge). Method explains how the project is constructed and then the patterns are provided in sections using both UK pattern abbreviations and international stitch symbol charts. At the end of each pattern, the Making Up section explains how to join pieces and embellish the finished bird. Eight patterns are made in 4-ply/#1/super fine weight yarns and two patterns are made in DK/#3/light weight yarns. The birds range from a finished size of 3” to 12.75” (7.5 cm to 32.5 cm) and each includes a pattern for its eggs. Within each pattern, you’ll find multiple images of the bird from different angles against a white background and one full-page photo against a “natural” environment. Each pattern also includes one picture of the egg.

Seventeen pages of back sections following the patterns include Getting Started, Crochet Stitches, Finishing Touches, Abbreviations and Conversions, and Supplies. These sections includes written information about crochet hooks, yarn needles, yarn substitution, reading crochet charts, carrying unused colors, crocheting around wire (for bird legs), stuffing, adding safety eyes (glass eyes), and finishing . There are written and illustrated instructions for getting gauge (tension), holding the hook, basic crochet stitches, increasing, decreasing, crocheting into the front or back loops, long stitches (spike stitches), joining colors, joining pieces with back stitch, two embroidery stitches (straight stitch and chain stitch), adding Barn Owl feathers, making bird legs with wire, and sewing eyes with thread. There is also a glossary of pattern abbreviations, conversions from UK to US pattern abbreviations and measurements for hooks, and contact information for suppliers of yarn, hooks, stuffing, craft wire (for bird legs), and safety eyes (glass eyes). The book closes with an index.
Although it’s a paperback book, there are front and back flaps to help you keep your place while stitching. The bird patterns are very elegant and life like. The photos — especially the ones against stylized backgrounds — are wonderful eye candy and also inspirational for creating an indoor “environment” for your own bird patterns. As with Vanessa’s other books, while the patterns use simple stitches, the level of detail is quite high. These patterns are best for crocheters who are comfortable reading patterns (either using abbreviations or international stitch symbols) though they require only advanced beginner crocheters stitching skills. Most US readers would probably make the patterns with medium (worsted/#4/aran) yarn, and that would make the finished projects larger. If you love birds, or have bird lovers in your circle of “crochet-worthy” gift recipients, you will definitely enjoy Crocheted Birds: A flock of feathered friends to make (available through independent booksellers or here on Amazon) by Vanessa Mooncie!
Giveaway
After reading my review of Crocheted Birds by Vanessa Mooncie and trying out the Barn Owl crochet rug pattern, you are probably ready to get your hands on this book! You can buy it now through independent booksellers or on Amazon, or enter the giveaway below by 11:59 p.m. Eastern on Sunday, April 24, 2022 for your chance to win my review copy. While my copy of the book was provided by GMC Publications Ltd, the giveaway is organized by Underground Crafter. Enter using any of the options on the Rafflecopter widget below. One winner will be chosen from the entries at random to win my review copy of the book. Winner will be contacted approximately 1 week after the entries close. Winner will have 3 days to claim the prize. If winner does not respond within 3 days, prize will be awarded to an alternate. By entering this giveaway, you are agreeing to share your contact information with Rafflecopter and/or Underground Crafter. You can read the Rafflecopter Privacy Policy and the Underground Crafter Privacy Policy here to understand how this information is used. This giveaway is open worldwide, except where prohibited by law. Good luck!
Love what I see and would love the book! Mary
What a beautiful pattern. This is definitely a book I need.
Thank you for the review and pattern
What a great review! I love this owl.
OH my love the review and love the owl. thank you so much can not wait to make this.